

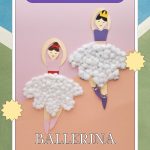
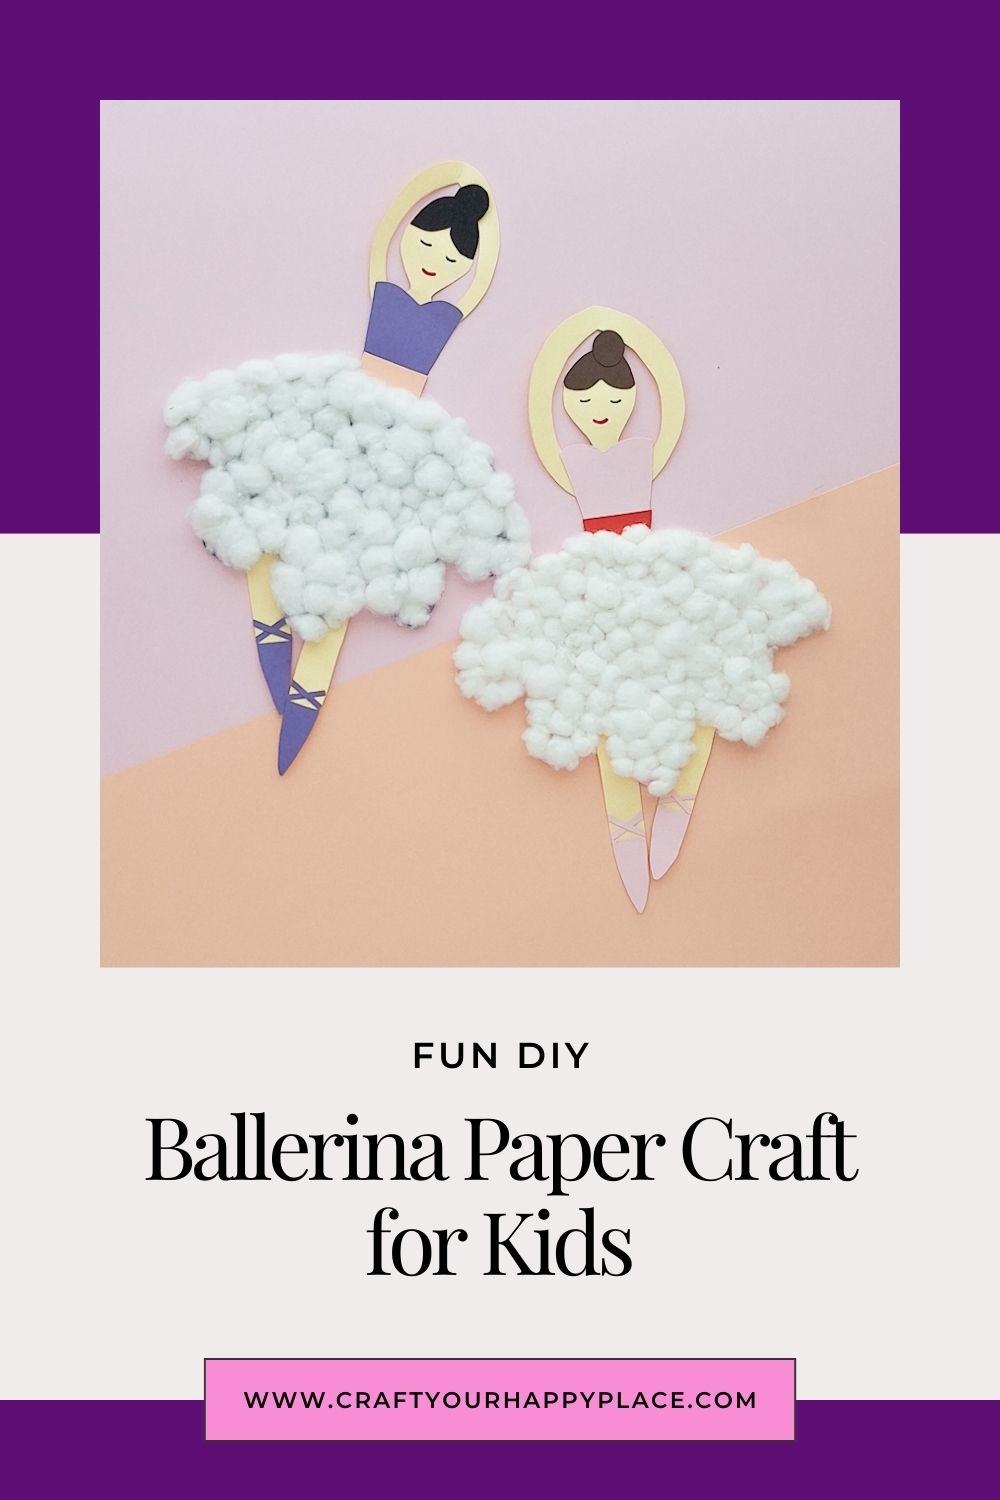
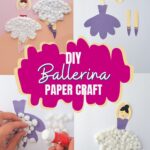
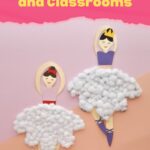
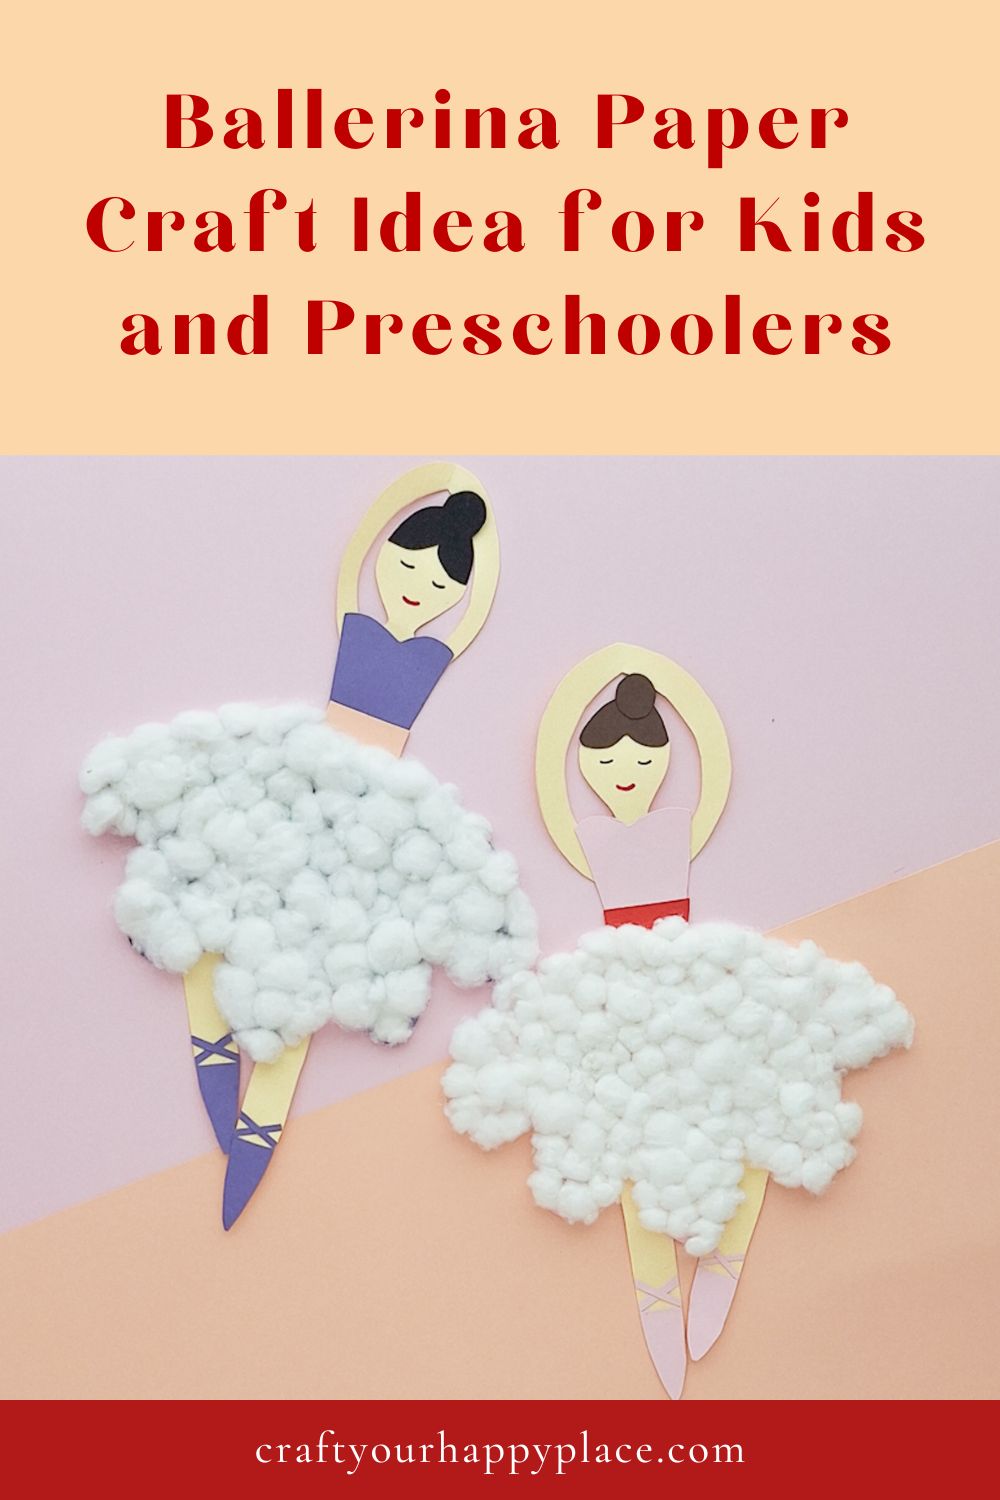

I really love the paper ballerina craft—it’s absolutely adorable and so much fun! My girls, who dream of being ballerinas, also enjoy making it. They get a kick out of crafting their own beautiful ballerinas with lovely tissue paper tutus. It’s the ideal craft for a toddler or any little (aspiring) dancer. This craft is great because it uses materials that are easy to find at home, like paper, cotton, and glue.
It’s a fantastic activity for kids, helping them develop fine motor skills through cutting and gluing. Plus, it’s a hands-on project that keeps them engaged.
Here’s a simple DIY guide, along with a printable, to make it easy to follow along.

Supplies
- Colored craft papers
- Glue
- Scissor
- Pencil
- Red and black markers
- Cotton
How to Make a Ballerina from Craft Paper
Step 1 – Prepare the Shapes
Download the printable template and carefully cut out the different shapes.

Step 2
Place the shapes you just cut onto colored craft paper that matches each one, trace them, and then cut out these new pieces.


Step 3
To make the ballerina’s arms, fold an oval-shaped piece of paper in half and cut out a semicircle at the fold. Unfold it to see the arms.


Step 4
For the tutu, make small cotton balls and glue them onto the fabric area. For the hair, cut a half-circle the same size as the head and cut a smaller piece to form the bangs.

Step 5
Assemble the ballerina by gluing the different shapes together, as shown in the image provided.


Step 6
Draw the eyes and mouth on the ballerina’s face using markers. You can also add other accessories like ribbons or stickers to enhance the appearance.