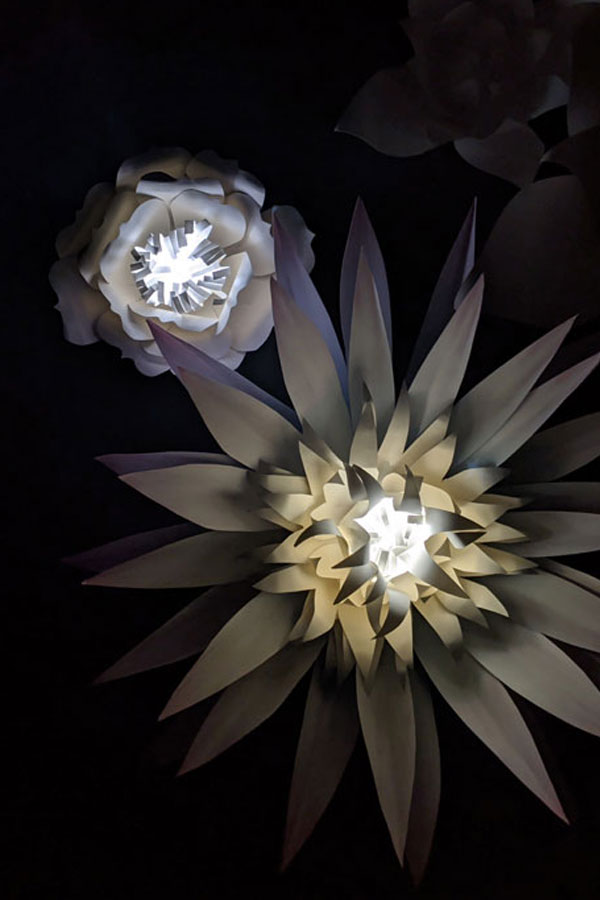

Remember staring up at the sky as a kid, imagining shapes in the clouds? Now, you can bring that same feeling indoors with your own handmade paper clouds. This rain cloud papercraft is a creative project that adds a playful touch to any space.
In this tutorial, we’ll walk you through creating a rain cloud using just a few basic supplies—craft paper, glue, and scissors—no fancy tools or complicated steps, just a relaxing DIY perfect for a rainy afternoon.

Supplies

Instructions
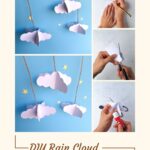
Step 1: Use the template and place the mold on the white cardstock. Trace the shape.

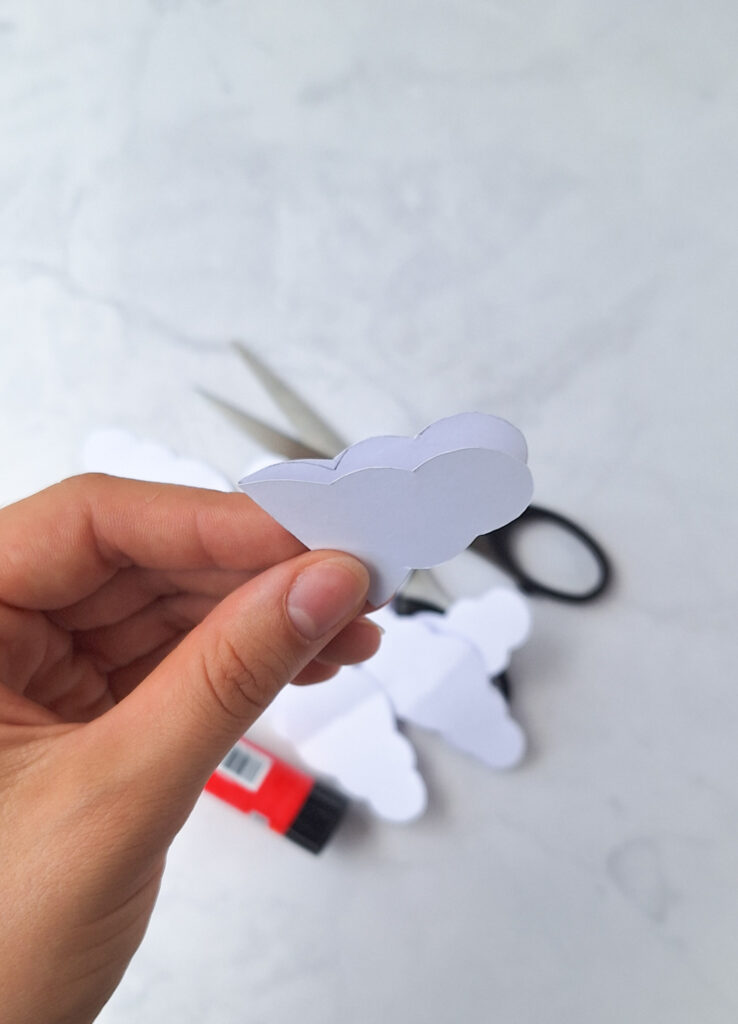
Step 2: Cut out all the traced shapes. You’ll need to cut out five shapes per cloud.

Step 3: Fold each of them in half.
Step 4: Attach the outer halves of the cloud folds until they are fully closed, making sure to join the last two remaining halves together.

And just like that, you’ve created your own paper cloud! It’s such a simple project, but the end result is so fun to look at and display.

This is a great craft to do with kids because it’s easy to follow and gives them plenty of room to be creative. They can make different cloud shapes, add colorful raindrops, or even turn it into a hanging mobile.
It’s also a nice way to spend time together, whether on a rainy afternoon or as part of a weather-themed activity. With just a few supplies and a little imagination, you’ll have a fun handmade decoration in no time!