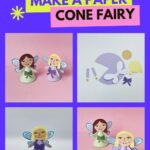
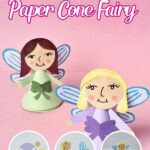

I am always looking for crafts I can create with my little girls that they will love. When we came across the idea of a Paper Cone Fairy, I knew it was the perfect craft. It’s simple, colorful, and just the right mix of hands-on fun and imaginative play.
This DIY is great for kids because it doesn’t require any complex materials or techniques. With just craft paper, glue, and markers, you can bring a little fairy to life. We’ve even provided an easy-to-follow template to make cutting and assembling super easy. It’s a great little craft you can do for playtime or party decor.
Here’s a step-by-step guide to creating your own Paper Cone Fairy!

Supplies & Tools
- Colorful Craft Papers
- Pencil
- Ruler
- Scissors
- Strong Glue or Hot Glue Gun
- Marker Pens
- PDF Template Download

Step by Step Video Tutorial Paper Fairy
Click here to subscribe to my YouTube Channel for more great videos!
DIY Paper Cone Fairy
Step 1: Cut Out the Fairy Patterns
Use the provided PDF templates and colorful craft papers to cut out all the fairy pattern pieces.
Step 2: Assemble the Head and Arms
Glue the hands onto the sleeves of the fairy’s dress. Then, attach the hairpiece to the head.

Step 3: Make the Cone Base
Take the circular craft paper piece, roll it into a cone shape, and glue the edges to secure it.

Step 4: Add Facial Details and Wing Patterns
Use colorful markers to draw the fairy’s face on the head. Then, decorate the wings with a blue marker.

Step 5: Attach the Head
Glue the fairy’s head to the top of the paper cone.

Step 6: Attach the Wings
Glue the wings to the back of the cone to complete the fairy’s structure.
Step 7: Attach the Arms
Glue both arms to the sides of the paper cone.
Step 8: Add the Finishing Touch
Finally, glue the bow to the front of the fairy’s dress to complete the design.


And that’s it.