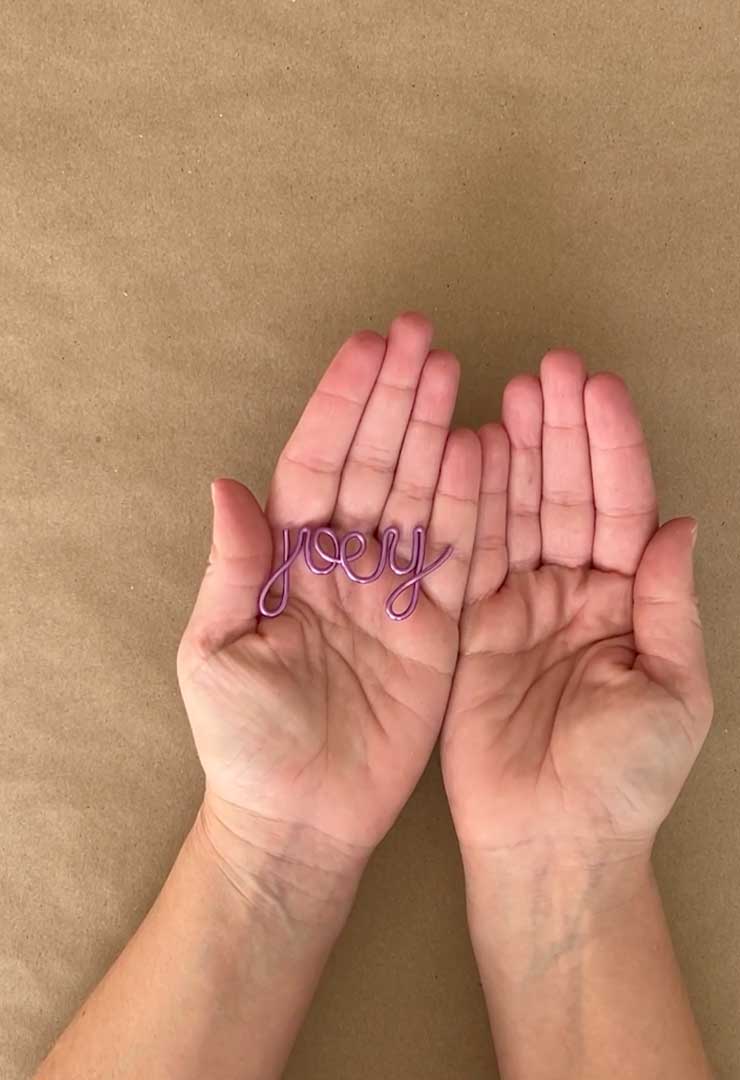


This fun, handmade jewelry might just be what you’ve been looking for. It’s a fun little project to try, especially if you are looking for something creative to do. Plus, you can wear it. It’s a simple piece of wire that we turned into a delicate butterfly pendant.
Follow the steps below to bring your design to life.

Supplies Needed
- 20- or 22-Gauge Wire (choose a sturdy but flexible gauge)
- Round-nose pliers
- Wire Cutter
- Chain (for the pendant)
How to Make a Butterfly Pendant
STEP 1:
Take a piece of wire of random length. Find the center of the wire and bend it to form a loop.

STEP 2:
Create another loop of the same size, positioned right next to the first one. These loops will serve as the lower part of the butterfly, giving it a well-defined shape. Ensure both loops maintain balance in the design.

STEP 3:
Measure about 3/4 inch from the center loops and bend the wire at that point. Shape it into a small leaf-like structure to form the lower. Once the shape is defined, gently bend the wire upward to prepare for the next step in the design.

STEP 4:
Repeat the same process on the other side to create another wing.

STEP 5:
To form the upper wing of the butterfly, bend the wire at a slightly larger point than before.

STEP 6:
Shape the wire into a leaf-like structure to form the upper wing. Then, pass the wire through the lower wing shape to secure it in place. This step helps maintain the butterfly’s structure while ensuring both wings are well-connected.

STEP 7:
Repeat the same process on the other side to form the second wing. Bend the wire to match the shape and size of the first set of wings, ensuring symmetry. Adjust as needed to maintain a balanced and even design.

STEP 8:
Twist the remaining wire in the center. Trim any excess wire using wire cutter. Finally, use round-nose pliers to bend the end into a loop, which will serve as the attachment point for a chain or jump ring.