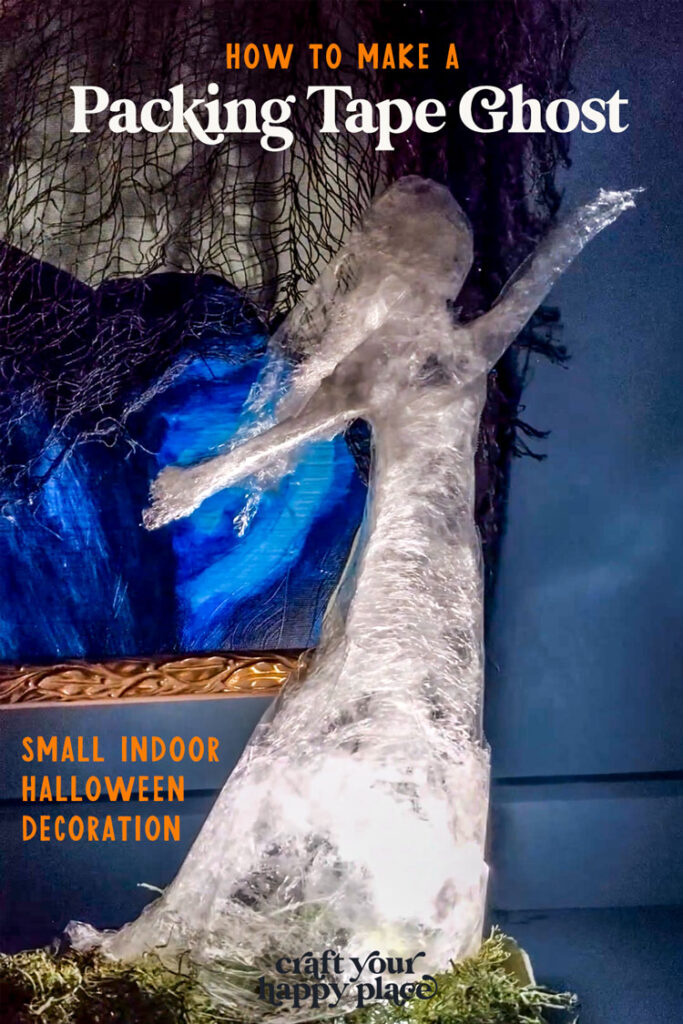
How to Make a Ghost Out of Packing Tape
You may have seen the super impressive, viral versions of the “life” sized packing tape ghosts before. They are SO cool. But slightly intimidating as a DIY project, right?
I don’t care how carefully done; I have no interest in wrapping my head in plastic wrap #badidea
In this post, I’m going to show you how to make a MINI packing tape ghost that’s equally as impressive as the full-sized version but way easier to make. This would be a fun Halloween craft to make with your kids (or as a girl’s night project with some wine and Hocus Pocus 2 playing in the background).
Like it? Pin it!
This post contains some affiliate links for your convenience. Click here to read my full disclosure policy. Thanks for supporting Craft Your Happy Place!
How to Make a Packing Tape Ghost
To make a packing tape ghost, you simply wrap a poseable doll in plastic wrap and cover it with a layer of packing tape. Then, cut a seam up the back of the shell to remove the doll, and tape the shell back together!
Read on for tips on how to make the best-looking ghost.
Materials
- Poseable doll (we used a Barbie, but any kind will do)
- Plastic wrap
- Packing tape
- Puck light (optional)
Step 1: Pose your doll
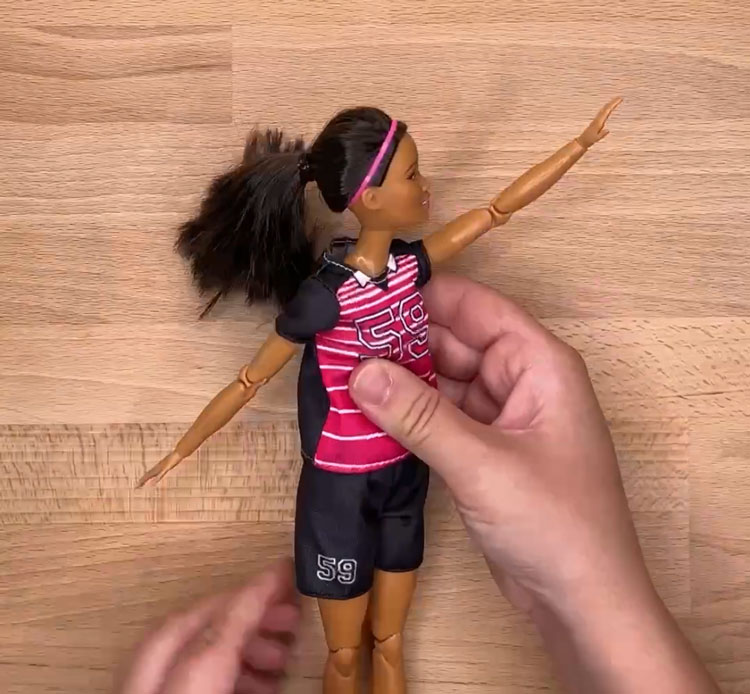
We’ll be using a standard action figure for our base. A barbie doll works well for this, but any poseable doll with articulated joints will work!
Yard sales are great to grab these on the cheap if you don’t happen to have a kid in the house you can borrow one from 😉
Pose your doll in the general position you’d like your final ghost to be in. Arms reaching are always a good choice. Any sort of “mid-action” pose adds to the illusion of a ghost floating in space.
Step 2: Wrap in plastic wrap
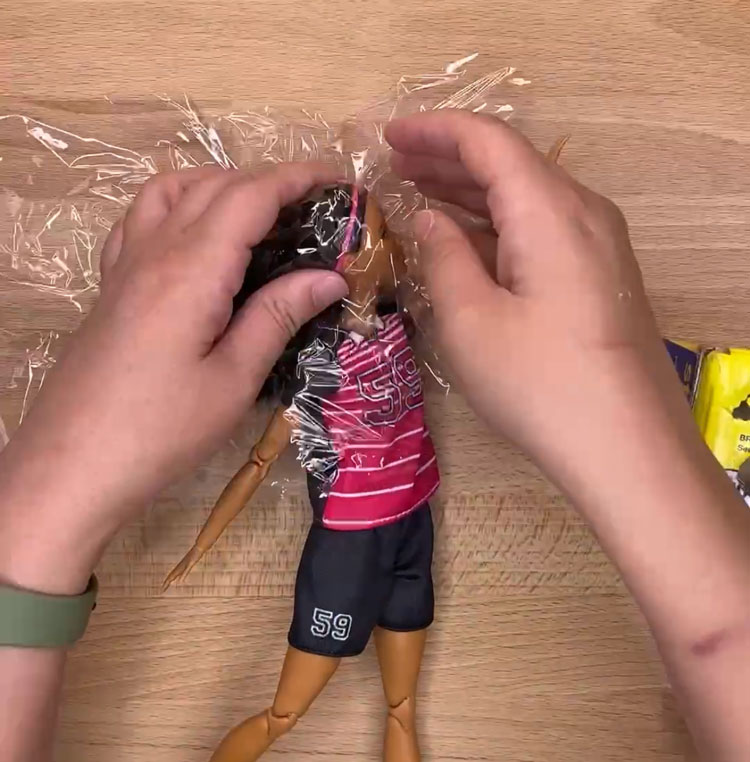
Wrap the posed doll in cling wrap. The details of the doll are quite small, so don’t worry too much about getting it perfect. We’re going for general form rather than an exact replica for this ghost. The hands and hair can just sort of fade into nothing…
Don’t wrap each individual leg. Simple wrap in a loose skirt shape for now, and we’ll add more form in the next step.
Step 3: Wrap in duct tape
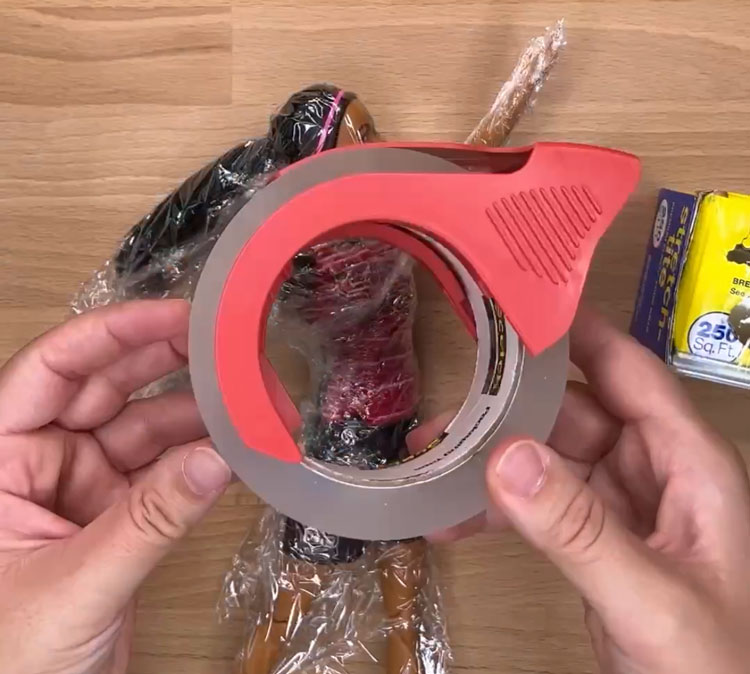
Next, we’re going to wrap a layer of packing tape around our plastic-covered doll. This layer adds structure and gleam to our little ghost figure.
Think about how the skirt might fold as you shape the tape. Build the skirt out and back as if it’s flowing in the breeze. Same with the hair.
Continue to add extra plastic wrap under the skirt as you expand out. The reasons for this are to:
- prevent the tape from sticking to anything it shouldn’t and,
- add a cool ghostly glimmer to the inside of the structure.
Continue building your figure with the tape until you’re happy with the overall form.
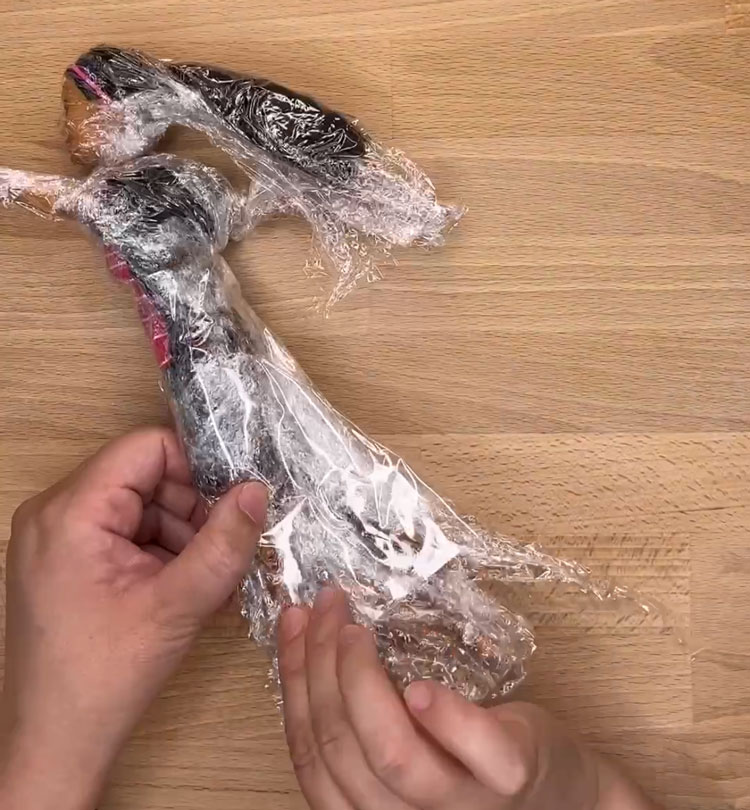
Step 4: Remove the shell
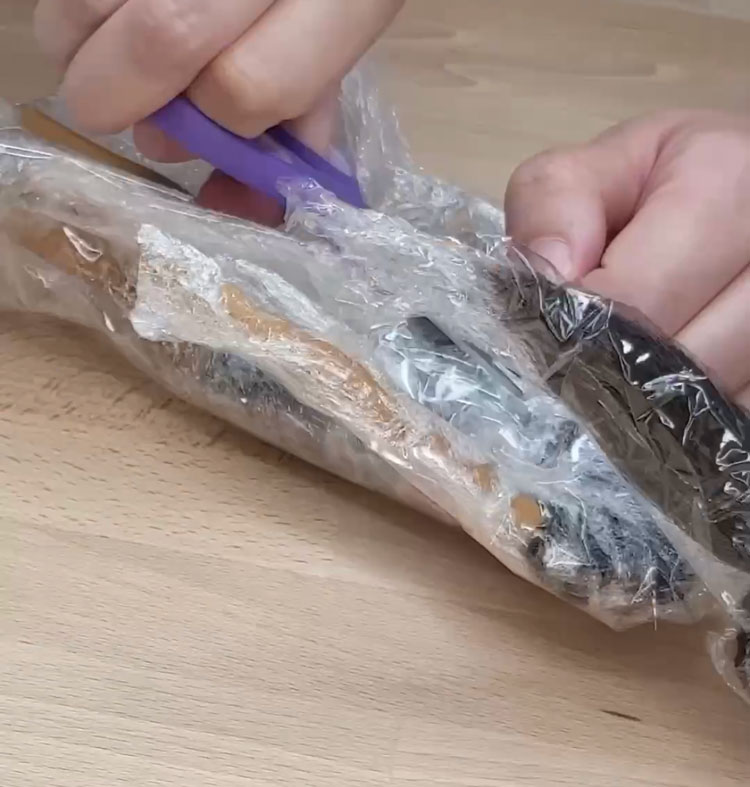
Using a small pair of scissors, carefully cut a seam up the back of the figure. Take care to cut through all of the layers, then remove the shell from the doll.
This may take some finagling but remember, the doll’s limbs can be bent and manipulated! Just keep readjusting the arms until it finally slides out.
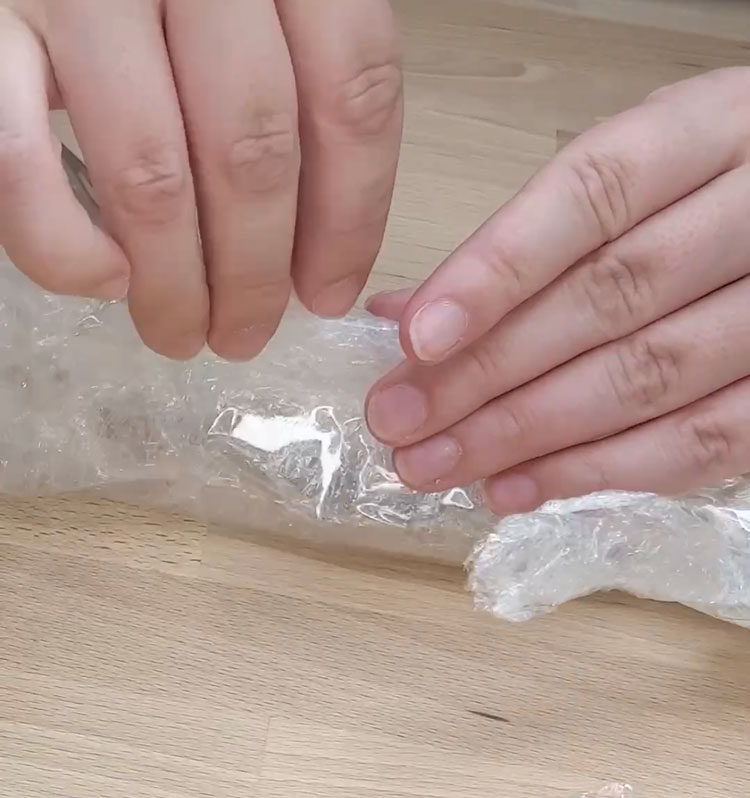
Neatly tape the back seam together with more packing tape. Trip up the messy bits and even out the bottom if necessary to allow your ghostly figure to stand. Er, float?
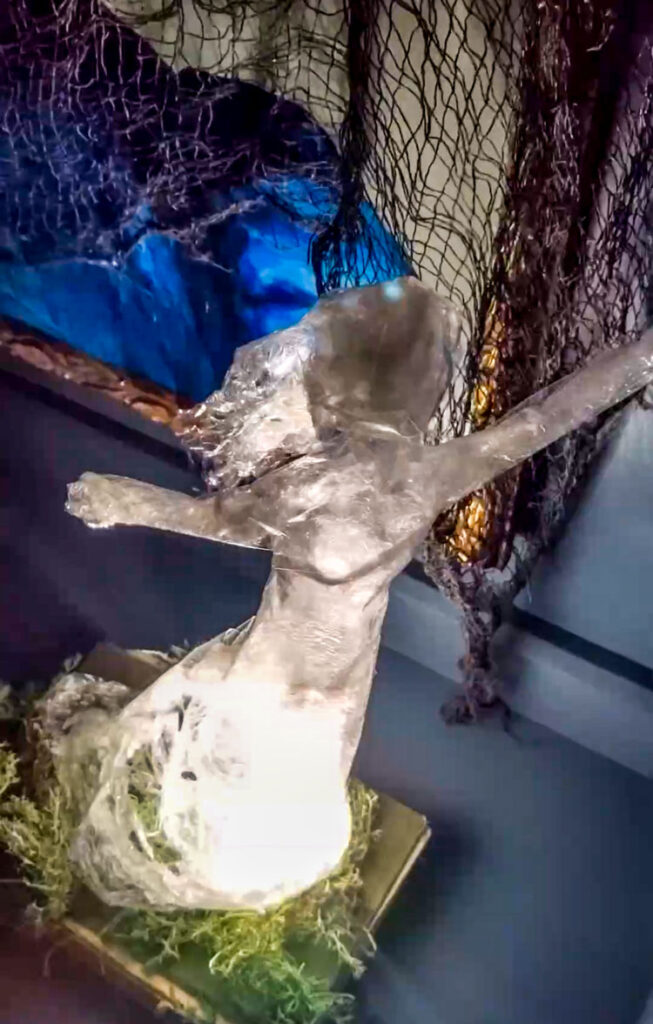
I just love how she looks in my bookcase.

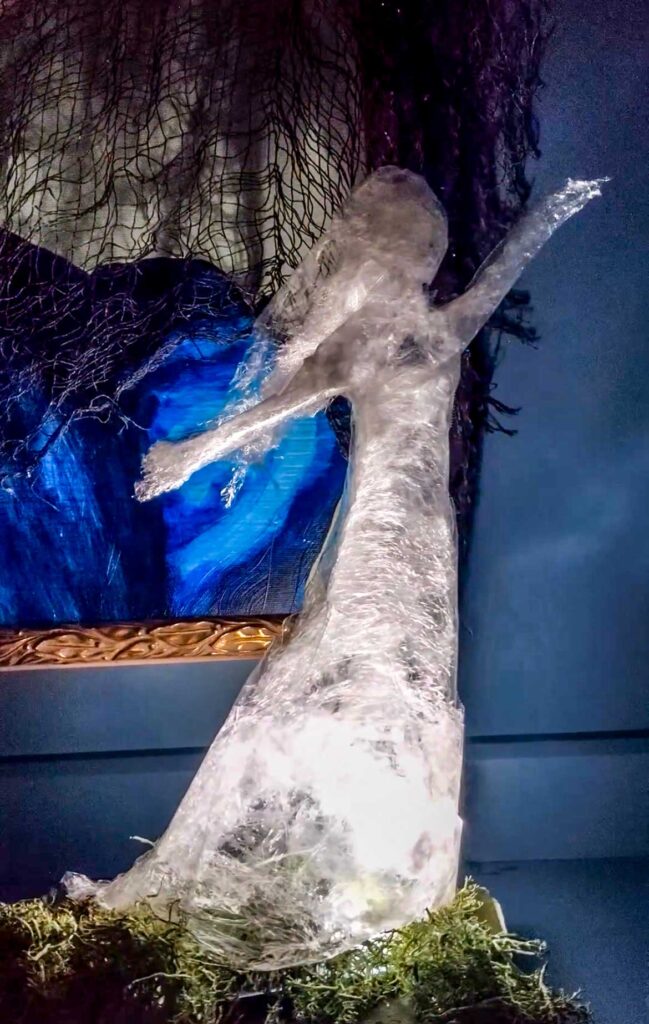
Step 5: Add an uplight (optional)
If you’re after more glow and magic, position your packing tape ghost over a puck light. This will light her from below and give her an ethereal look.
I placed my ghost on top of an old book and surrounded the base with reindeer moss to disguise the puck light.
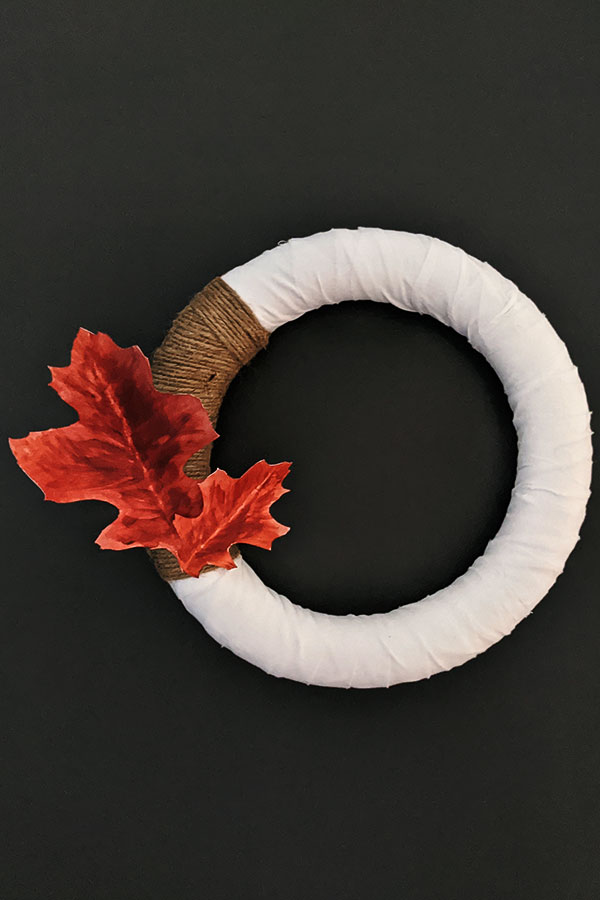
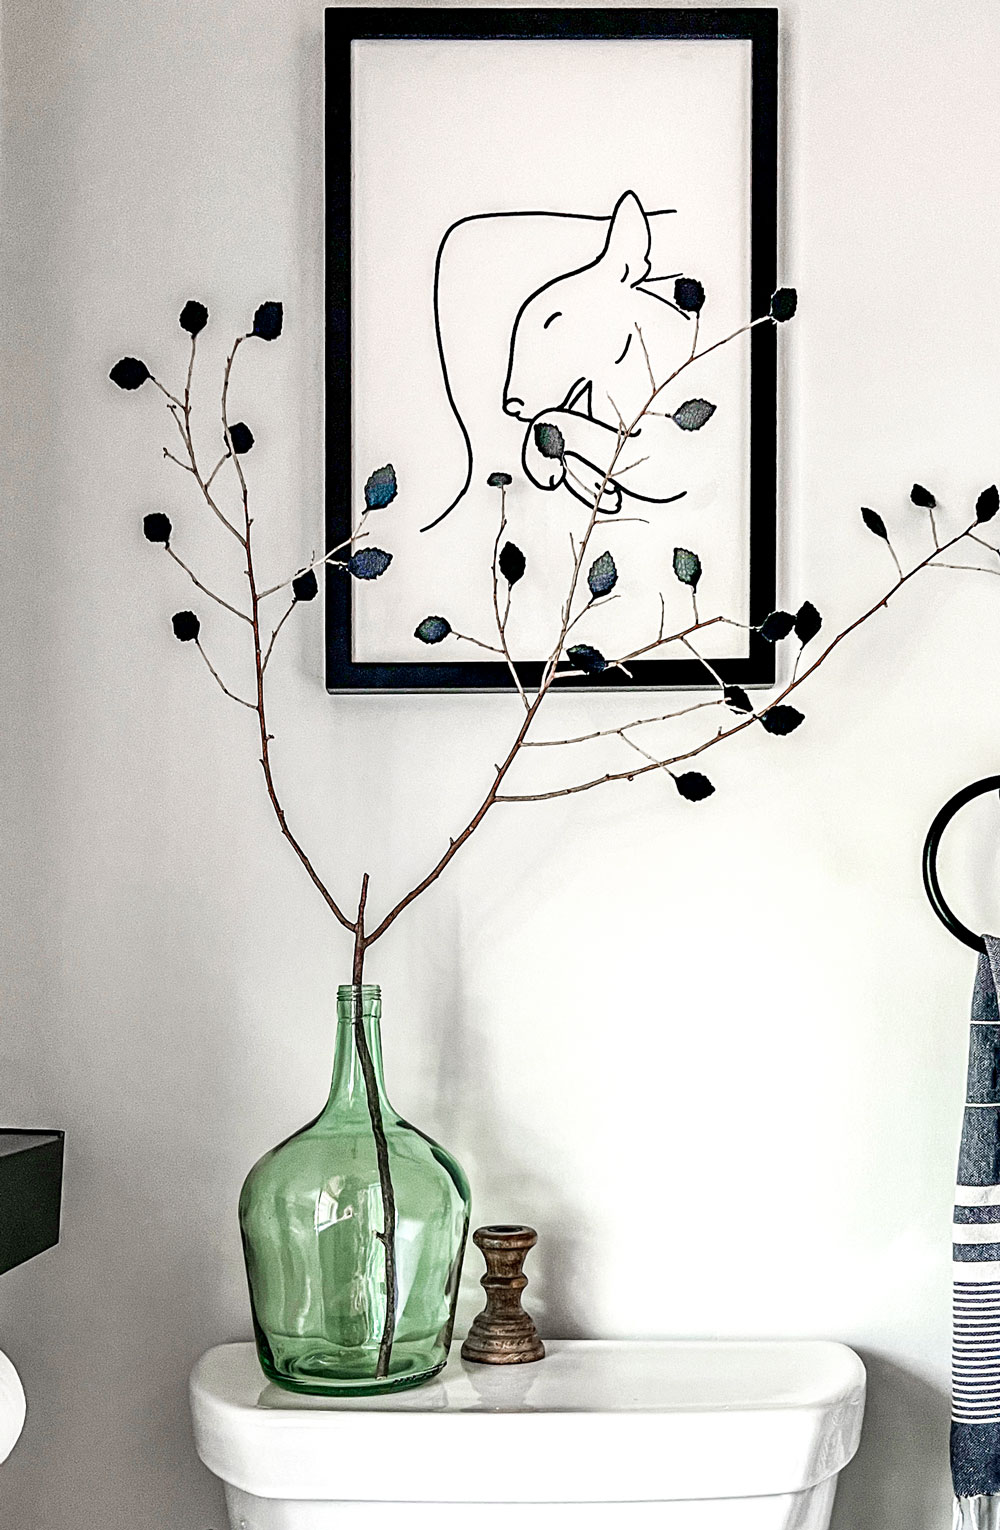
I hope you enjoyed this fun Halloween craft, and if you’re looking for more, you should check out this black leaf branch project next!