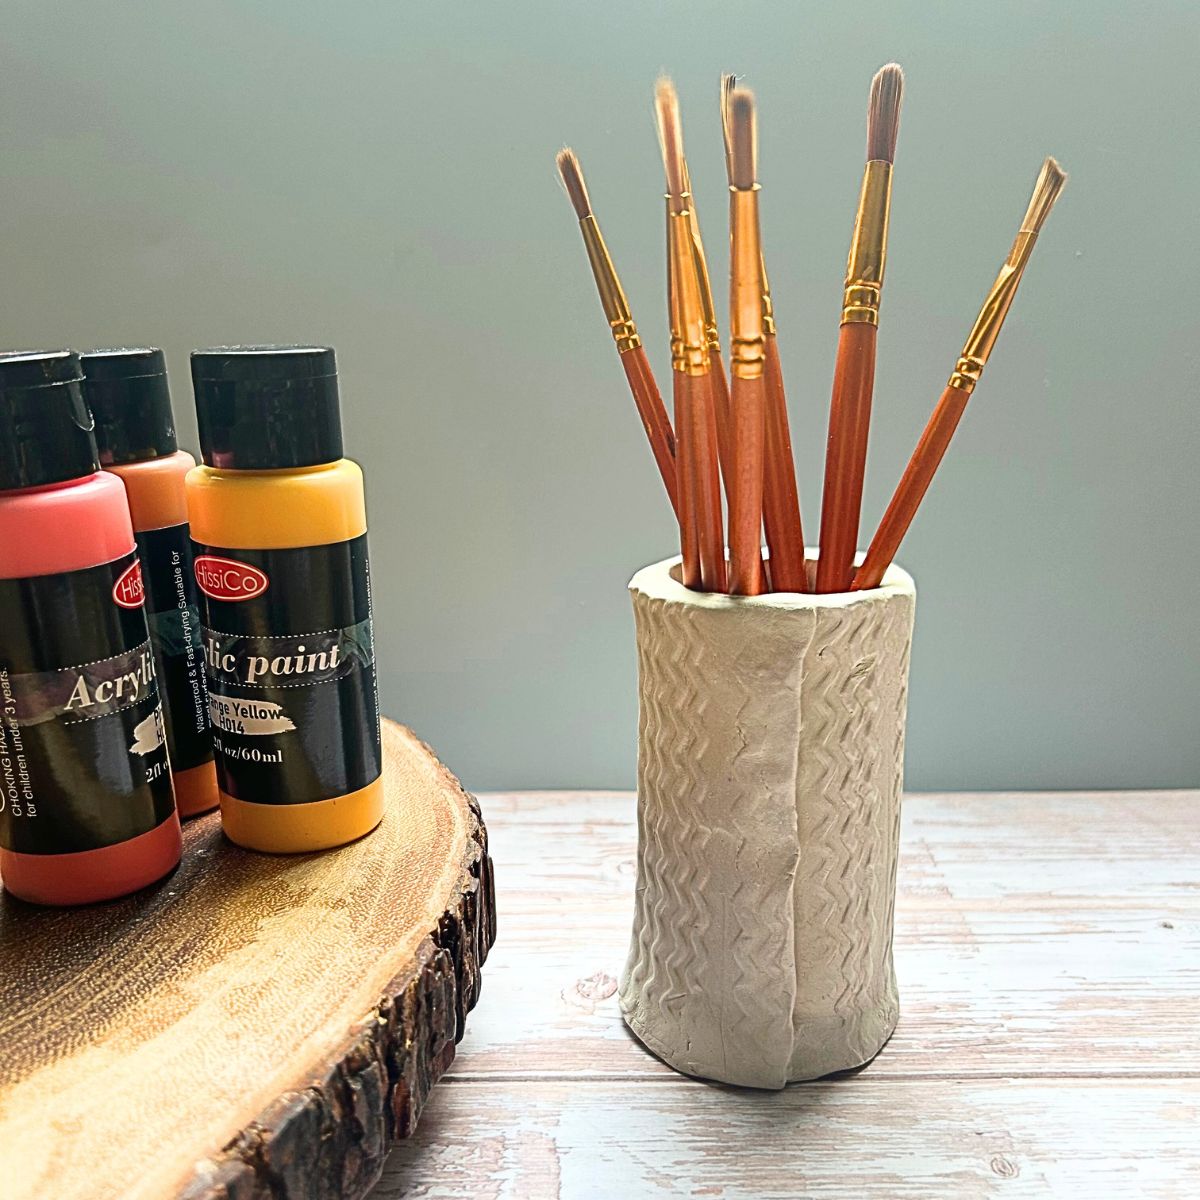
If you’ve been following along, you already know how much I enjoy creating with air-dry clay—it’s one of my favorite craft materials! Over time, I’ve made everything from Air Dry Clay Faux Plant Pot, clay feather tags, an incense holder, and a pencil holder.
Working with air-dry clay has become a relaxing ritual for me—it’s both playful and therapeutic. There’s something calming about molding and smoothing the clay, then watching it transform as it dries into a functional piece of art.
This time, I decided to make something that’s not only pretty but practical—a jewelry holder. It’s the perfect way to keep favorite pieces organized while adding a handmade touch to your dresser or vanity.

Materials
- Air dry clay – you can use any brand, but we like using Crayola.
- Cutter
- Roller / Rolling pin
- Paint
- Paint brush
- Water
- Sponge
- Acrylic paint
- paintbrushes

How to Make a Clay Jewelry Tray
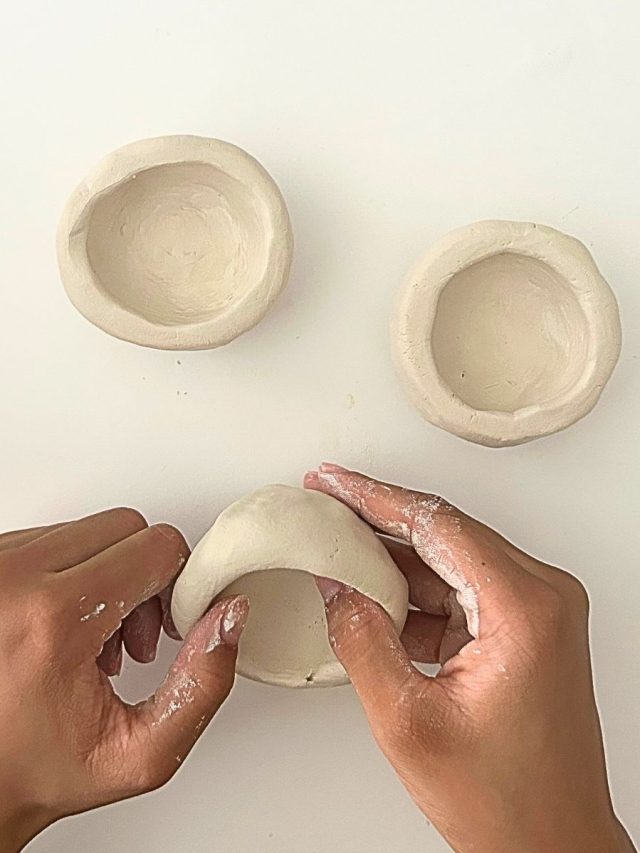
Step 1: Prepare a piece of clay.

Make sure to dampen your hands and clay so that it will not dry out as you mold it.
Step 2: Roll out the clay and cut a circle.

Step 3: Smooth out the clay using a sponge.

Step 4: Let the Air Dry Clay Dry

Leave your clay for about 24-48 hrs to completely dry.
Step 5: Decorate the Clay

When the clay is dry, you may start decorating it. Start by painting the clay with white as the base coat. Let it briefly dry, and then paint an arc using three colors.

And that’s it.