


I love how air-dry clay makes it easy to turn a simple idea into something beautiful and useful at the same time. A handmade candle holder instantly adds warmth and personality to a space. It looks adorable clustered together on a table or sitting quietly on a nightstand.

This project is the kind of thing you can do on a slow afternoon, maybe with a cup of tea nearby and some good music playing. It’s fun to make on your own, but it’s just as lovely to do with a friend or a child who likes to get their hands messy with clay. You can shape it any way you want—rounded, abstract, or with a quirky little handle—and paint it to fit your style.
Materials
- Air-dry clay
- Cutter or craft knife
- Rolling pin or roller
- Paint (green or your color of choice)
- Paintbrush
- Water
- Sponge
- Candle

Homemade Clay Candle Stick Holder
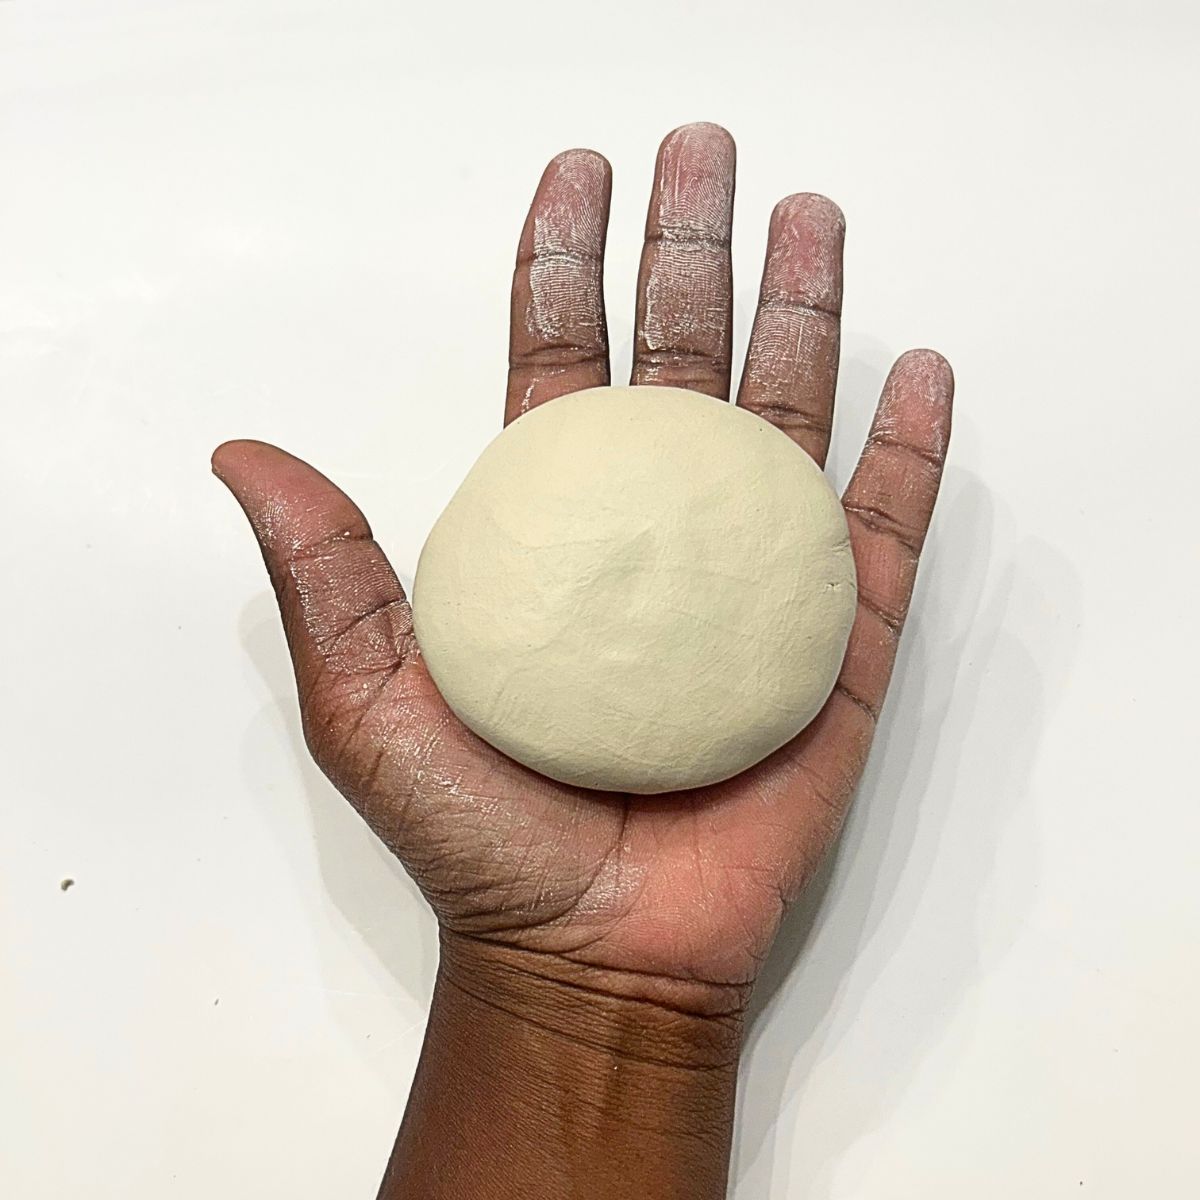
Prepare the clay.
Start with a piece of air-dry clay and lightly dampen your hands and the clay itself to keep it soft and workable.
Shape the base.
Roll out the clay until it’s about ¼ inch thick, then cut out a rounded or ghost-like shape for the candle holder base.

Form the handle.
Take another small piece of clay, roll it into a coil or curved strip, and attach it to one side of the base to create a handle.
Be sure to score (lightly scratch) both surfaces where they’ll join, then press them together and smooth out the seam with a bit of water.


Refine the surface.
Use a damp sponge to gently smooth the clay and remove any fingerprints or rough edges.
Let it dry completely.
Let the clay dry for 24–48 hours, depending on thickness and humidity. Make sure it’s fully hardened before moving on.
Paint and decorate.
Once dry, paint your candle holder in green or any color you like. You can keep it simple or add details for extra character. Allow the paint to dry fully.

Add your candle.
Place your candlestick on the holder, and enjoy!