

Looking for a unique way to display your favorite dried or faux flowers and plants? This DIY air-dry clay pot is a simple project that adds a handmade touch to your home decor.
Perfect for your dining table, shelf, or any cozy corner, this vase is designed specifically for non-watered blooms, making it both decorative and functional.
And if you’ve been following along, you already know how much we love working with air-dry clay—it’s so versatile! In case you missed it, we’ve made clay feather tags, an incense holder, and a pencil holder.
In this tutorial, we’ll explore a fun and approachable technique for shaping clay, even if you’re new to working with it. In the end, you’ll have a beautiful pot that looks like a high-end ceramic piece but is surprisingly easy to make.

Supplies List
How to Make Air Dry Clay Pot
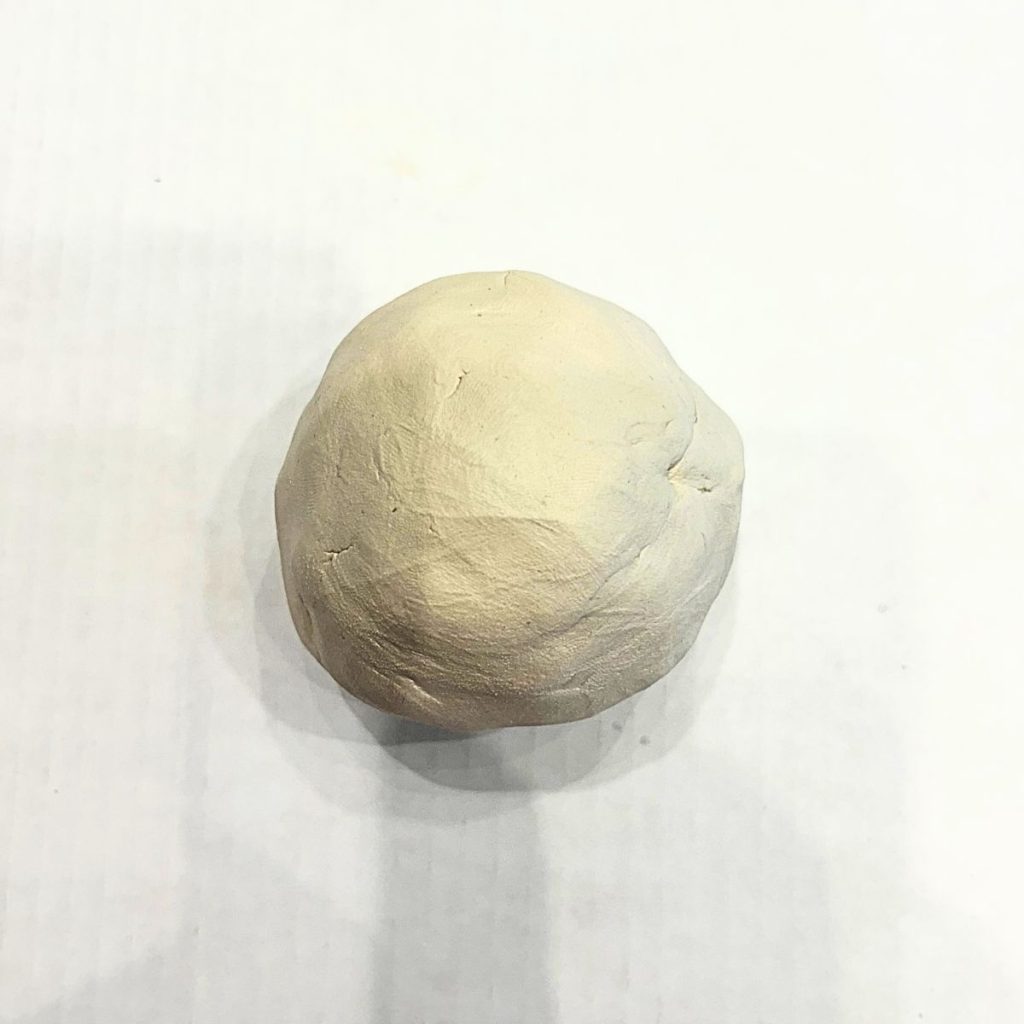
Step 1: Prep the Clay
Knead the clay thoroughly. Shape each piece into a ball.
Step 2: Mold the Clay
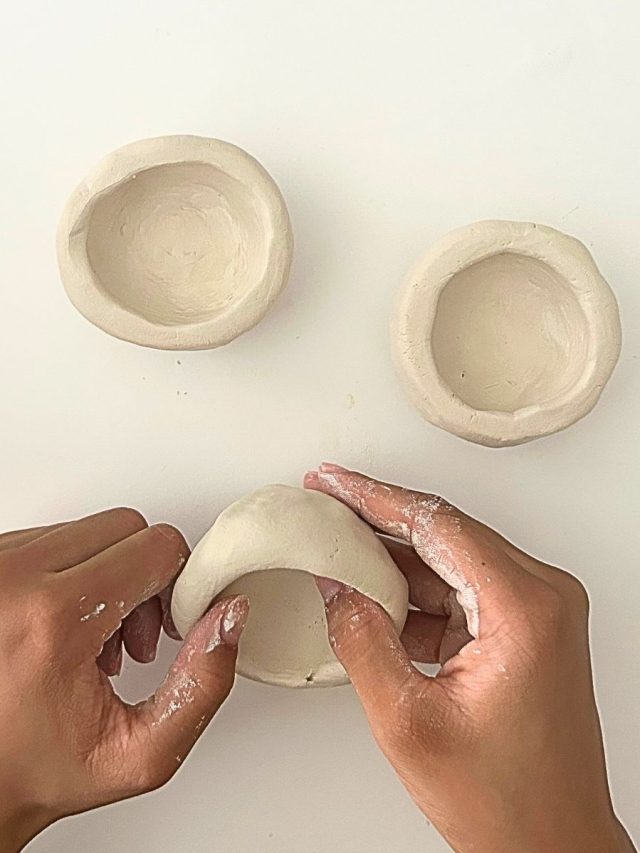
Start Molding the clay using your hands into the shape of a small vase.

Step 3: Shape the Vase
Squeeze the vase gently, pushing the walls inward to create an abstract shape.


Step 4: Smooth the Edges
Use your finger or a sponge to smooth out the edges of the pot. Set the vase aside to dry for about 48-72 hours.

Once it dries, use fine sandpaper to continue smoothing the sides and edges.
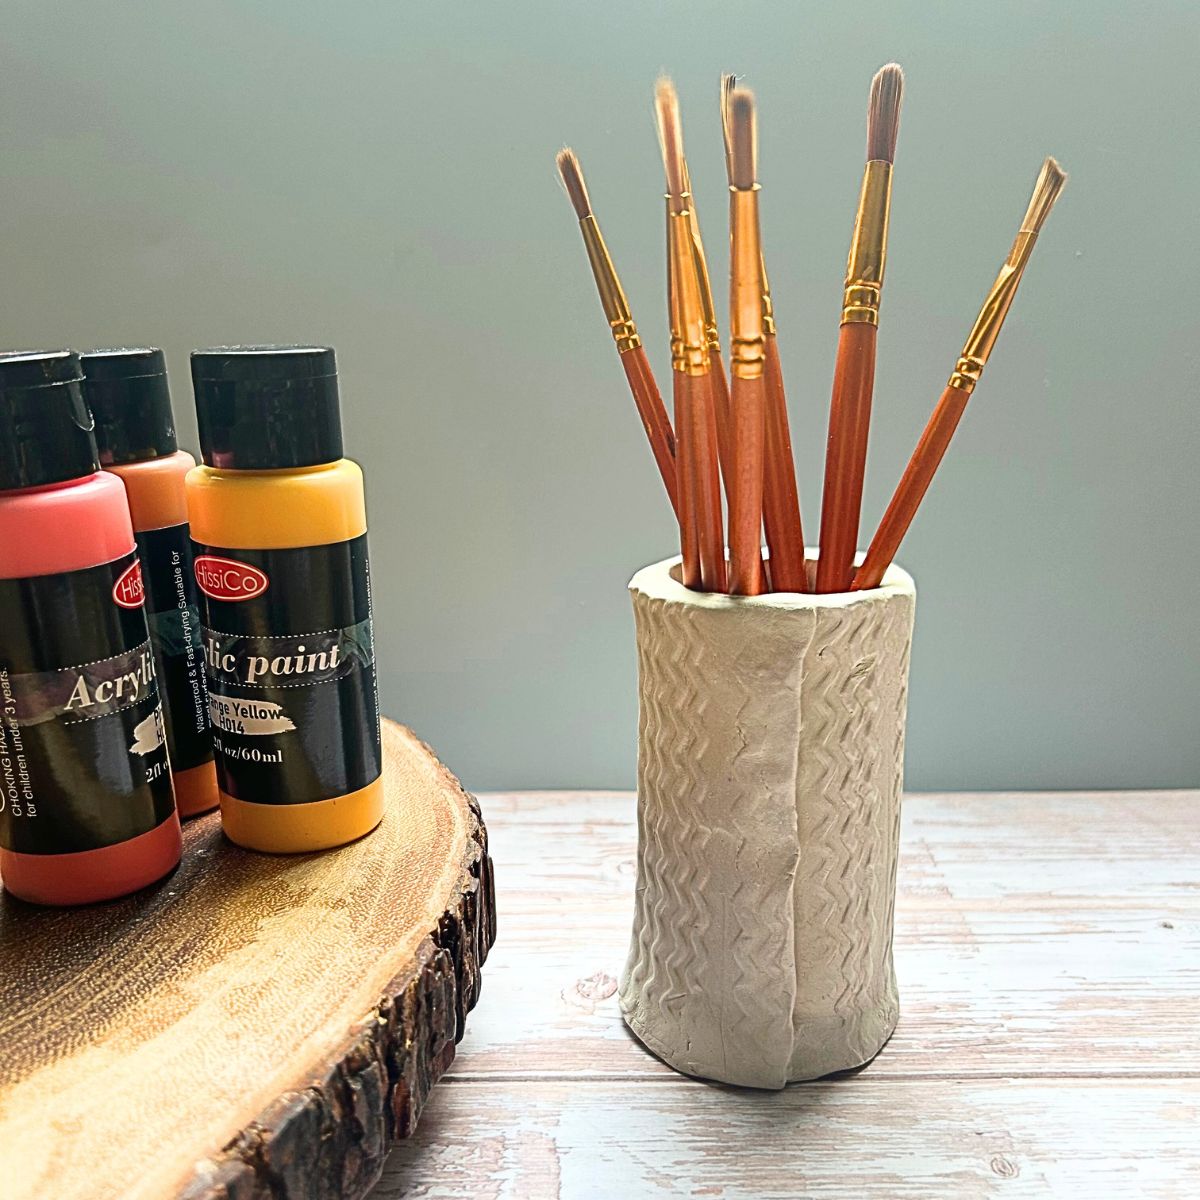
Step 5: Paint
Paint your vase as desired. We painted ours in white.

Step: Seal
Once the paint dries, seal the vase with Mod Podge Gloss Sealer.

Enjoy your beautifully crafted faux plant pot.