DIY Mini Wall Shelf: No Nails Required!
It’s tough when you want to decorate your walls but aren’t allowed to use nails. Or maybe you can’t because of the material. Or maybe you just don’t want to.
Not to worry, I have the perfect project for you!
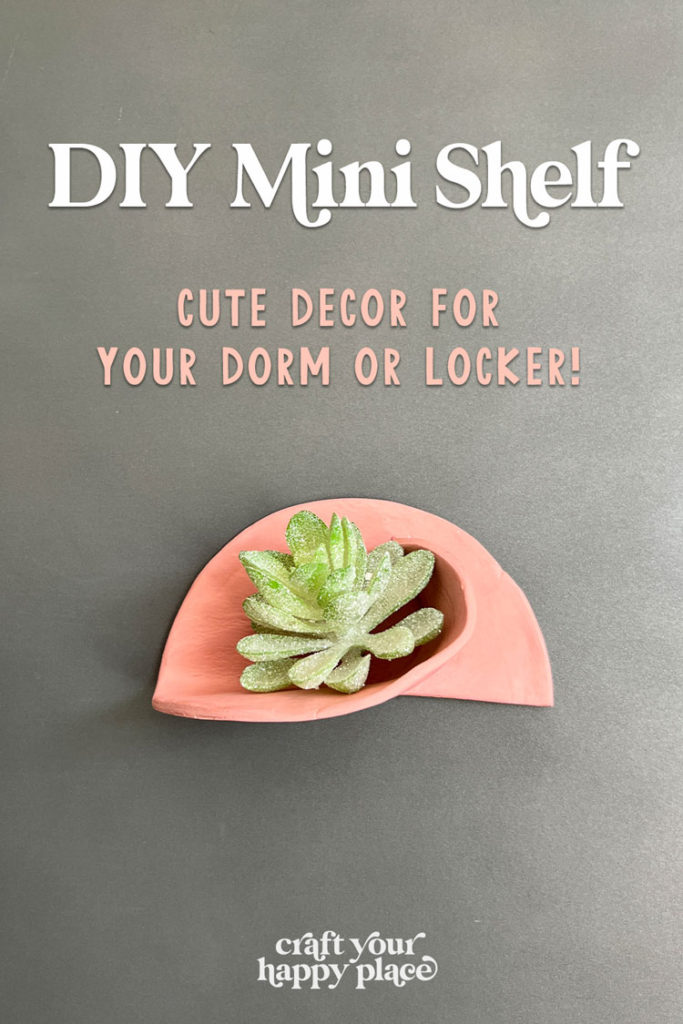
In this post, I’m going to show you how to make a mini wall shelf out of air-dry clay that can be hung without nails.
Like it? Pin it!
This post contains some affiliate links for your convenience. Click here to read my full disclosure policy. Thanks for supporting Craft Your Happy Place!
How to Decorate Your Walls Without Using Nails
People often wonder, “How can I decorate my walls without using nails?” It’s actually pretty easy! Any light- to medium-weight decor piece can be hung on a wall without using nails or screws. Command Picture Hanging strips are often the best choice as they come in many different strengths, and you can use more than one set to secure a larger piece.
Alternatively, you can lean items such as large mirrors and paintings against the wall. Shelves can be a little thicker, though, because you need to support the weight of the shelf and anything else you place on it. That’s how I came up with the idea for this mini-shelf!
This little cutie has a unique boho shape that acts as decor all on its own, and it’s small enough that the shelf and anything you place on it can be supported without using screws or nails. It’s the perfect piece to decorate a dorm room!
Bonus? You can even add magnets to use to decorate your locker!
Materials
- Air dry clay (I used the terracotta version)
- Clay tools for cutting (optional, but useful)
- Roller
- Emery board or sanding sponge
- Command Picture Hanging Strips OR self-adhesive magnets
Step 1: Prep your clay
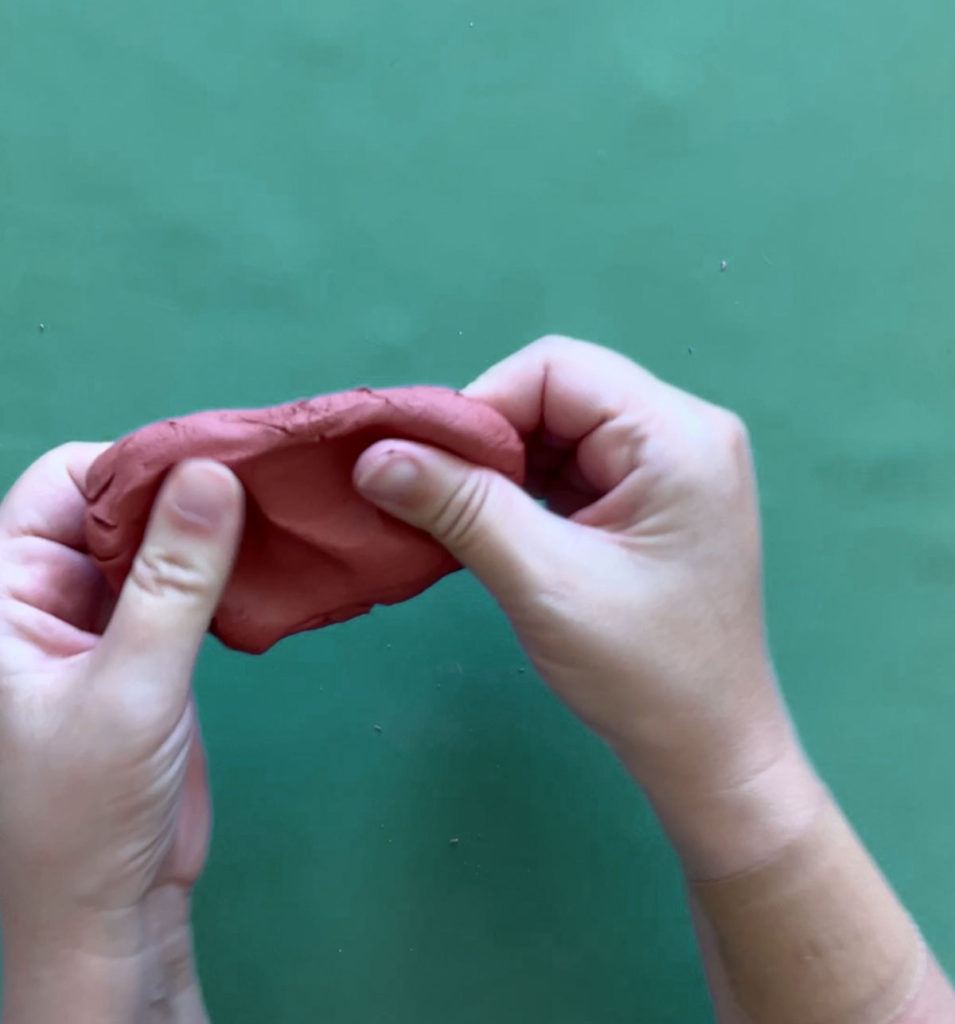
Take a 3-inch piece of air-dry clay and work it in your hands until it becomes nice and pliable. What do I mean by working it? Basically, kneading and squishing it until it’s easy to mold.
Do this for about a minute.
Step 2: Roll out your clay
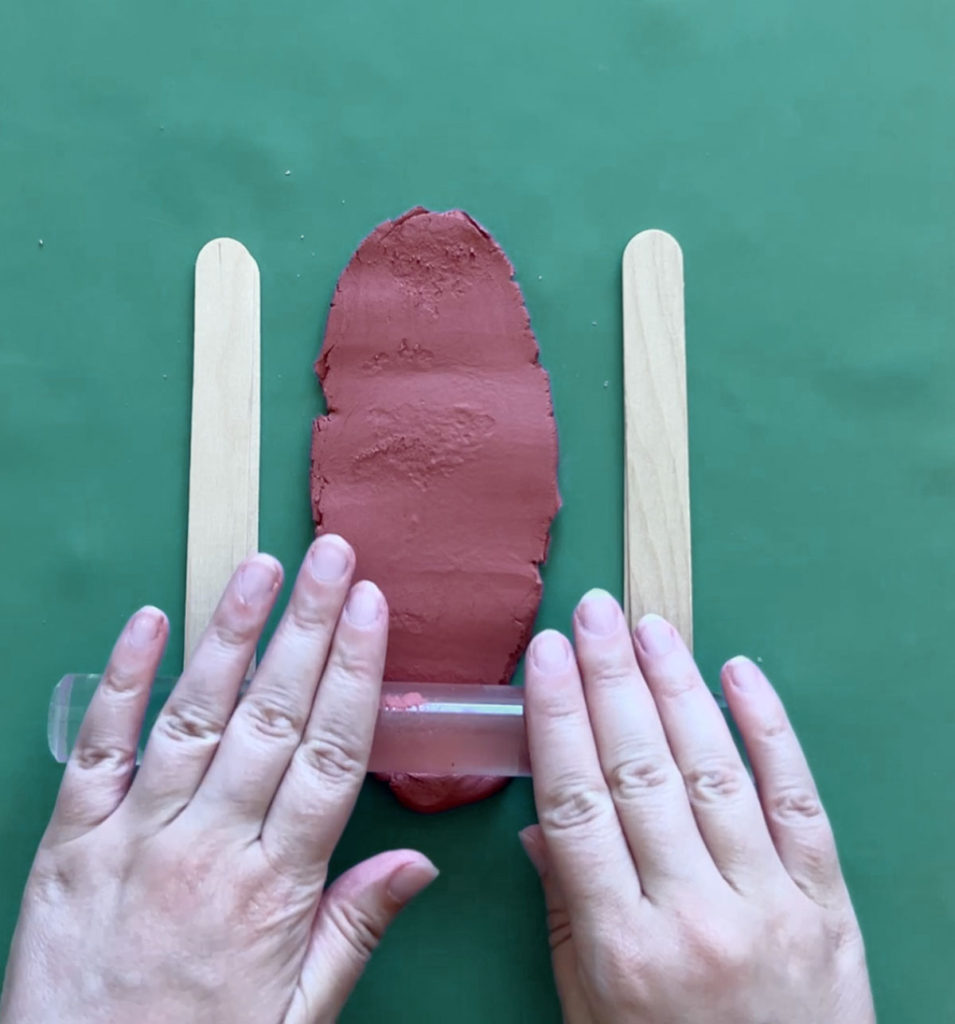
Roll out your air-dry clay to about a 1/4″ thickness. You can stack popsicle sticks or chopsticks next to the clay to help you roll an even thickness, but I found they just ended up getting in the way!
Step 3: Cut a circle out
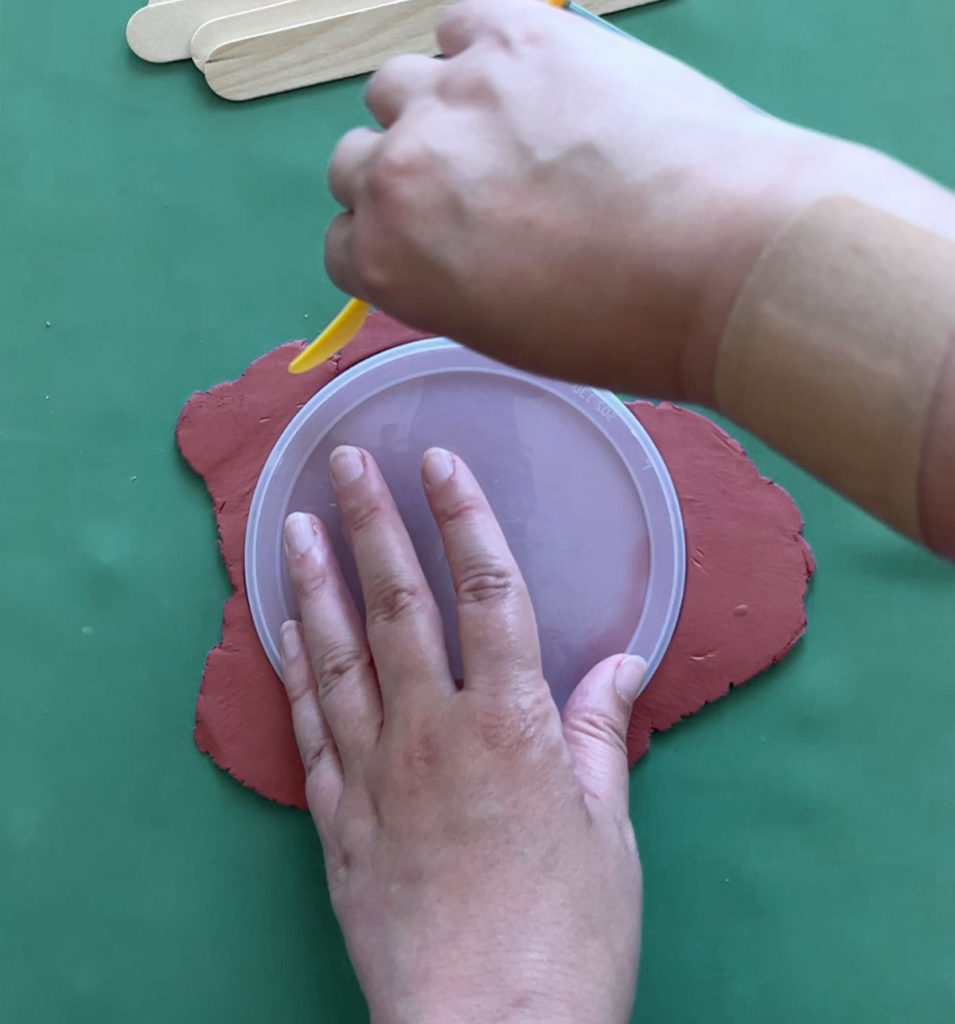
Next, you want to cut a 5″ circle out of your rolled clay. Try to get this as perfect as possible for the best results.
I used the lid from a large oatmeal container as a guide, and it worked like a charm!
Using a bit of water on your fingertip, smooth out any imperfections or oatmeal lid impressions to create smooth surface.
Step 4: Shape your clay shelf
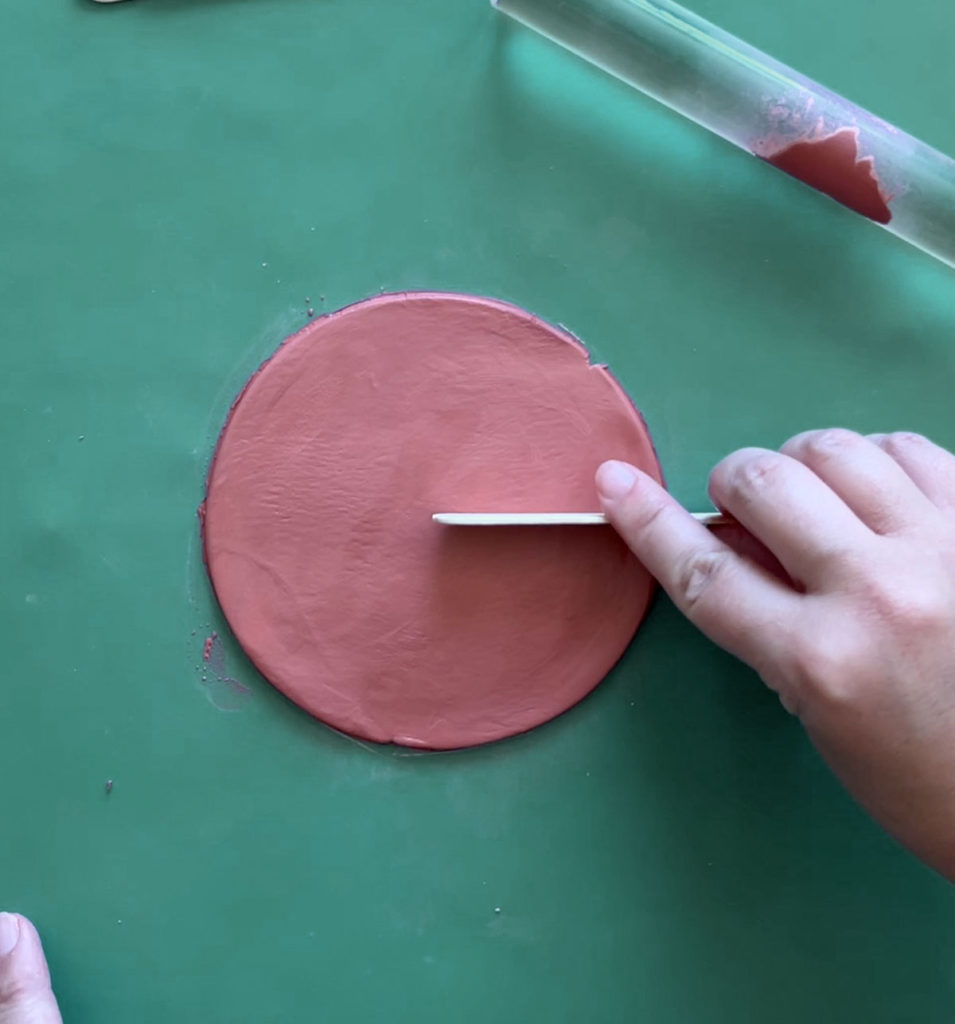
Cut a line from the center point of the clay circle out to the edge.
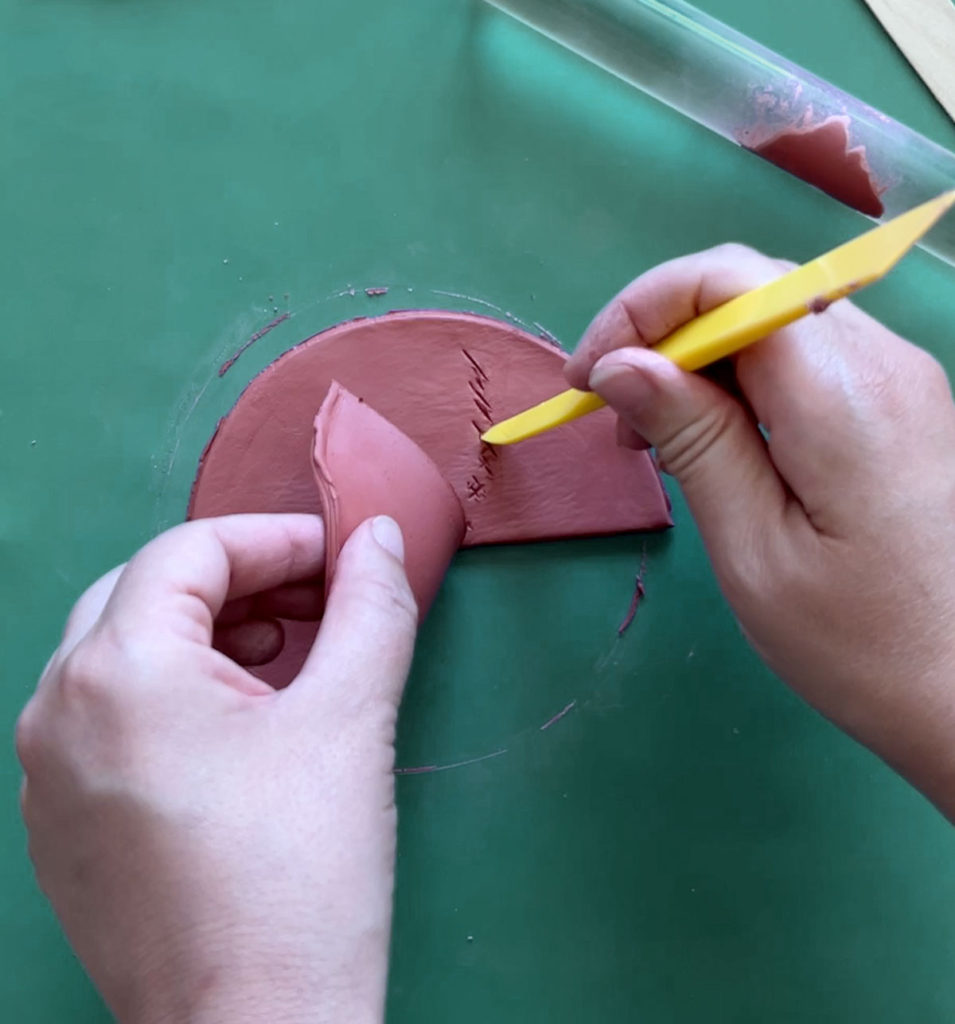
Score the clay with little hatch marks in the spot you want to attach the curled edge. Be sure to score both the shelf’s main body and the curl’s edge. Wet both hatched areas with your fingertip and some water.
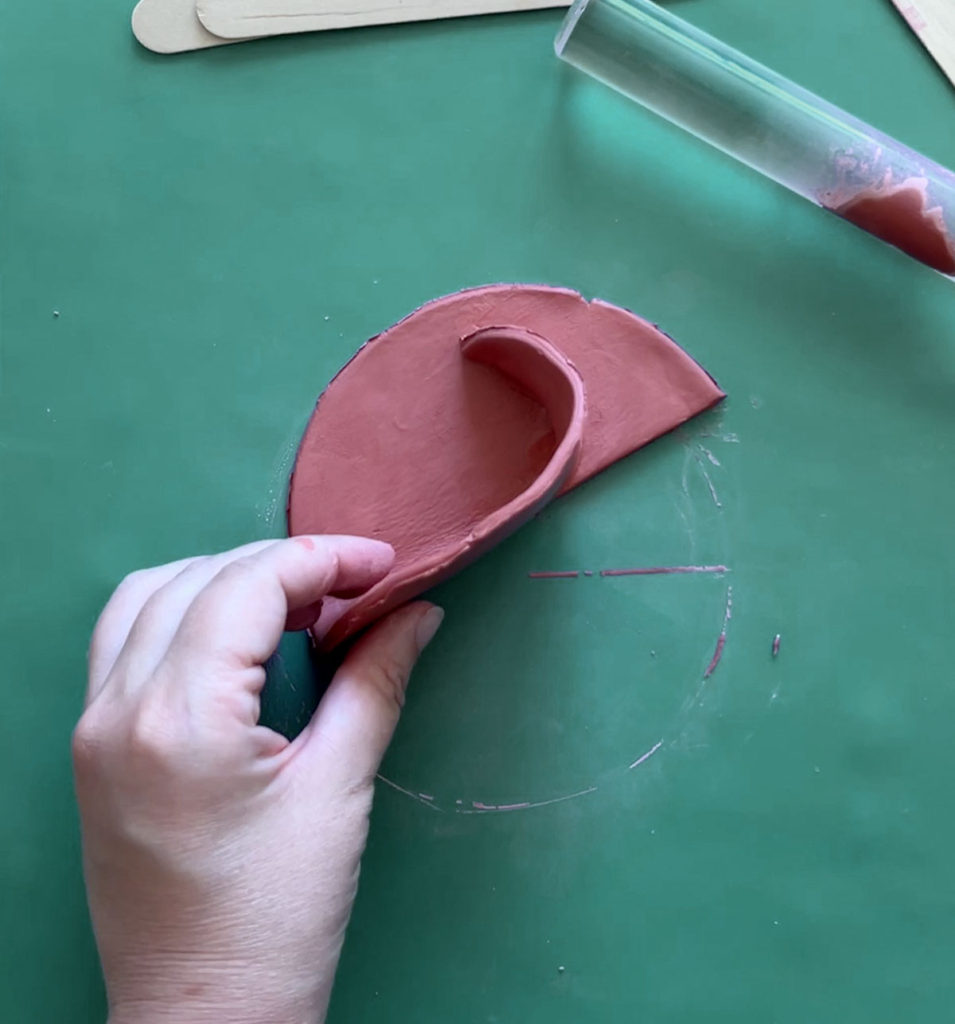
Curl the cut edge up into a wave shape and gently press the hatched areas together to attach. You may find that wiggling the clay around a bit gets the edges to stick together a little better.
Support the base with something heavy and straight like a bookend or a stack of coasters if the vertical edge is starting to topple.
Allow the clay shelf to dry overnight.
Step 5: Sand the edges
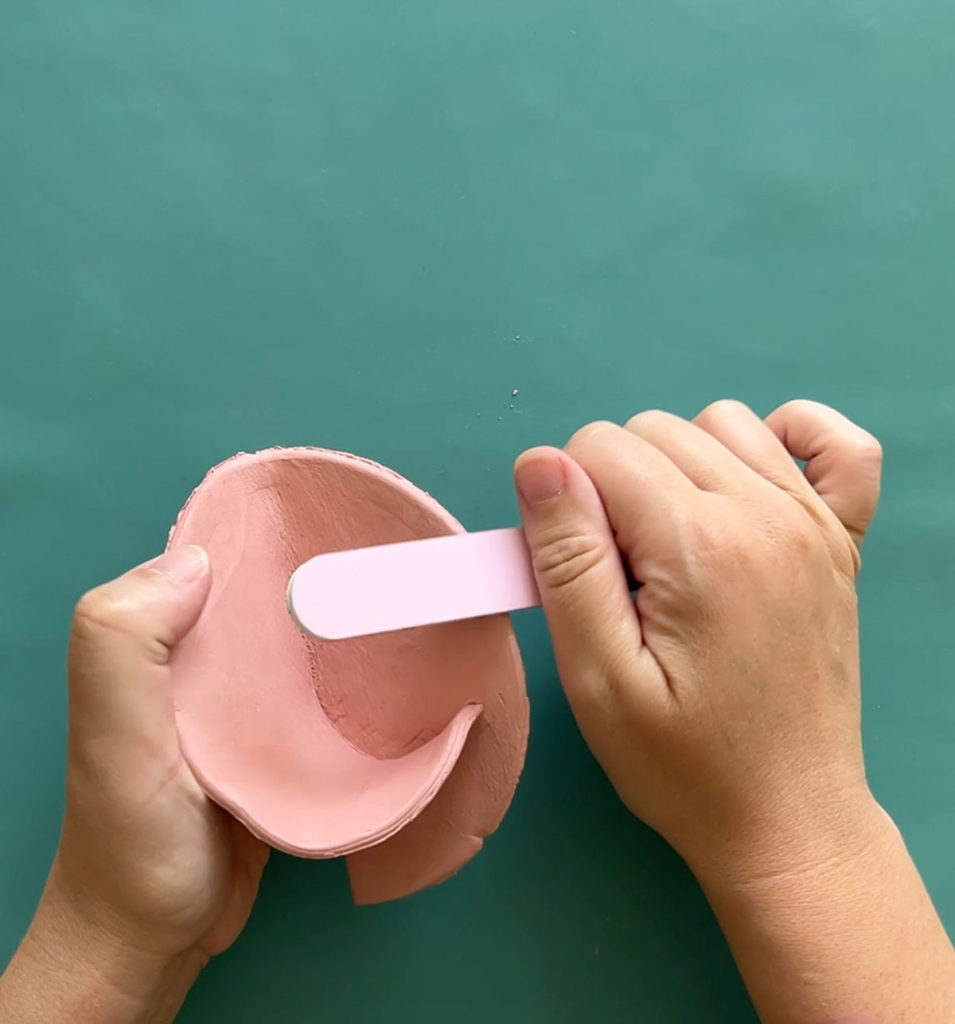
The edges of your air-dry clay shelf are likely a bit rough, but that’s easy to take care of! Using an emery board (nail file) or a sanding sponge, gently sand down all the edges until smooth.
Step 6: Attach the hanger
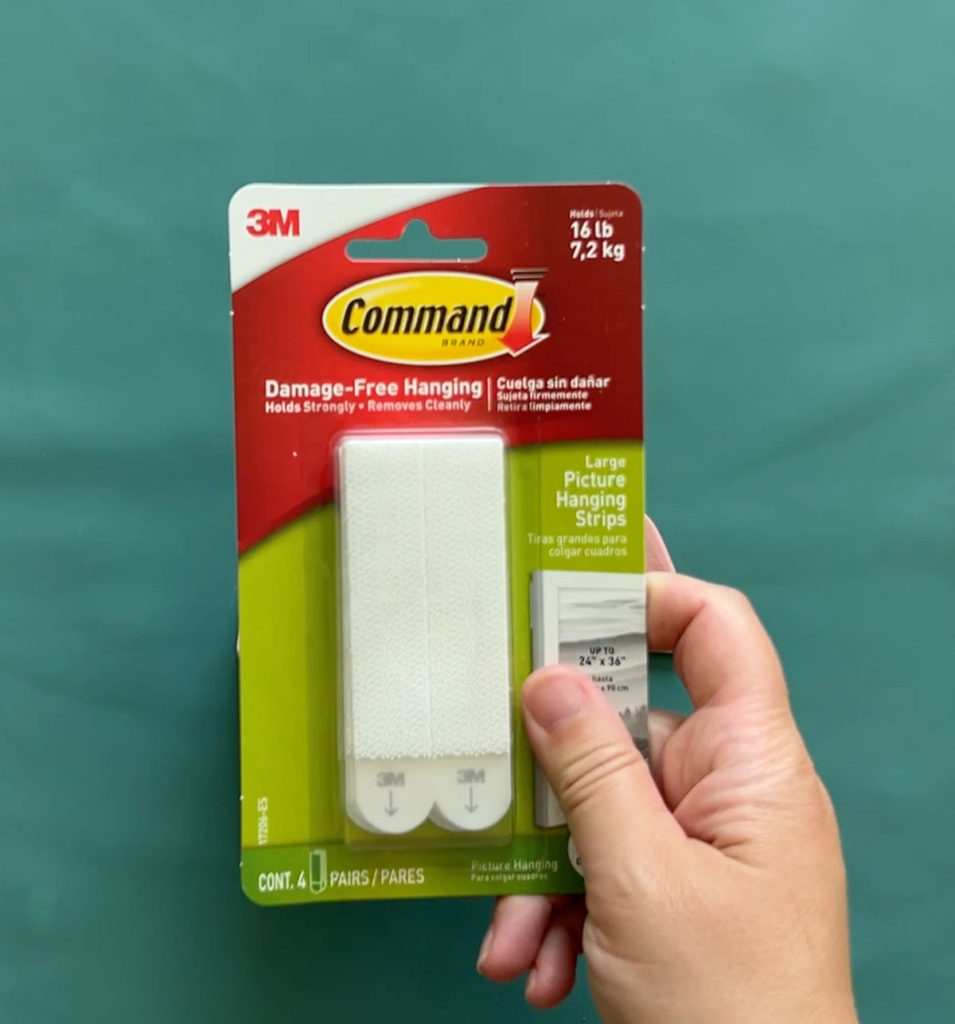
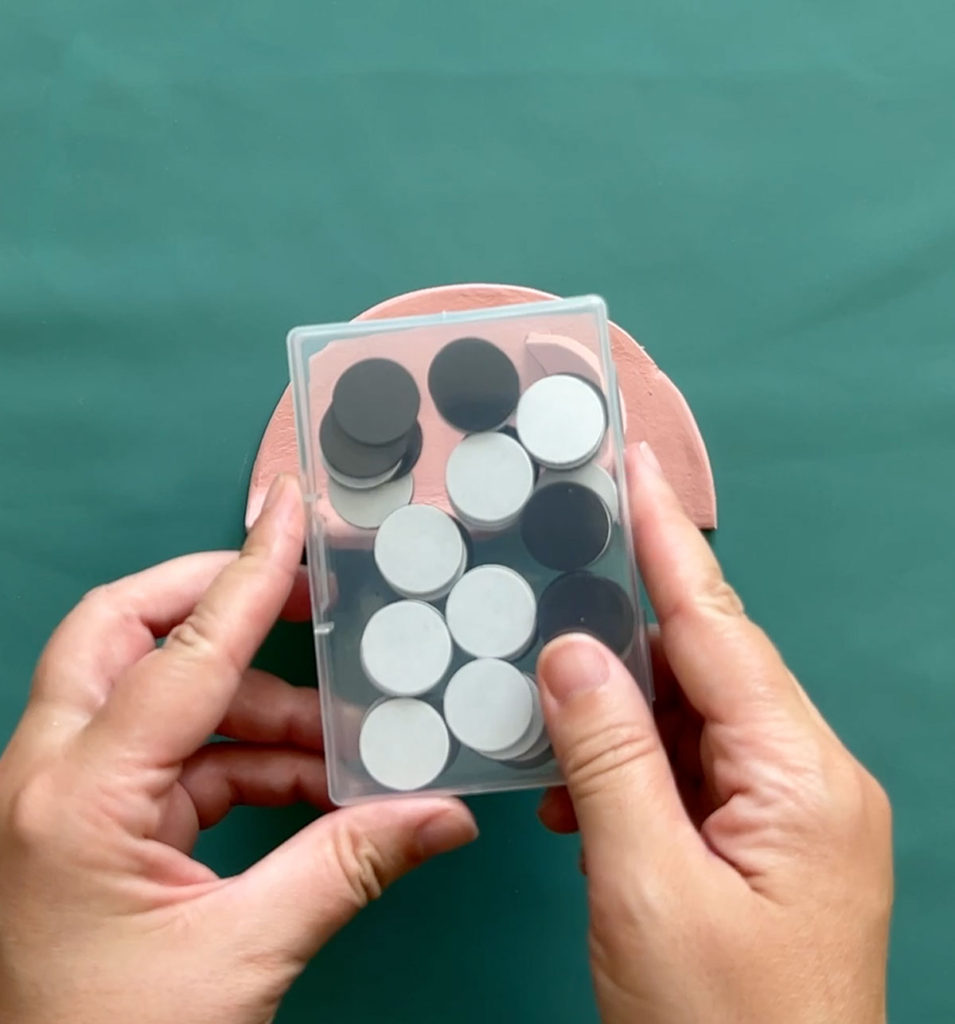
Depending on whether you plan to hang this on the wall or in your locker, you’ll use a different hanging method. For a wall, use 1 or 2 Command Picture Hanging Strips. For your locker or a magnet board, use self-adhesive magnets.
Since this is going in my daughter’s locker, we used these magnets.
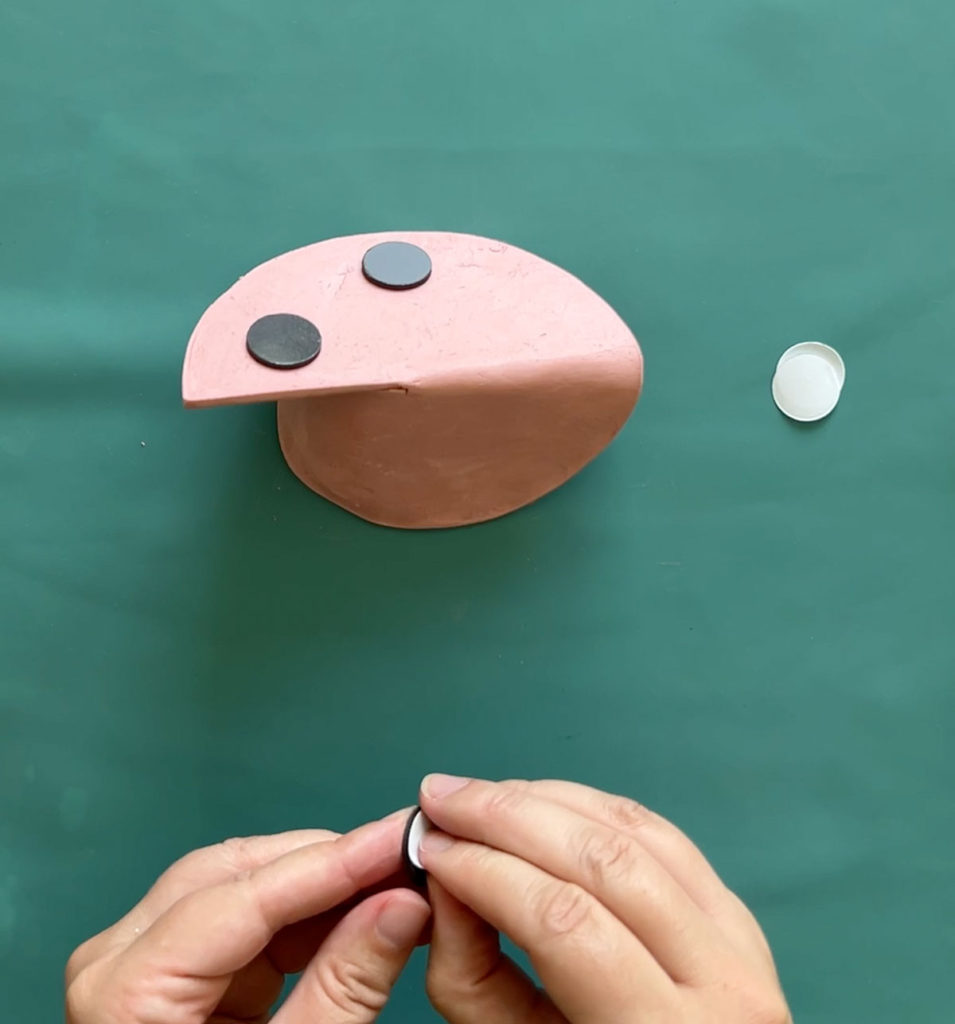
I used six of these magnets to ensure that this was extra secure to withstand her locker opening and closing. You simply peel off the backing and stick them onto the shelf. So easy!
We decided to leave this unfinished, but you could absolutely seal the clay with a glossy varnish like this one to make the shelf look more like ceramic.
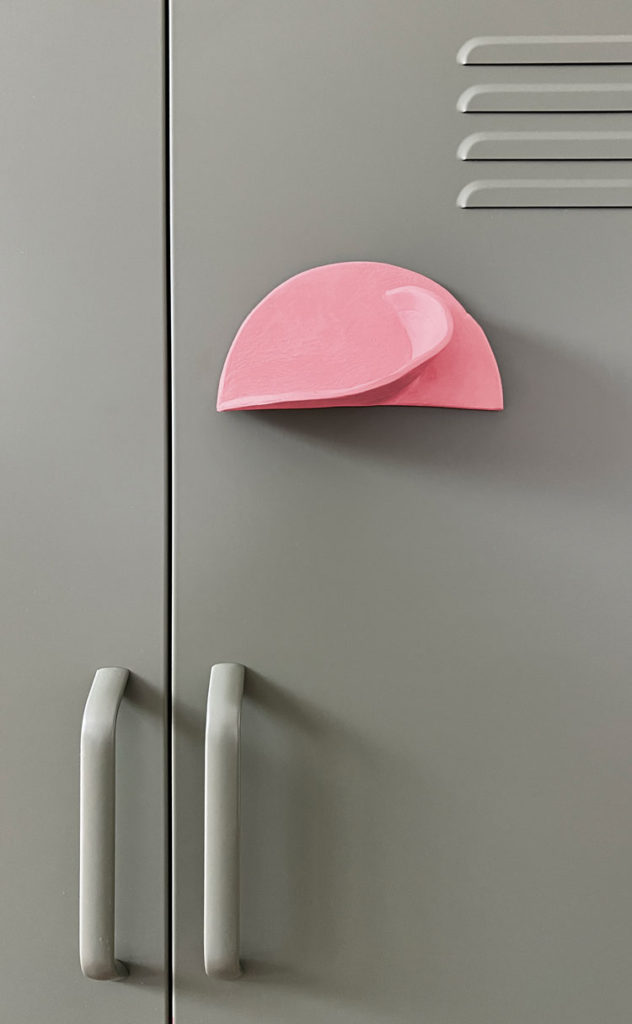
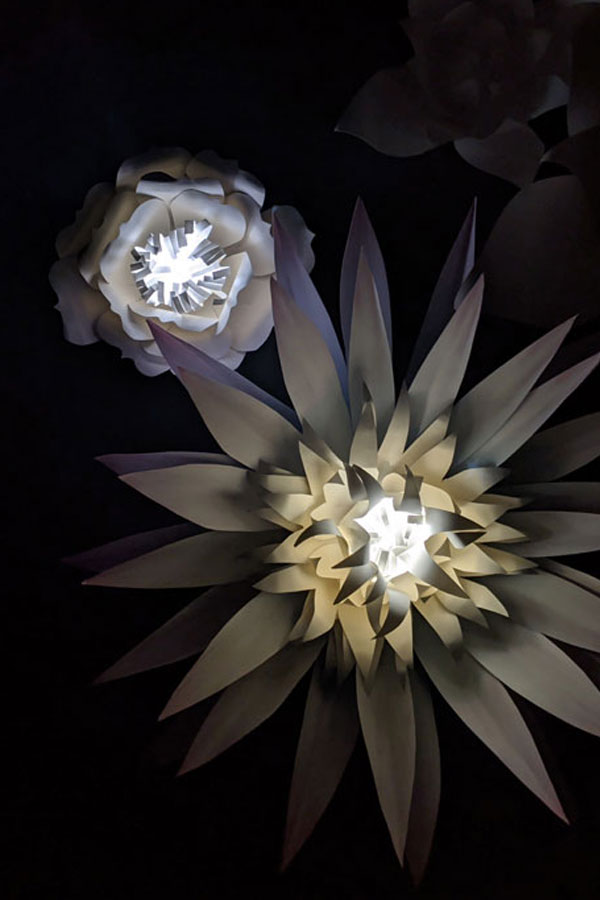
I don’t know about your kids, but my tween is so excited to finally have a locker to decorate! We’re thinking about making one of these paper flower lanterns to add a little light feature 🙂
