


Paper is such a versatile crafting tool—and what better way to use it than to make a giant, magical, light-up flower garden?
I considered buying some petal templates but wanted to personalize this project a bit more.
The basic method for creating this paper flower lamp is to cut petals, glue them to a cardstock base, and attach the puck light to the center. If you have some basic materials on hand, the total cost to make each lamp is a little over $3.
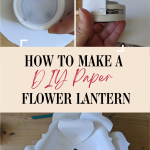
I’m going to show you how to make a DIY paper flower lantern using these cheap supplies.
How to Make DIY Paper Flower Light
Step 1: Cut a cardstock circle and attach Velcro
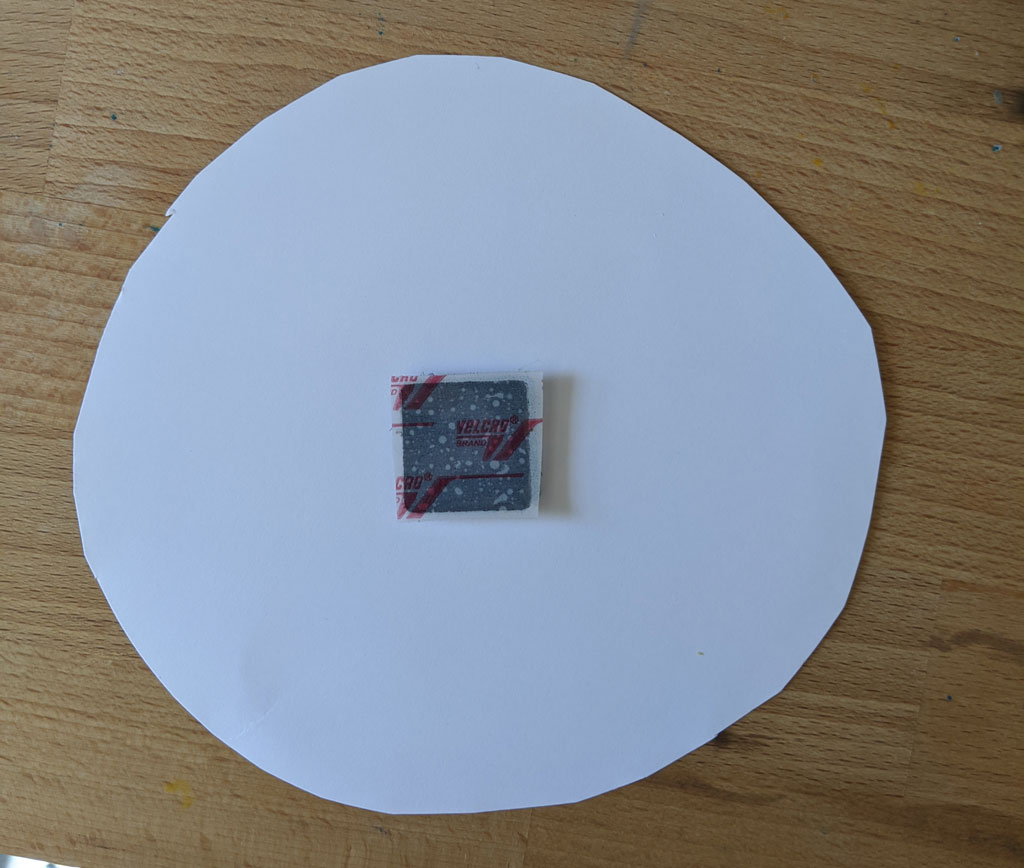
Start by cutting a circle about 6″ diameter out of your cardstock. It can be a rough cut and the size doesn’t have to be exact. This is simply a base to build your flower lamp on. You won’t see this once the lantern is finished.
Then, stick a square of your self-adhesive velcro to the center of the circle.
Step 2: Stick a puck light to the Velcro

Peel back the film from the adhesive on the velcro, then place and firmly press your puck light down to adhere. Be sure you’re sticking the back of the light to the velcro, and the bulb is facing out.
Gently pull the puck light up. The Velcro should separate so that one side is on your light and the other is on the paper flower base. Set this aside for now.
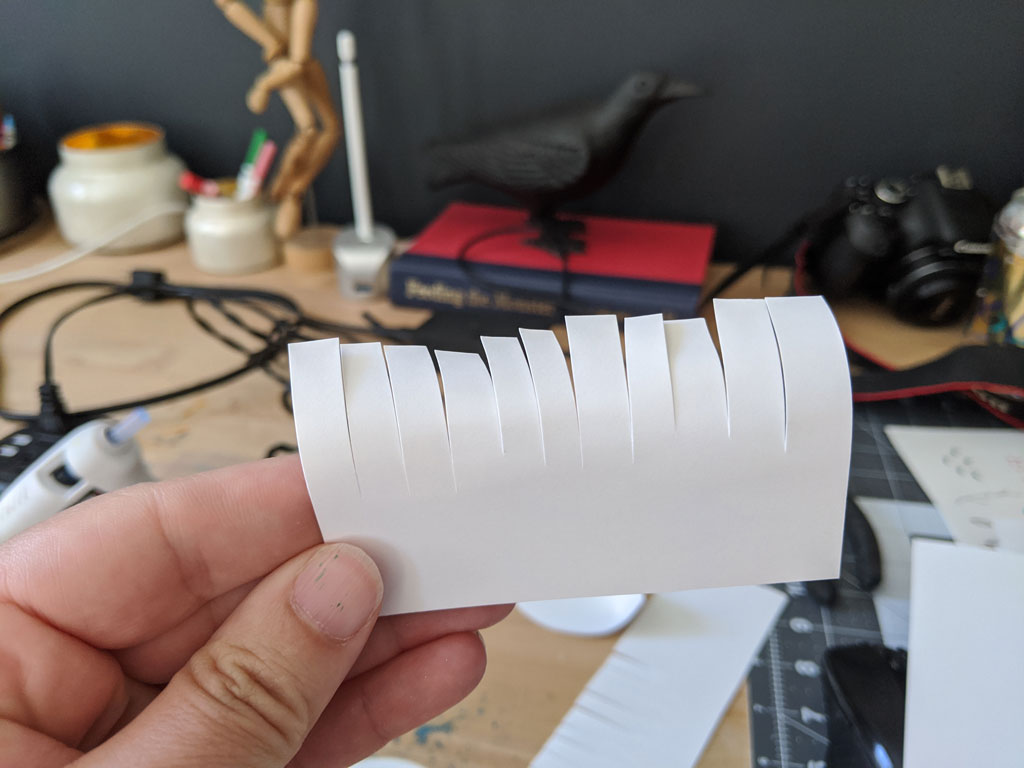
Step 3: Cut the center frill pieces
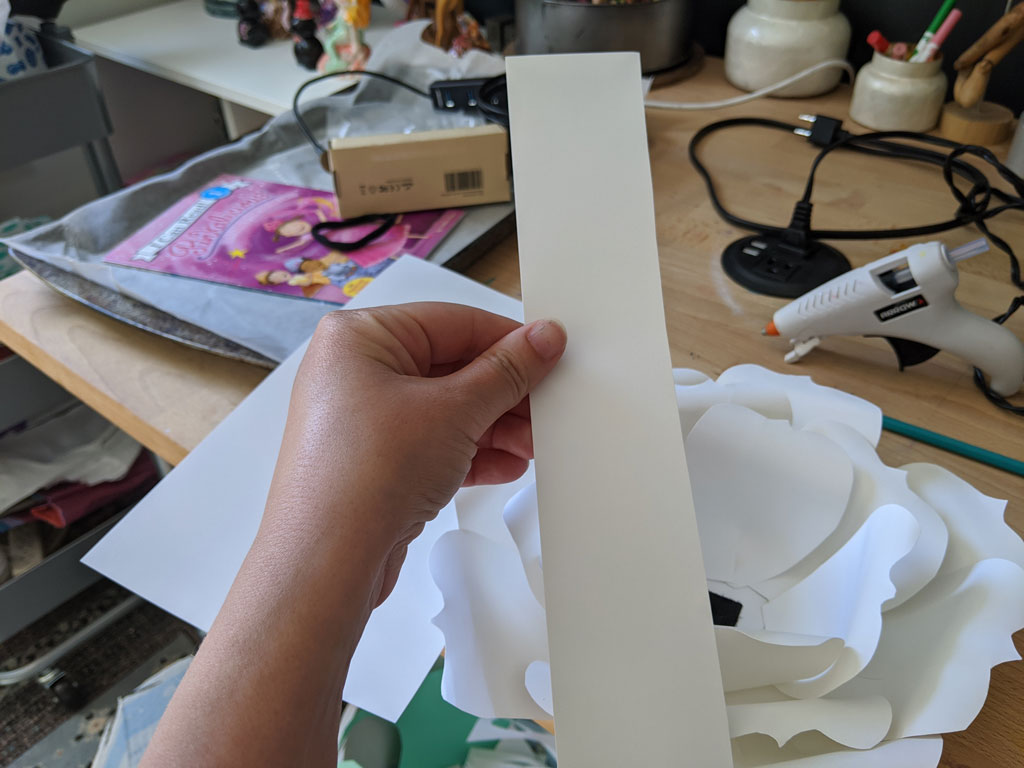
Cut a long strip of cardstock about 2.5″ inches wide, then make vertical snips down the length, cutting about 2/3 of the way through. This can be imperfect. Just make the snips close together to create the frilly look that the center of many flowers has.
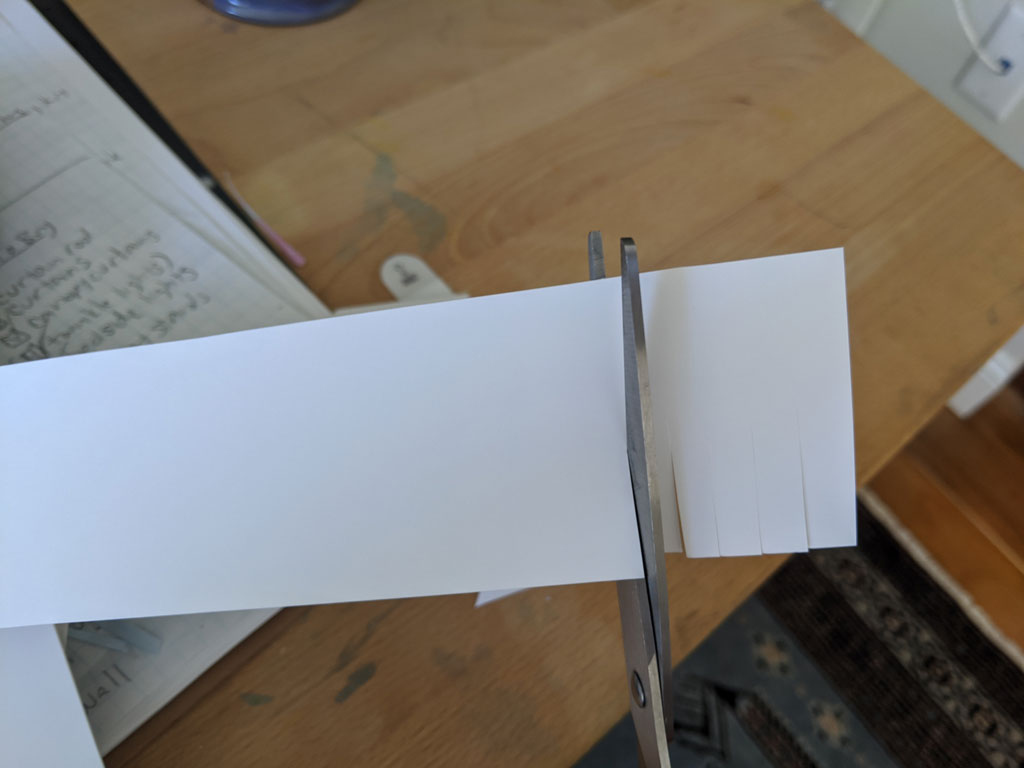
Once you have one long frill complete, cut this down into shorter sections about 2″ to 3″ wide. This will make it easier to glue to your puck light in the next step.
But what if you simply want to craft a paper flower without light? No worries—this method will work for that, too! Simply skip the steps using the puck light and roll the frill from step 3 into a tight tube. Muss the frill, squeeze a glob of hot glue in the center of the flower, and stick the tube into it.
Step 4: Curl and glue your frill to the puck light
Using a marker or a pencil, curl your frill edges. It works just like a curling iron. Just gently bend the paper around your marker (or any small cylinder) to make a soft curve.
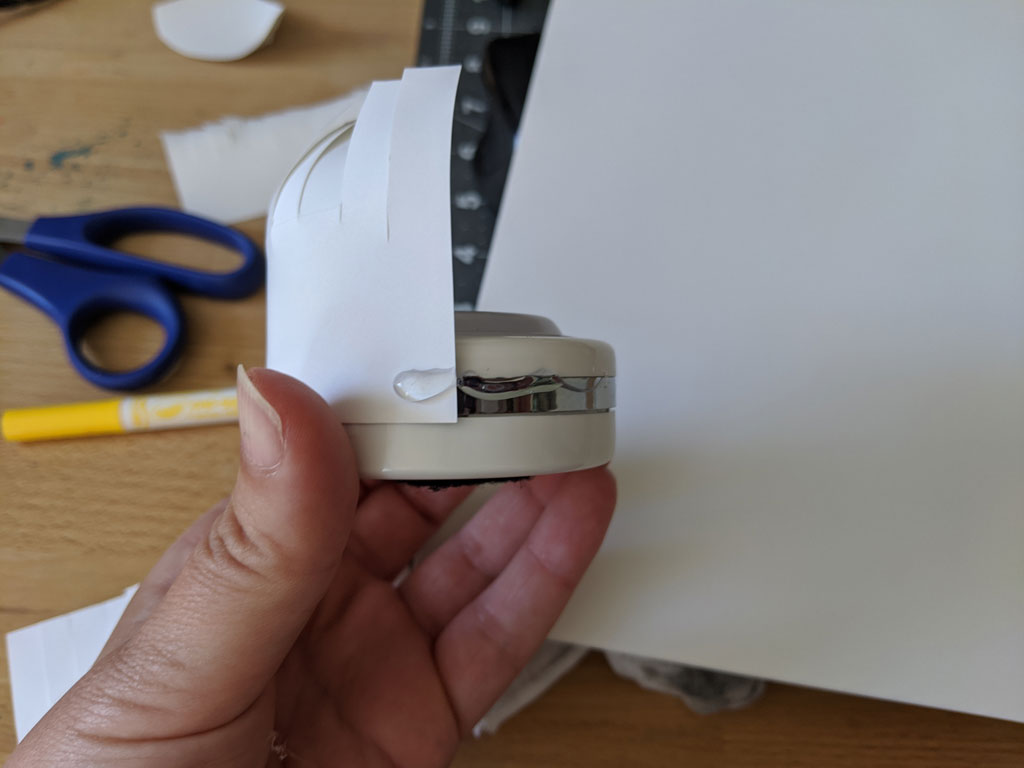
Then, piece by piece, hot glue the frill to the top half of your puck light, aligning the bottom edge of the cardstock to the edge where you twist the puck light open to replace the batteries.
On the model I used, the silver band marks the opening.
Continue gluing the frill to the light, overlapping slightly, until you like how it looks. I added about three layers of frill.
Step 5: Cut and prep your petals
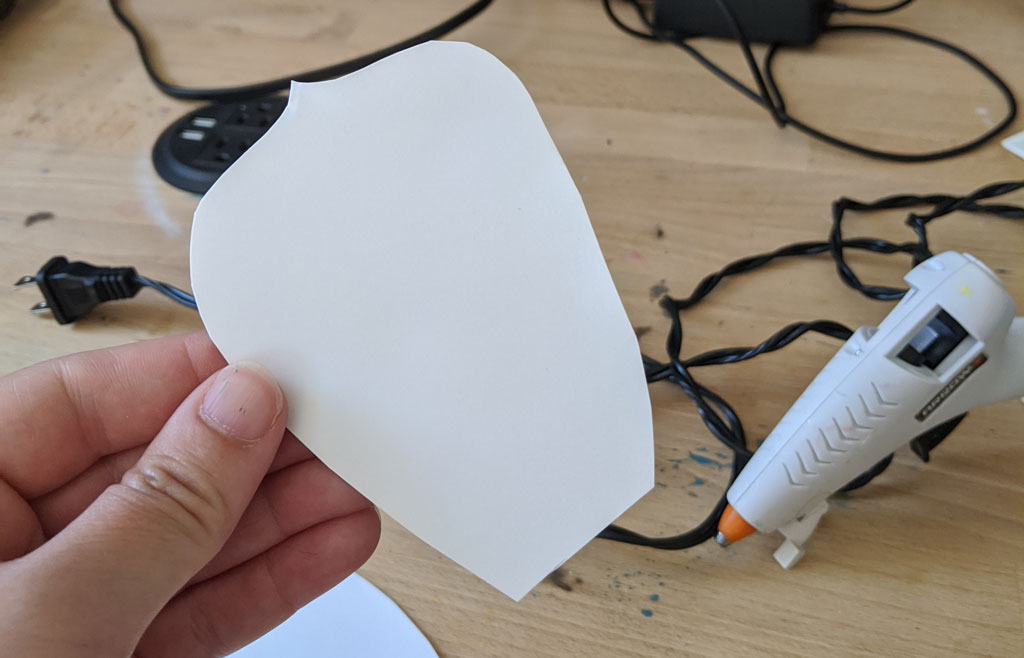
Grab your scissors and cut out a bunch of petals. Once you start gluing, this paper flower lantern will come together fast, so it’s worth it to cut and prep your petals ahead of time. This is a freeform project, and each flower will be unique, but a good rule of thumb to start would be:
- 8 large petals
- 8 medium petals
- 4 small petals
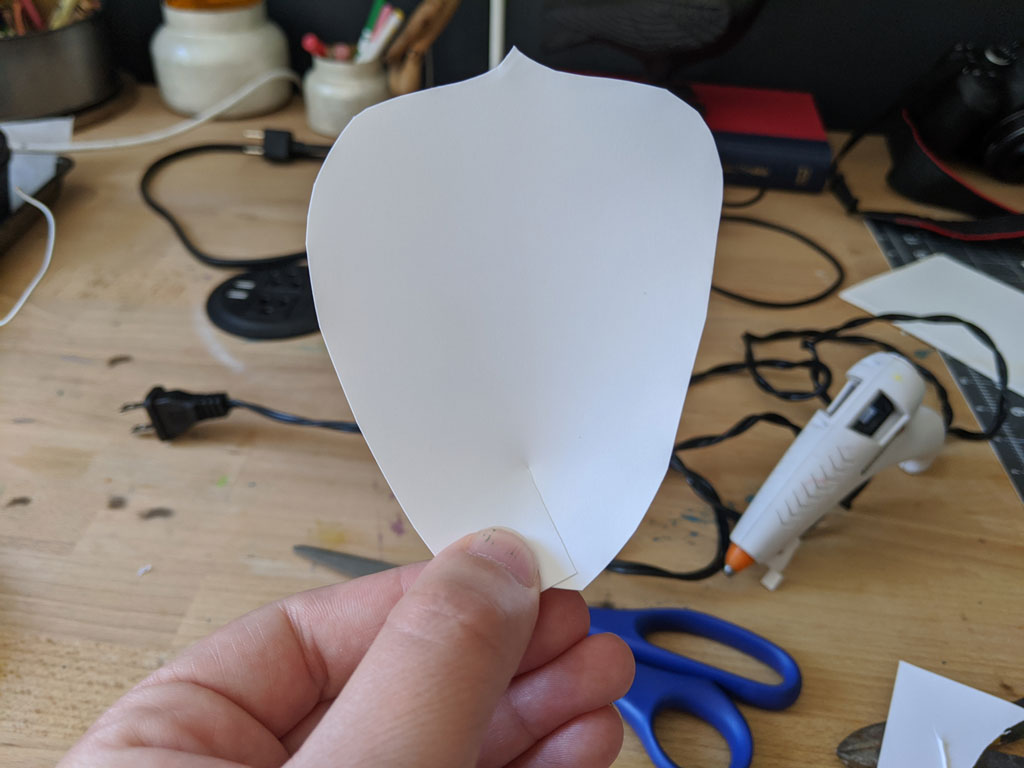
I strongly encourage you to freehand the cutting of the petals in order to achieve the most natural shape.
You may not use all the petals, but it’s better to have extras than to stop to cut more.
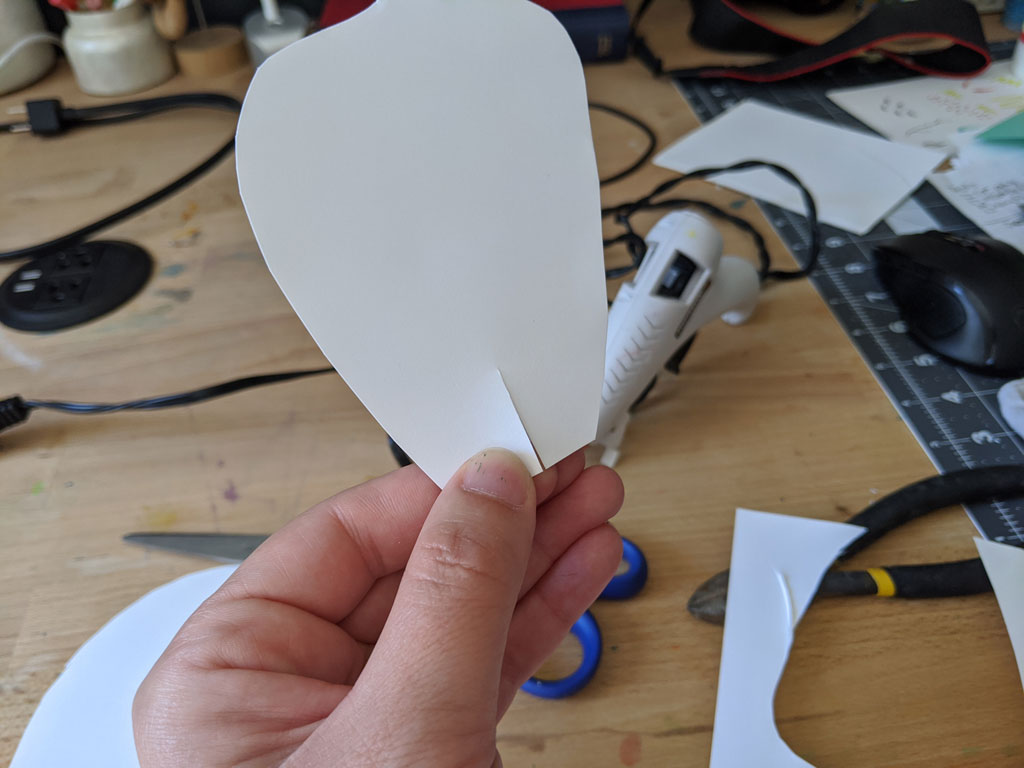
Cut a small slit in the base of the petal, about 1″ long. This slit will allow you to add dimension to the flat cardstock so your petals stand away from the base of your flower like they would in nature.
Use a small dab of hot glue on one side of the slit, cross the other side over, and press gently to secure. The more you overlap these slits, the higher the petal will stand.
For the outside petals, use a small overlap so they lay lower. Use a pencil or marker to gently curl the tops of the petals away from the overlap we just glued. The final result will be that the petals curl toward the wall when the paper flower lantern is hung.

For the innermost set of petals, use a deep overlap and curl them in towards the overlap rather than away. We want this final set of petals to hug the center and camouflage the plastic puck light casing.
Step 6: Glue the petals to your base

Now comes the fun part — hot gluing all the petals to the base. Starting from the outside edge, glue two of the large petals directly opposite each other:

Then, two more:

Continue gluing sets of two in the gaps between petals, moving inward and using increasingly smaller petals until you’ve reached the boundary of where your center light will go (you can test for fit periodically).

Step 7: Attach the puck light

The finishing touch is to reattach the puck light to the base. Gently press the Velcro pieces back together and muss up the frill a bit to give it a more natural look.
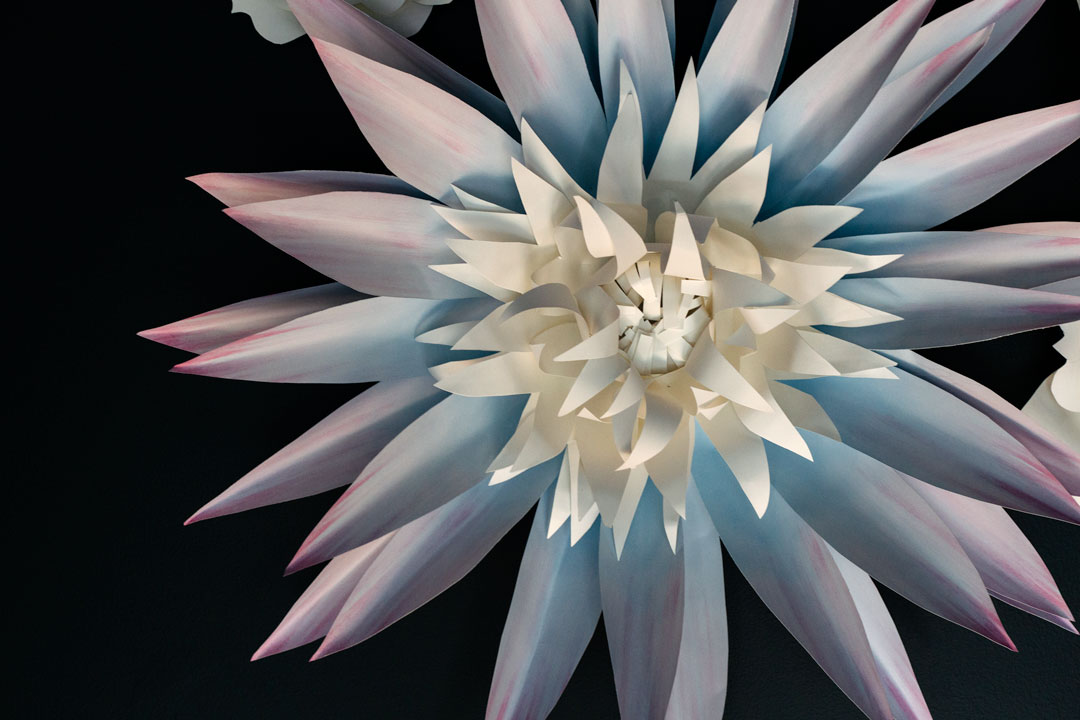
Alternate version: Giant two-layer paper flower lantern
If you want to create a dramatic statement, add a second layer to your cardstock flower. Using the steps outlined above, use a larger circle as your base and cut 32 long spiky petals. Rather than curl these petals, fold them in half to create a ridge down the center.
These spiky petals should have a smaller overlap at the base so they lay relatively flat. You’ll get all your height from the smaller center flower.
You’re going to build this outer set of petals around the smaller flower lamp you just made. Treat this smaller flower as the puck light center from the main tutorial, but instead of velcro, you can hot glue it to the base in the final step since you only need to be able to remove the puck light.
You can use a contrasting color for your outer layer, use the same color, or print a pattern or texture on them as I’ve done here. Just be sure to print on the front and back of the paper for a more finished look.

How to Hang a Paper Flower
To hang your lantern you can use command strips, a nail, hot glue, or a wire hanger. They all work great, it’s just a matter of preference.
- 3M Command Strips: I adore these for basically everything. They work especially great for a paper flower lantern and, bonus, won’t damage the walls. The con, of course, is that they cost money, and you may not have any lying around.
- Nails: You could bang a couple of nails through the base directly into the wall. While effective, the hammering might be a little awkward with all the petals, but it’s doable.
- Hot glue: Gluing the flower to the wall is very effective, but keep in mind that you’ll have to remove the glue and repair the wall if you ever take the lantern down.
- Wire hanger: This is my favorite method. Create a loop from a floral or armature wire and glue this to the back of your lantern. Then using the loop, hang the lantern from a single nail in the wall. Like hanging a picture. See below for a visual example:


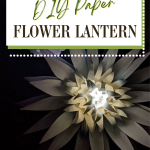
And you’re done!
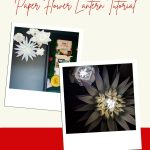
Will you give this a try? This affordable and dramatic DIY paper flower light is THE CUTEST for a tween bedroom.
These paper flower lanterns even work for a more sophisticated space!