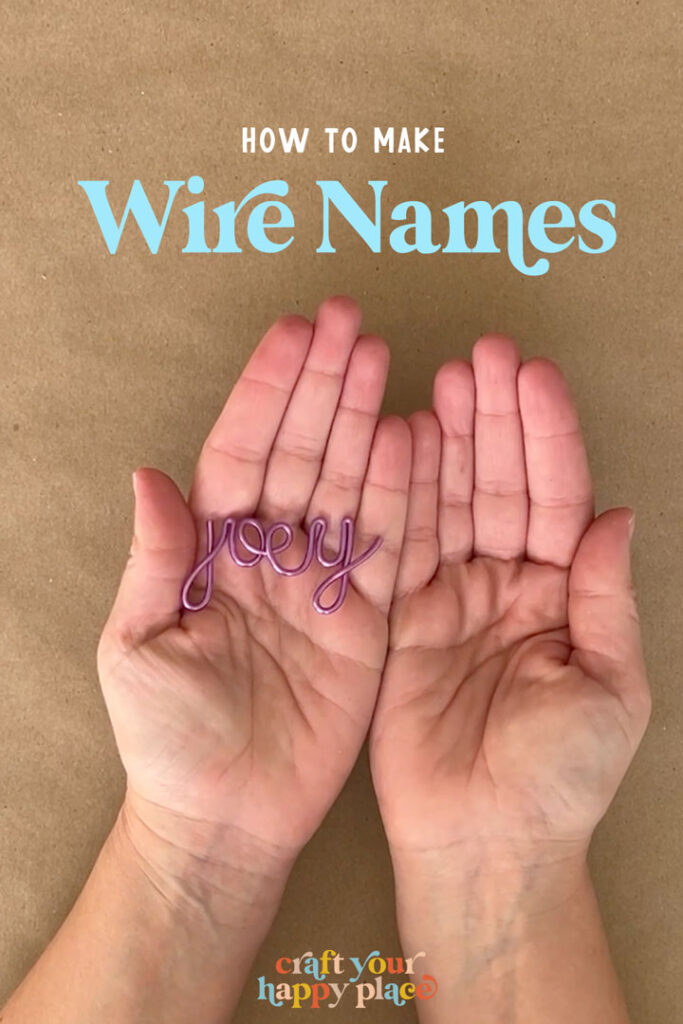
How to Make Wire Names
This post may contain affiliate links.
I’ve made very large wire words to decorate in the past – both wrapped in yarn and crafted to glow in the dark for my kid’s bedroom. If you want large words, check out my post on how to make wire word art and grab the free template.
But then I had the idea to make a smaller version for names that I could use for gift tags, necklaces, or keychains. And they’re even easier than my first version!
In this post, I’ll show you how to make wire names using metallic wire and a free font.
Like it? Pin it!
How to Make a Wire Name
To make a wire name, you’ll need a medium gauge, soft wire, and a pair of needle-nosed pliers. You’ll simply create a template by printing out the name (or writing it in cursive), then tracing the letters with your wire, using the pliers to create any sharp turns.
Read on for tips on what font and wire to use and how to navigate those twists and turns.
Materials
- Name written or printed on a piece of paper
- 16 gauge metallic wire (or floral wire for the Dollar Tree)
- Needlenose pliers (optional but useful)
- Wire snips
Step 1: Gather your materials

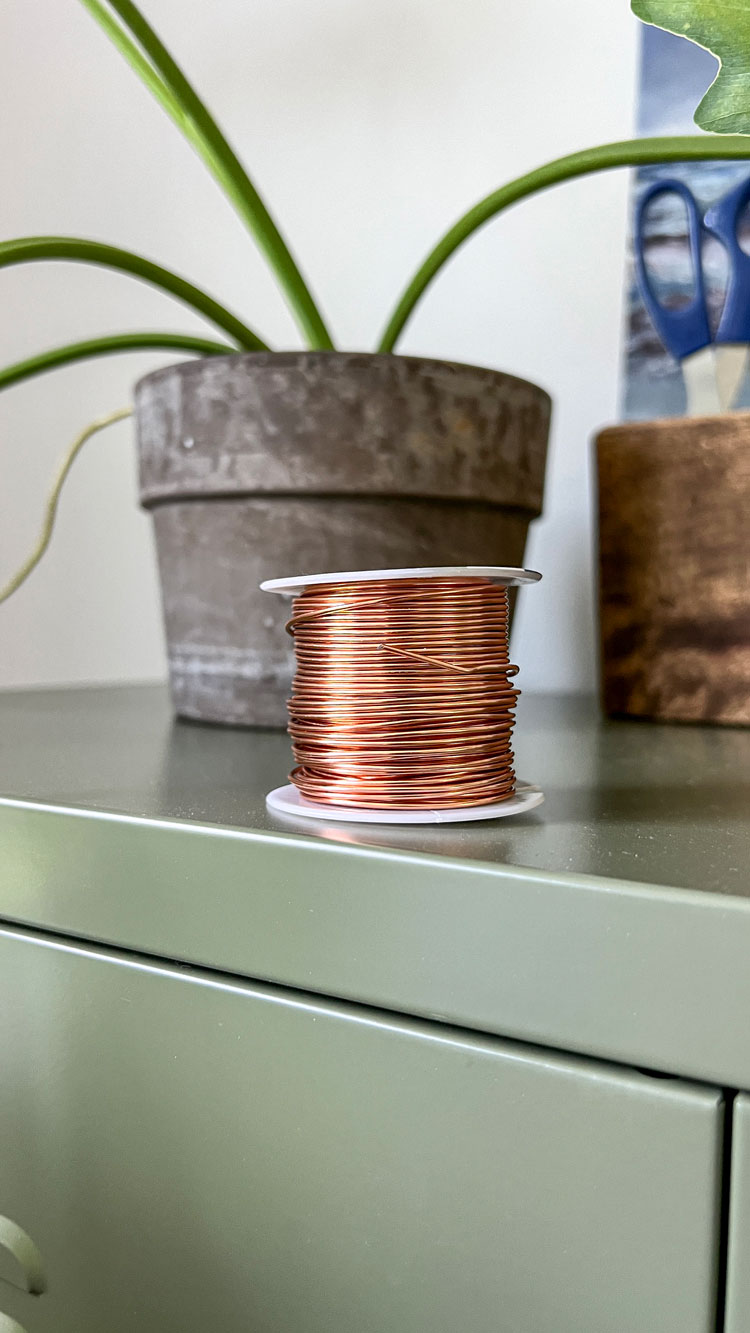
Before you begin, you’ll want to be sure you have the correct materials. The type of wire you select will make or break this project.
I personally like to use a 16 gauge soft metallic wire. You can find small rolls in limited colors in the floral section of Dollar Tree, but these larger spools of colored aluminum wire from Amazon are just as cost-effective and have many more colors to choose from.
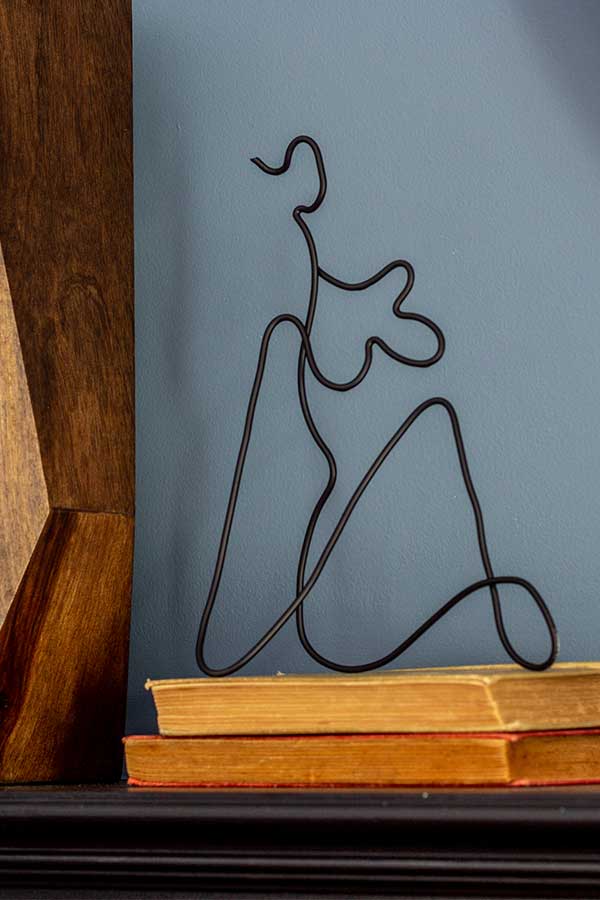
Plus, you’ll have plenty left over to try some of my other wire crafts, like this easy wire sculpture.
You’ll also want to grab a pair of long nose pliers to help you shape the wire around the sharper bends. Some long nose pliers have a cutting edge that you can use to clip the end of the wire when your name is complete, but if not, you can also use a simple pair of wire snips.
Step 2: Create your name template

To create the template for the name, you can either print or write it out on a plain sheet of printer paper. The key is to use a typeface with one continuous line (or can be cheated by drawing over the gaps with a pen or pencil.
Free fonts you can use are:
You can either download and install these fonts to your computer and typeset your template in Word or your word processor of choice or type out your names in a Google Doc. You can access any of these fonts directly in a Google doc by going to select your font and clicking, “More fonts” at the top of the list, and searching for the font you want to use:

It’s typically best to type the name in all lowercase letters because uppercase letters are often separated from the adjacent letters when typed out.
For this example, I used Clicker Script in 120pt type.
Step 3: Trace the template in the wire
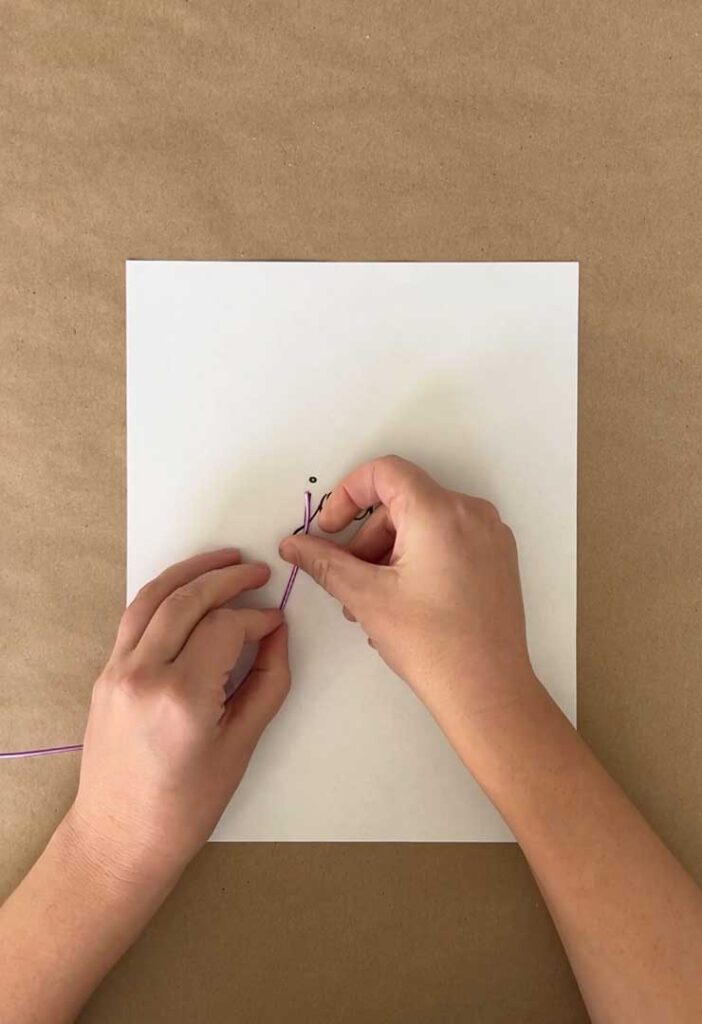
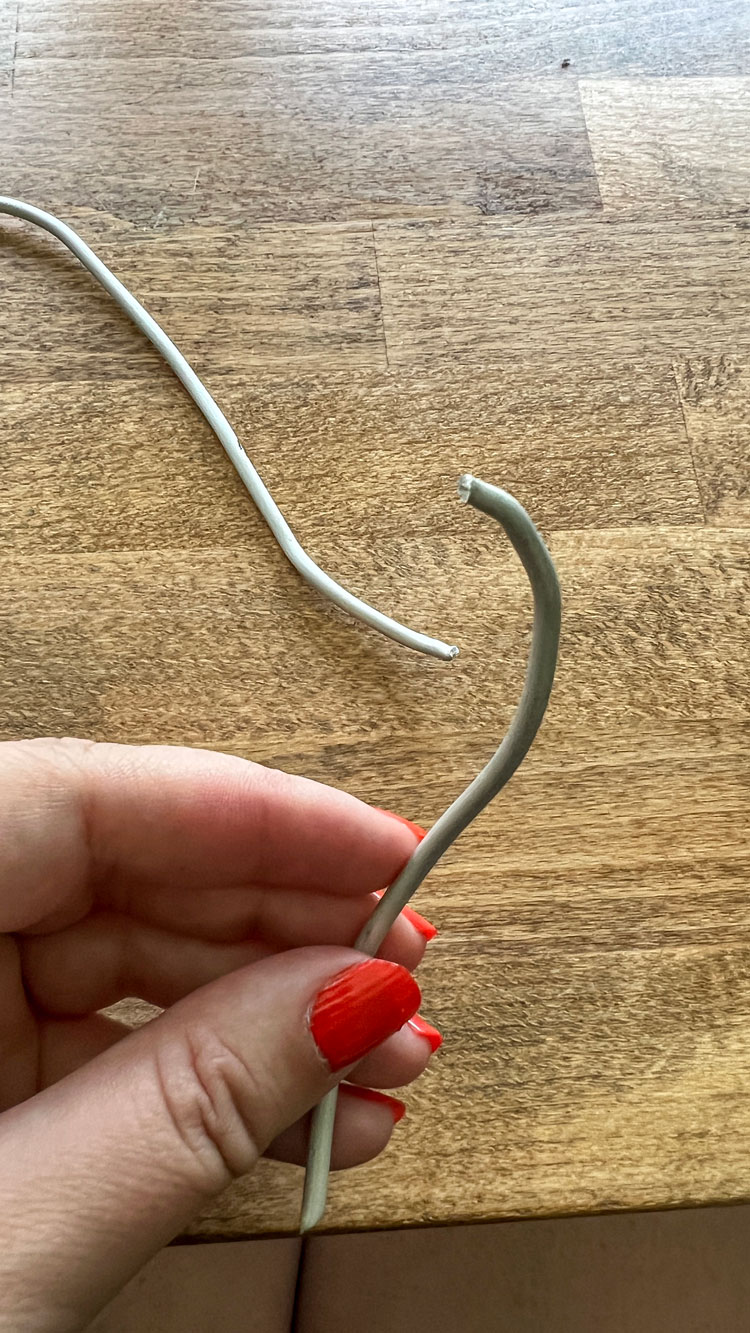
Next, take your wire and trace it along the printed name. This can feel tricky at first since the name will be on the small side, but trust the process — it’s very forgiving!
When you encounter sharp bends or turns, grab your pliers and pinch the wire to create the bend.

Could you do it with your fingers? Probably. Would it be a pain in the butt and hurt a little? Definitely.
Save yourself the aggravation and use the pliers 🙂
Plan your moves to avoid doubling back on any of your lines where possible. If you do, it will still look great; it’s just more difficult to work with at such a small size.

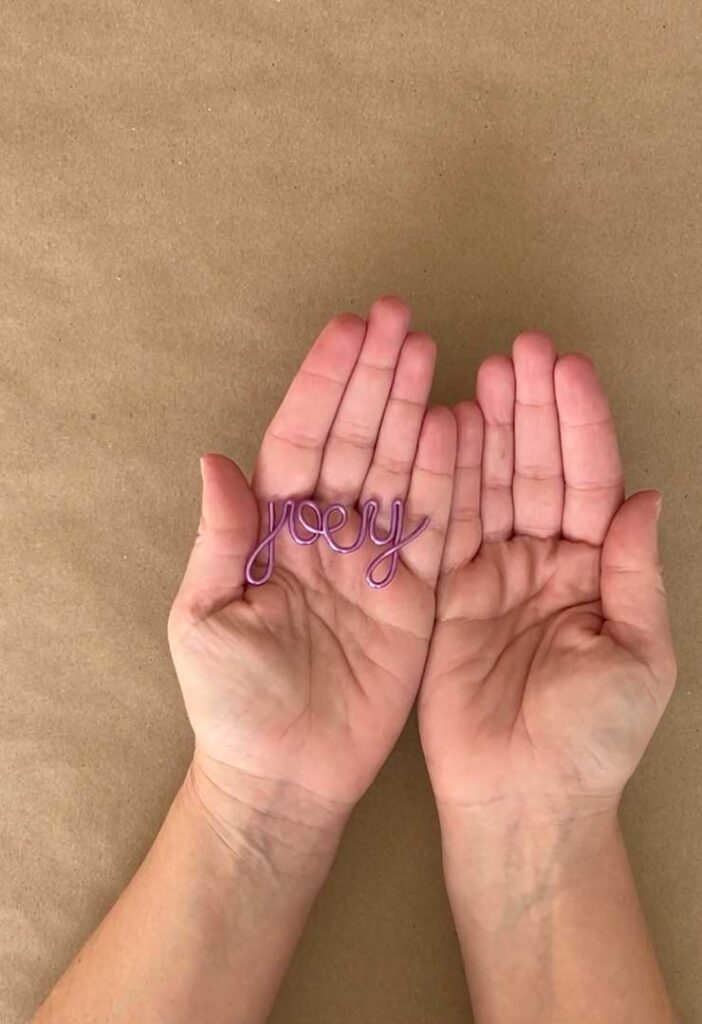
When you reach the end of the name, you’re done! Just clip the end of the wire to release it from the spool.
Ways to use wire names
These names are so fun and can be used for a lot of things:
- Gift tags
- Keychains
- Necklaces
- Bracelets
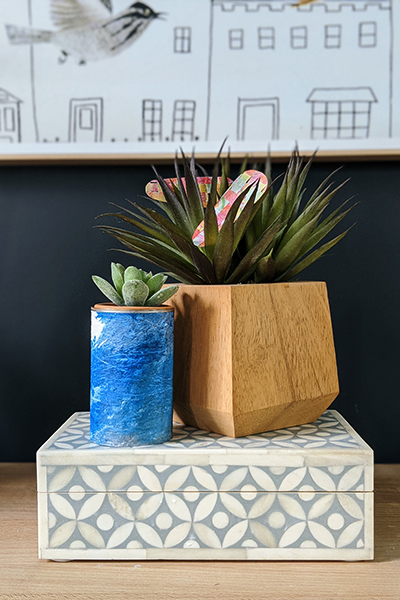
- A decorative trinket in a jewelry dish
- A name tag for a purse or backpack
I hope you found this project to be helpful and inspiring!