

This is the only time of year I ever think about napkin rings. Listen, I don’t even know how to FOLD a napkin. But when you’re hosting for the holidays, a napkin ring adds a really special touch to the table.
I’d prefer not to splurge on something I use once a year. I also don’t want to buy something cheap that I pull out once a year and loathe. So, instead, I decided to make beautiful, woven leather napkin rings using materials I already had on hand (i.e., free).
In this post, I’ll show you how to create a woven leather napkin ring from upcycled leather that looks incredibly expensive.
Like it? Pin it!

What I love about using materials like leather is the cozy richness they add to your fall decor. Heck, to your anytime decor. But they’re especially good in the fall.
How to Make a DIY Napkin Ring With Leather
To make a woven leather napkin ring, cut strips of leather, weave them together, and then hot glue them to secure. Preferably, you’ll have an old piece of leather clothing you no longer want or can find something similar at the thrift store.
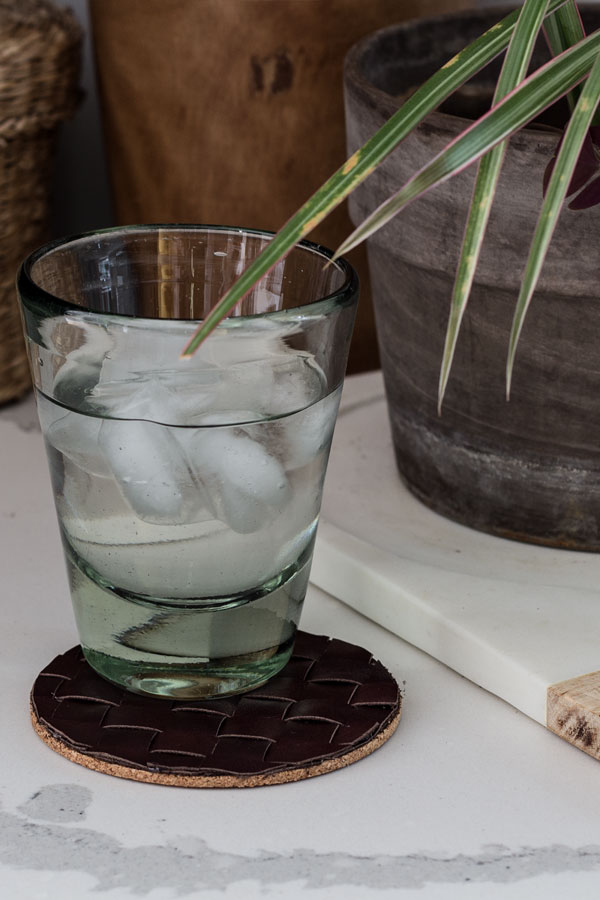
You can use this basic technique to make other home decor projects as well! Need coasters? Check out this tutorial, using the same woven leather base.
MATERIALS NEEDED
Step 1: Cut your leather into strips
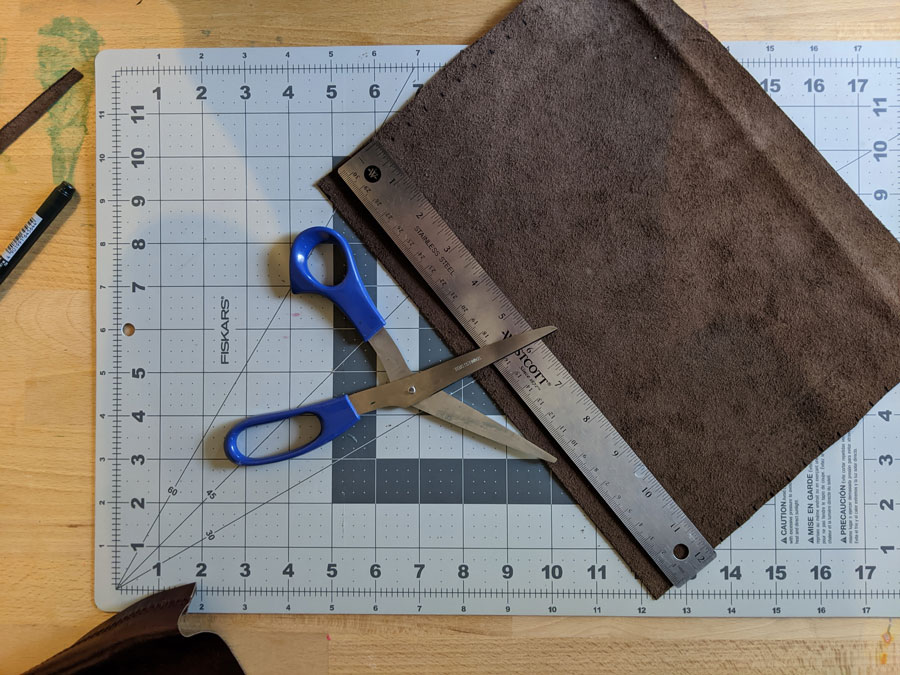
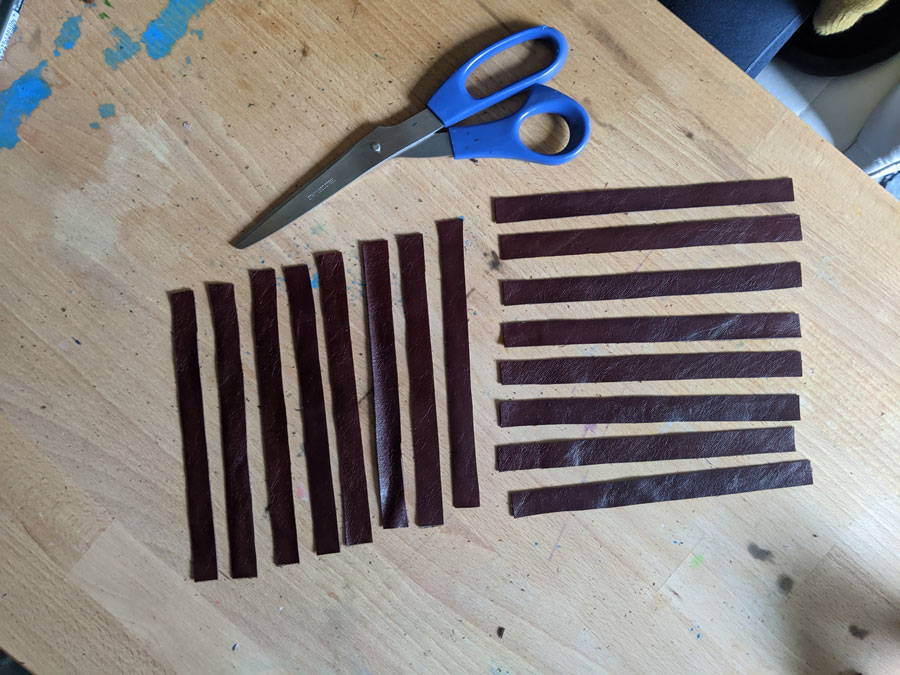
First, cut your leather remnants into 1/2-inch-wide strips. To DIY my napkin rings, I opted to cut the leather strips down to 4-inch lengths, but you could go up to 4.5 inches if you have bulky napkins.
For each napkin ring, I used 15 leather strips: 8 across, 6 down, and 1 to connect the ring. To make a thinner napkin ring, you could use three (3) strips instead of 6. I just really liked the substantial look of 6!
Step 2: Weave the leather strips together
Using a simple basketweave pattern, weave your leather strips together to form a (roughly) 3″ x 4″ rectangle.
Start by taking one strip and laying it on the table vertically.
This is the only time of year I ever think about napkin rings. Listen, I don’t even know how. Try to align the edges as well as you can (if it’s not perfect, you can give it a trim at the end).
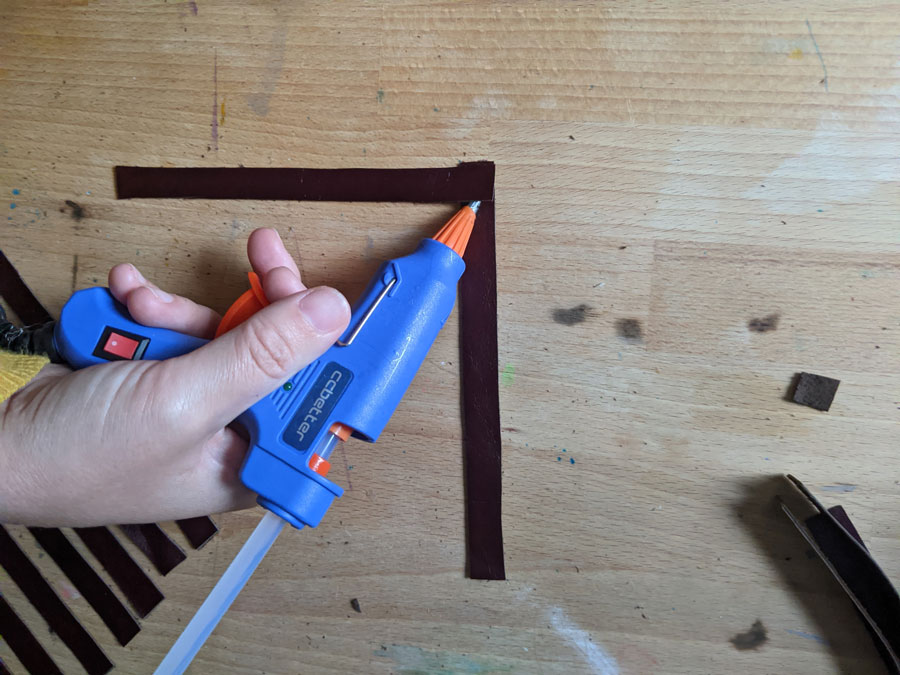
Now, flip the whole thing over and glue the next strip right above the first strip you attached. Keep the leather strips as close together as possible for the most polished result.
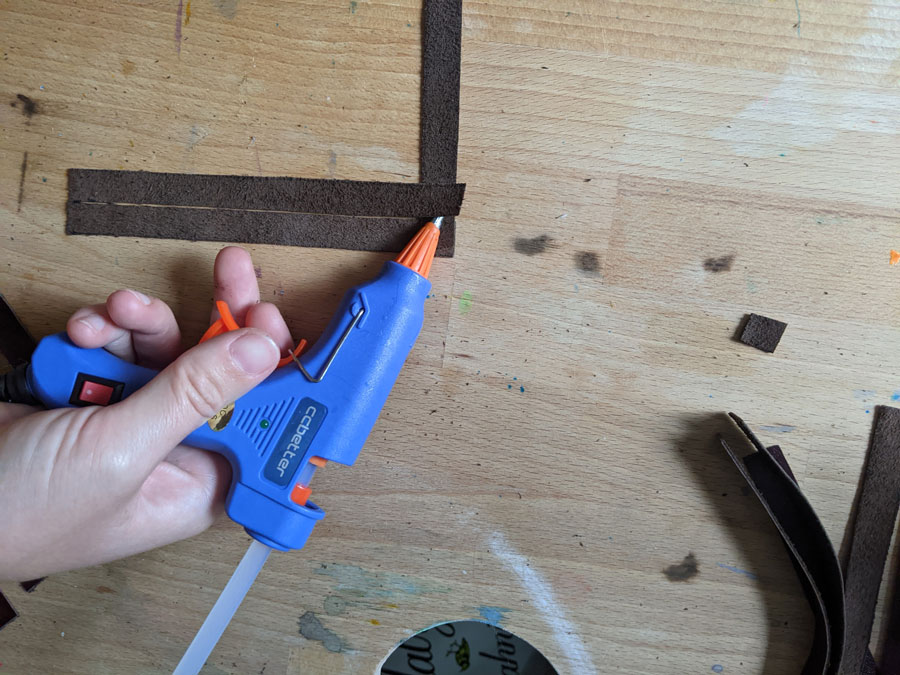
Continue to glue strips on alternating sides until you reach the top of the first vertical strip.
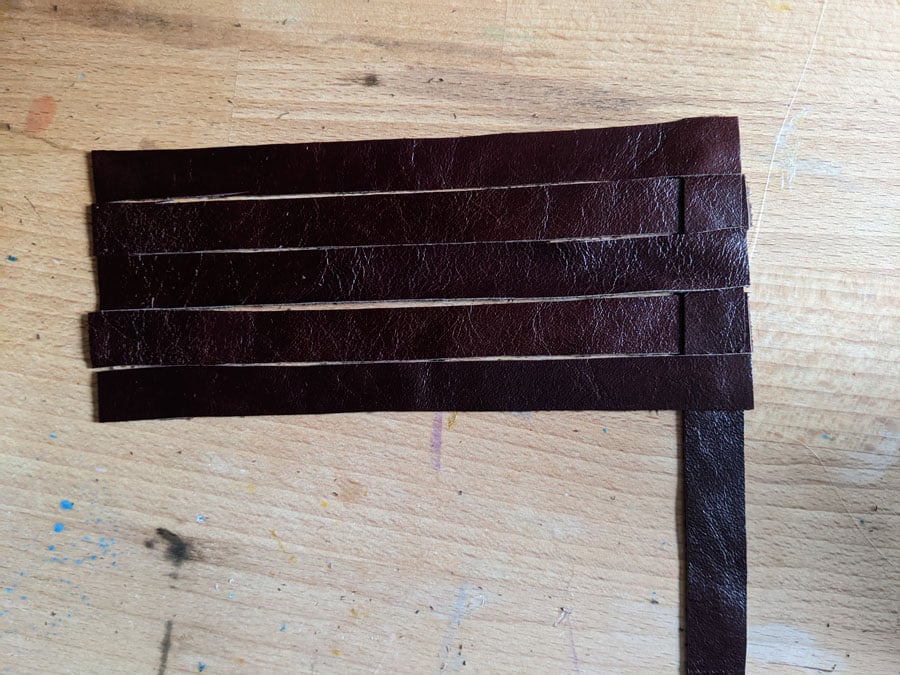
For the next vertical strip, slide it onto the “open” end of the horizontal strips, but weave in the opposite order from the first. For example, if the first strip was started on the front of the piece, start the next strip on the back.
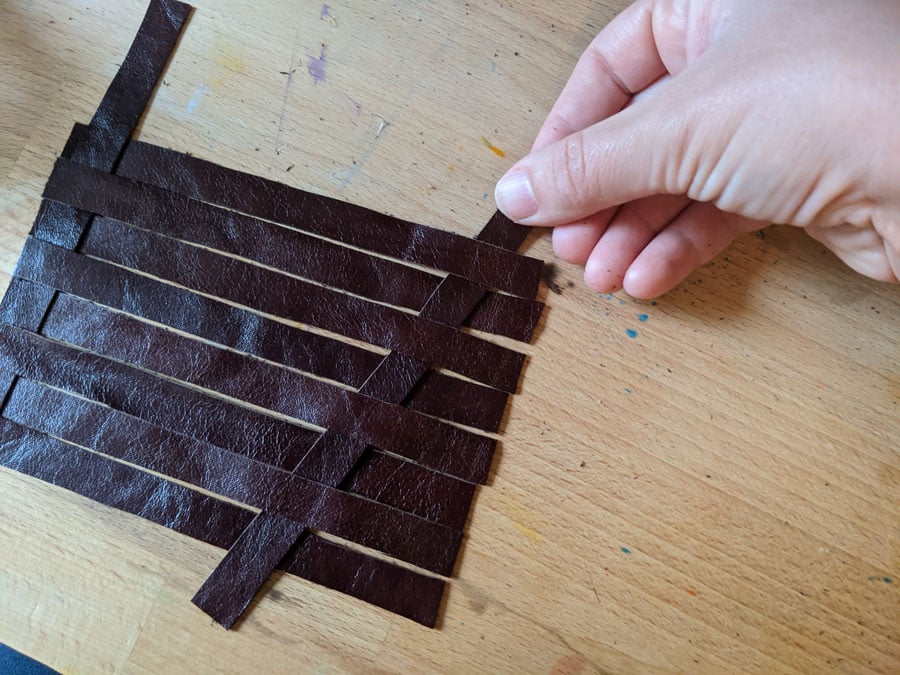
Slide this strip over and tightly nudge it against the first strip. For these center strips, you only need to glue the top and bottom. You can glue the rest if you’d like, but it’s not necessary.
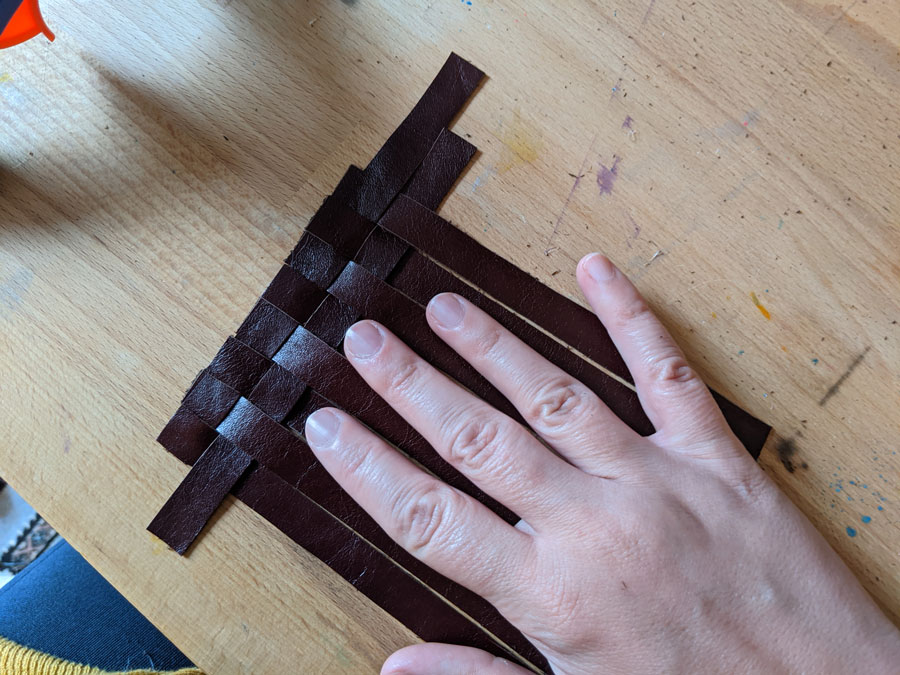
Continue weaving the remaining strips, alternating direction, until you reach your last strip. Once you weave the last leather strip of your napkin ring, glue every section like you did on the first strip to secure the entire weave.
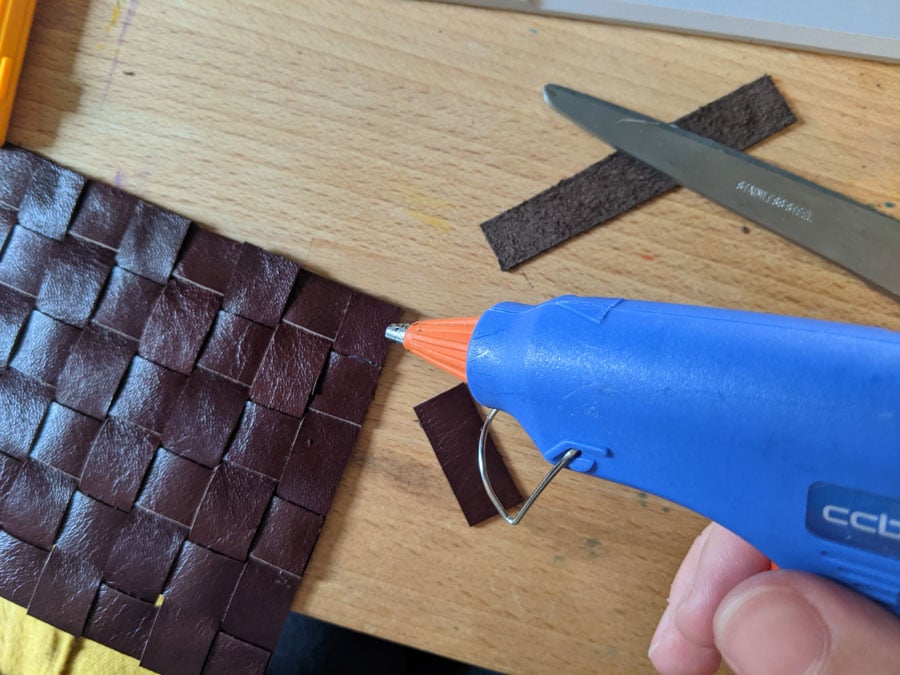
Trim any messy ends to create a clean border around your woven leather rectangle.
Step 3: Create the “ring”
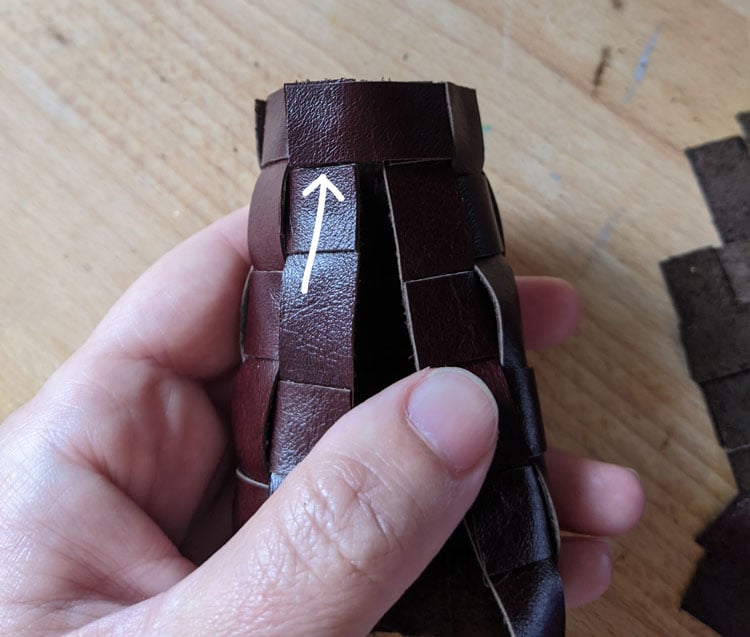
Finally, we’ll connect the ends of the woven leather piece to create your DIY leather napkin ring. To do this, we’ll cut four small strips of leather that are the equivalent size of two weave squares.
Simply take one final 1/2″ leather strip and cut it down to 1″ lengths. Glue one end of the strip to the top corner square of one side of the woven leather, and glue the other end to the corresponding square on the opposite side of the woven leather piece.
This connection will create a leather cuff (aka a napkin ring) to slide your napkin through.
Continue with 3–5 more strips in the same manner to connect the remainder of the back of the cuff. I added one connection at the top, one at the bottom, and two at the center. You can add more if you like, but I thought the pattern the four strips created was interesting.
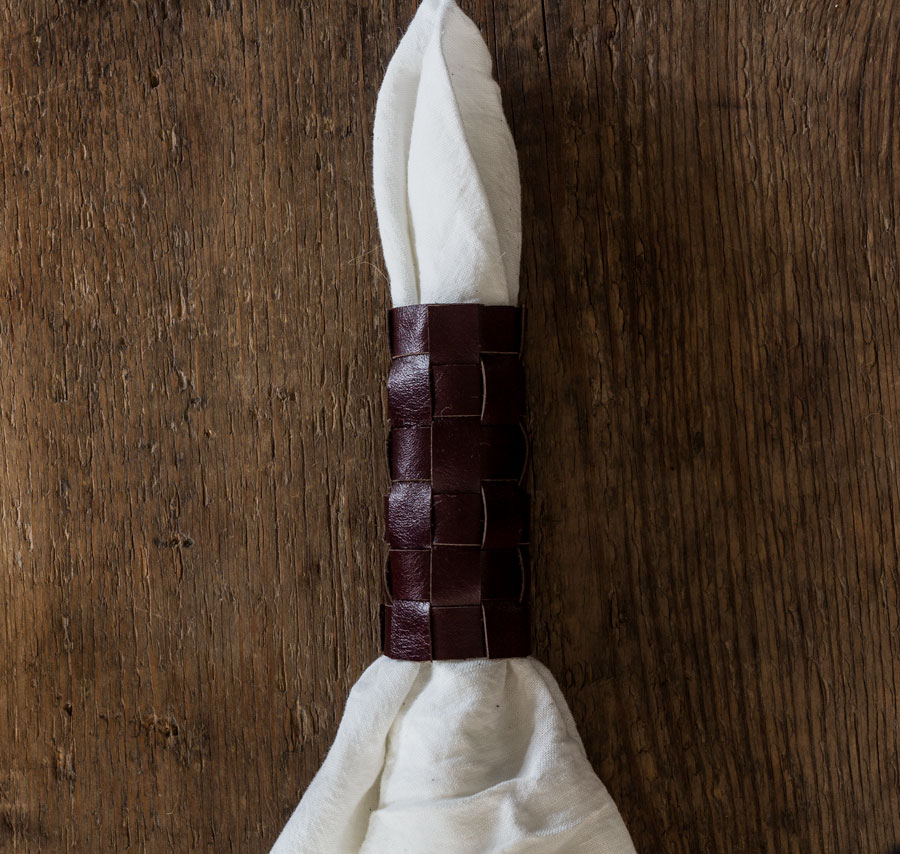
Your gorgeous woven leather napkin ring is complete!
How freaking high-end does this look? Hopefully, like me, you have something leather that needs to be upcycled. But even if you don’t, leather remnants are super affordable so you can still DIY this high-end look on the cheap.
I’m a big fan of crafting with leather. If you are too, try one of these simple leather crafts for your home next: