

I’m a big fan of air dry clay—it’s such a fun and easy material to work with. One of the things I enjoy most is being able to sculpt without needing a kiln. But there’s one important step that often gets skipped: sealing. Skipping this step can shorten the life of your piece. We always recommend sealing your air dry clay projects to protect them from moisture, make them more durable, and improve their finished look.
There are several types of sealants you can use, depending on your project. Epoxy resin, polyurethane varnish, and even white craft glue like Mod Podge are all great options. Your choice will depend on a few factors, such as whether the piece will be used indoors or outdoors, and whether you want a shiny or matte finish. Choosing the right sealer—and applying it correctly—can make a big difference in how long your creation lasts and how good it looks.

How to Prepare Air Dry Clay for Sealing
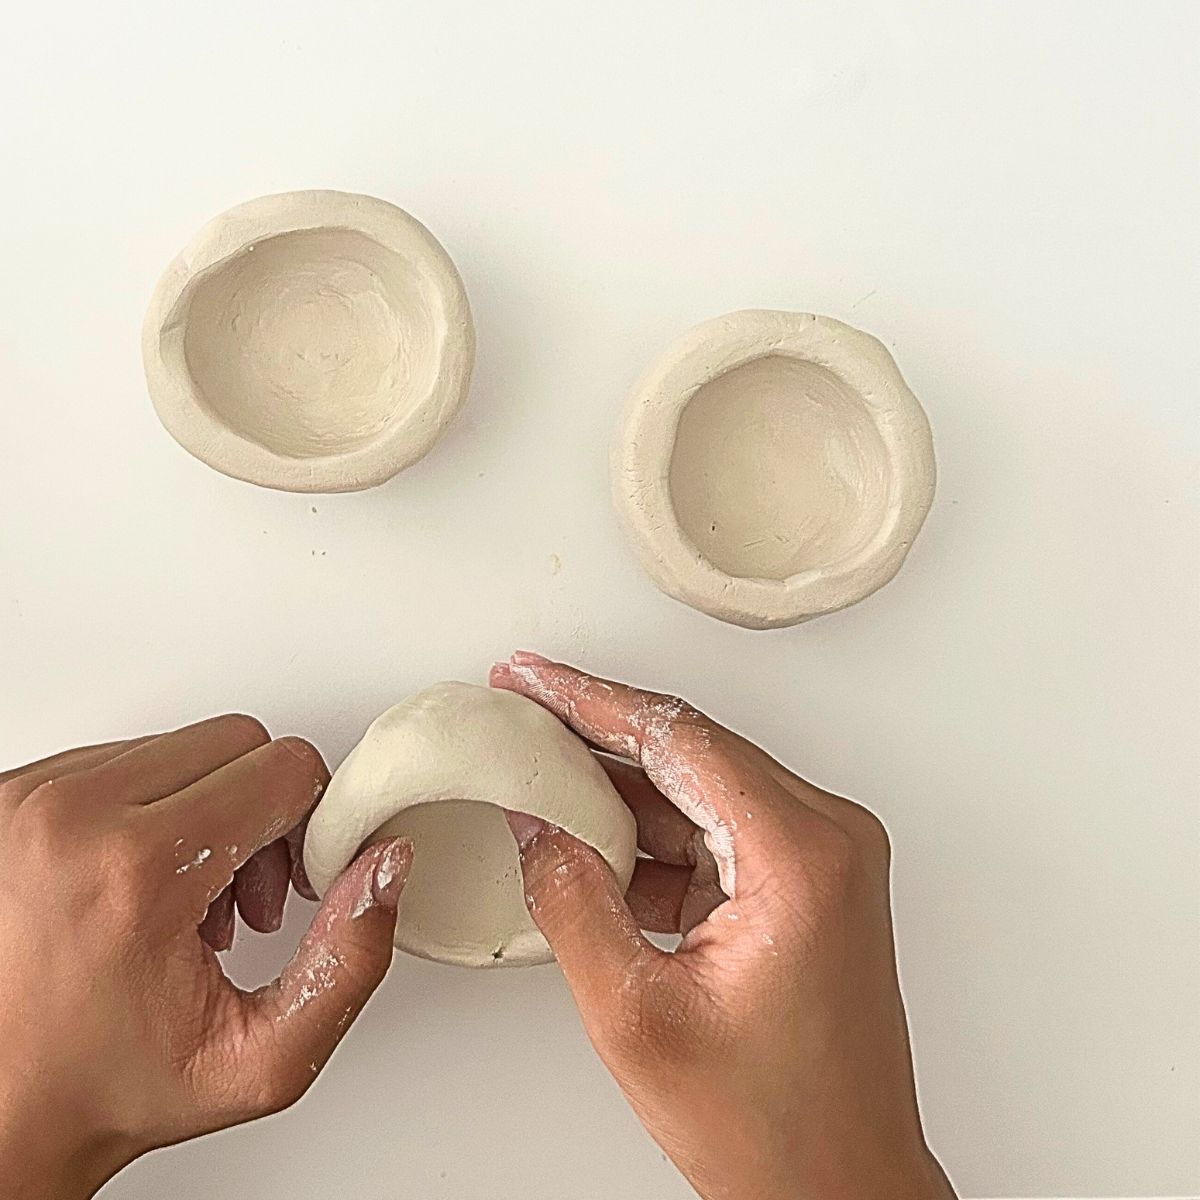
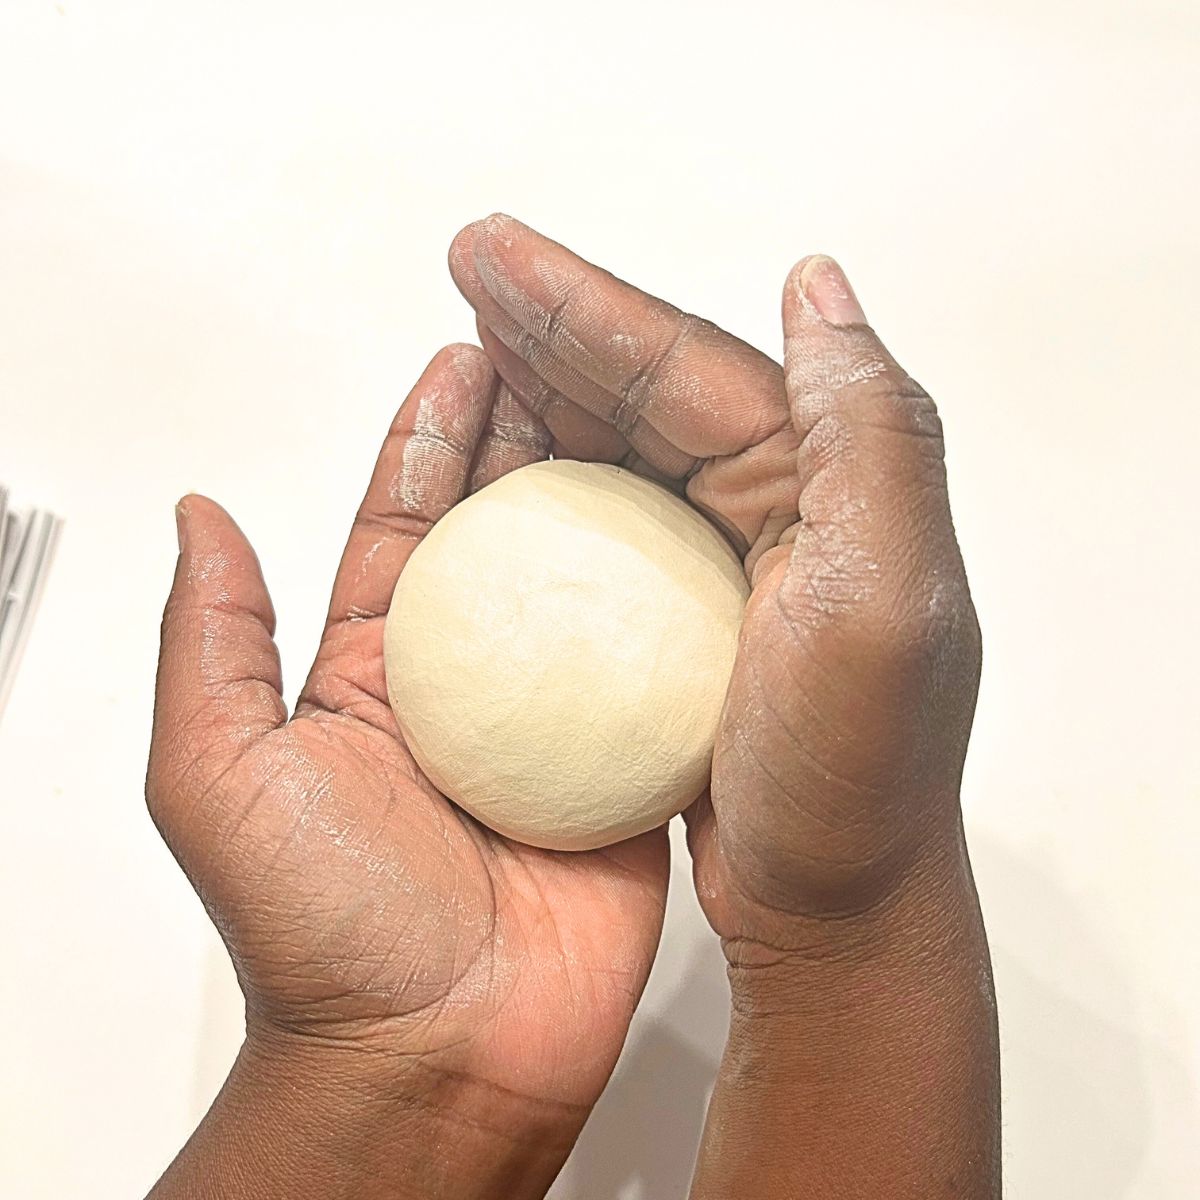
There are a few steps you need to take before you prepare air dry clay for sealing. Sealing typically takes place once you have molded your clay into the desired form. If you need some inspiration, here are 17 Air Dry Clay Craft Ideas you can try out. Once you have your clay form that’s molded, here are the next steps to take:
Allow Proper Drying Time
Allow the clay to dry. Proper drying time is important to the success of sealing your air dry clay projects. Generally, air dry clay takes 24-48 hours to dry. I personally like to take the full 48 hours just to be on the safe side especially if I am working with a thicker molded craft.
Drying time can vary depending on factors such as the thickness of the clay and the humidity level in your environment. To ensure your air-dried clay is ready for sealing, feel the surface of the clay to check for any remaining moisture. It should feel completely dry to the touch.
If you’re still not feeling sure, it’s best to err on the side of caution and give it additional time to air out. When in doubt, allowing extra drying time is better than attempting to seal the clay prematurely. Sealing air dry clay before it’s entirely dry may trap moisture inside and result in cracks or other aesthetic and structural issues over time.
Choose the Right Sealer
When it comes to sealing air dry clay, the key factor is selecting an appropriate sealer based on the intended use of the finished piece. Below, we will discuss several types of sealers, including acrylic sealer, polyurethane varnish, and Mod Podge.
1. Acrylic Sealer
Acrylic sealer is popular for sealing air-dry clay. It comes in both matte and glossy finishes, allowing you to choose the desired appearance for your project.
This water-based sealer forms a protective layer over the clay surface, preventing moisture from penetrating and causing damage. Additionally, acrylic sealer dries clear, so it won’t affect the color of your clay piece.
2. Polyurethane Varnish
Another excellent option for sealing air-dried clay is polyurethane varnish. It offers a durable, waterproof, and non-yellowing finish suitable for pieces exposed to water or other elements, such as outdoor sculptures or even pottery that will not be fired in a kiln. Polyurethane varnish is available in water- and oil-based formulas, with the former being easier to clean up and emitting fewer fumes.
3. Mod Podge

Mod Podge is most widely used for sealing air dry clay. This is personal preference. It’s an affordable and easy-to-apply option, but it is not waterproof. This option works best for decorative pieces that won’t be exposed to water or humidity. You can choose from a matte or glossy finish, depending on your preference.
While acrylic sealer, polyurethane varnish, and Mod Podge are all great options, consider your project’s specific requirements. Epoxy resin is another option with waterproof and non-yellowing qualities, but may be more challenging to work with due to its liquid state and longer drying time. Take time to evaluate your project’s needs and choose the sealer that best meets those requirements.
How to Seal Air Dry Clay
Once your clay is dry and you have chosen your seal of preference, it is time to seal the clay. Using a paintbrush, you can apply a sealer to the surface of your air-dry clay piece in even strokes. Make sure you give it full coverage.
Using a paintbrush, apply a thin and even layer of the sealer to your air-dry clay. One coat should be enough but if you prefer, you can always give it a second coat.

I used Mod Podge Gloss to seal my air dry clay.
Once you apply the seal, you will need to give it time to dry. Mod Podge dries really fast, so your project could be ready within an hour of drying.