How Do You Make Air Dry Clay Look Like Ceramic? Expert Techniques Explained
This post may contain affiliate links.
Air dry clay is a versatile and convenient material that allows artists and crafters to create unique, handmade pottery without the need for a kiln. Though this type of clay has many advantages, one drawback is that the finished projects may lack the glossy, polished appearance of ceramics fired in a kiln.
However, there are ways to make air dry clay look more like ceramic, enhancing its visual appeal and longevity.
One popular method to achieve a ceramic-like finish on air dry clay projects is through the use of glazes and sealants. Though traditional kiln-fired glazes cannot be used, a variety of other products can provide similar effects.
These glazes and sealants can be easily applied to the air dry clay surface, creating a protective layer that enhances the colors, adds shine, and even makes the piece more water-resistant.
By using these techniques, it’s possible to create air dry clay projects with a comparable aesthetic appeal to traditional ceramics.
This post contains some affiliate links for your convenience. Click here to read my full disclosure policy. Thanks for supporting Craft Your Happy Place!
Types of Air Dry Clay
Air dry clay is a versatile and widely-used material for various art and craft projects. It comes in different types, each with their properties and characteristics.
Non-Toxic
One popular type of air dry clay is non-toxic clay that is safe for all ages and does not require baking. This type of clay usually contains water, cornstarch, and flour, making it affordable and easy to use. It dries in the open air, hardening after a day or two. While it’s not as durable as ceramic, it can be used in countless crafts that don’t require strong structural integrity.
Cold Porcelain
Cold porcelain is another variety of air dry clay that is highly elastic and less likely to crack when dried. As the name suggests, this clay does not need firing in an oven or kiln. It is made from a combination of cornstarch, water, glue, and an oil or glycerin to prevent drying out. Cold porcelain is more lightweight and delicate than ceramics, making it ideal for delicate projects like jewelry and flowers.
Homemade
Using a homemade air dry clay recipe, you can create a mixture yourself with the right balance of baking soda, cornstarch, and water. This approach allows you to control the consistency and adjust it as needed. Moreover, it is a cost-effective and environmentally friendly option.
Polymer
Finally, polymer air dry clay is a synthetic clay that closely resembles ceramics in terms of texture and finish. It offers the advantage of being waterproof, durable, and resistant to fading. However, it is generally more expensive than other air dry clays.
To make air dry clay look like ceramics, you can use various techniques like sanding, painting, and glazing to enhance the appearance and texture. Applying multiple layers or carefully shaping the clay to resemble a ceramic finish can also achieve a convincing result.
Remember, selecting the appropriate type of air dry clay and following the relevant techniques and tips can help create projects that closely resemble the desired ceramic finish.
Preparing the Clay
Mixing Ingredients
To make air dry clay resemble ceramic, first gather the necessary ingredients: water, cornstarch, white glue, vinegar, and food coloring. In a large bowl, combine 2 cups of cornstarch with 1 cup of white glue. Add 1 1/2 cups of water and a few drops of vinegar to help the mixture hold together. Mix everything until it forms a smooth consistency. If the mixture is too sticky, add a little more cornstarch; if it’s too dry, add some more water.
Kneading the Clay
After mixing the ingredients, turn the clay onto a clean, dust-free surface. Before handling the clay, make sure your hands are free of dirt, oil, and lint. Knead the clay like dough, incorporating cornstarch as needed to prevent the clay from sticking to your hands or the surface. Keep kneading until the clay reaches a smooth and pliable consistency, similar to ceramic clay.
Adding Color
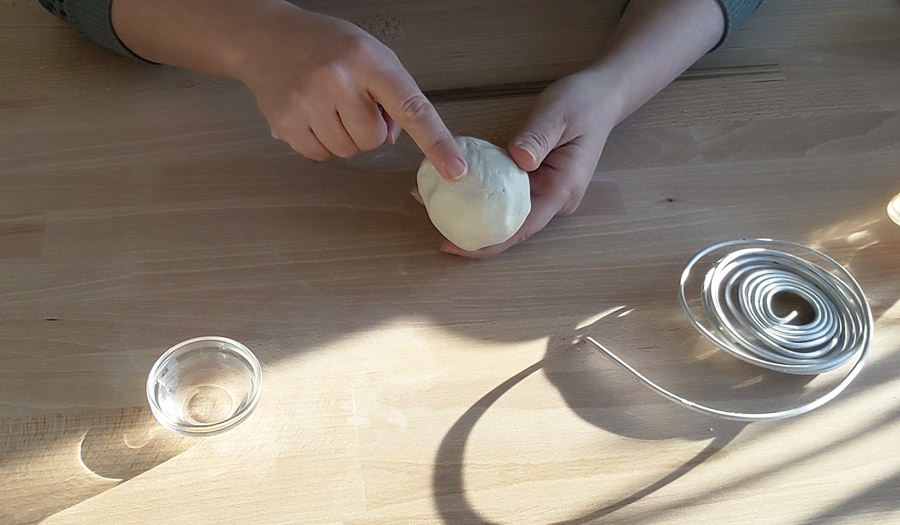
To give your air dry clay a ceramic-like appearance, you can add food coloring. First, create a small indentation in the center of your kneaded clay. Pour a few drops of food coloring into the indentation, then fold the clay over itself to trap the color inside. Continue kneading the clay, blending the food coloring throughout, until it reaches a consistent hue. Remember that the color of air dry clay will slightly change as it dries, often becoming slightly lighter. So, choose a shade that is just a bit darker than your desired final color.
Shaping and Texturing the Clay
Clay Sculpting
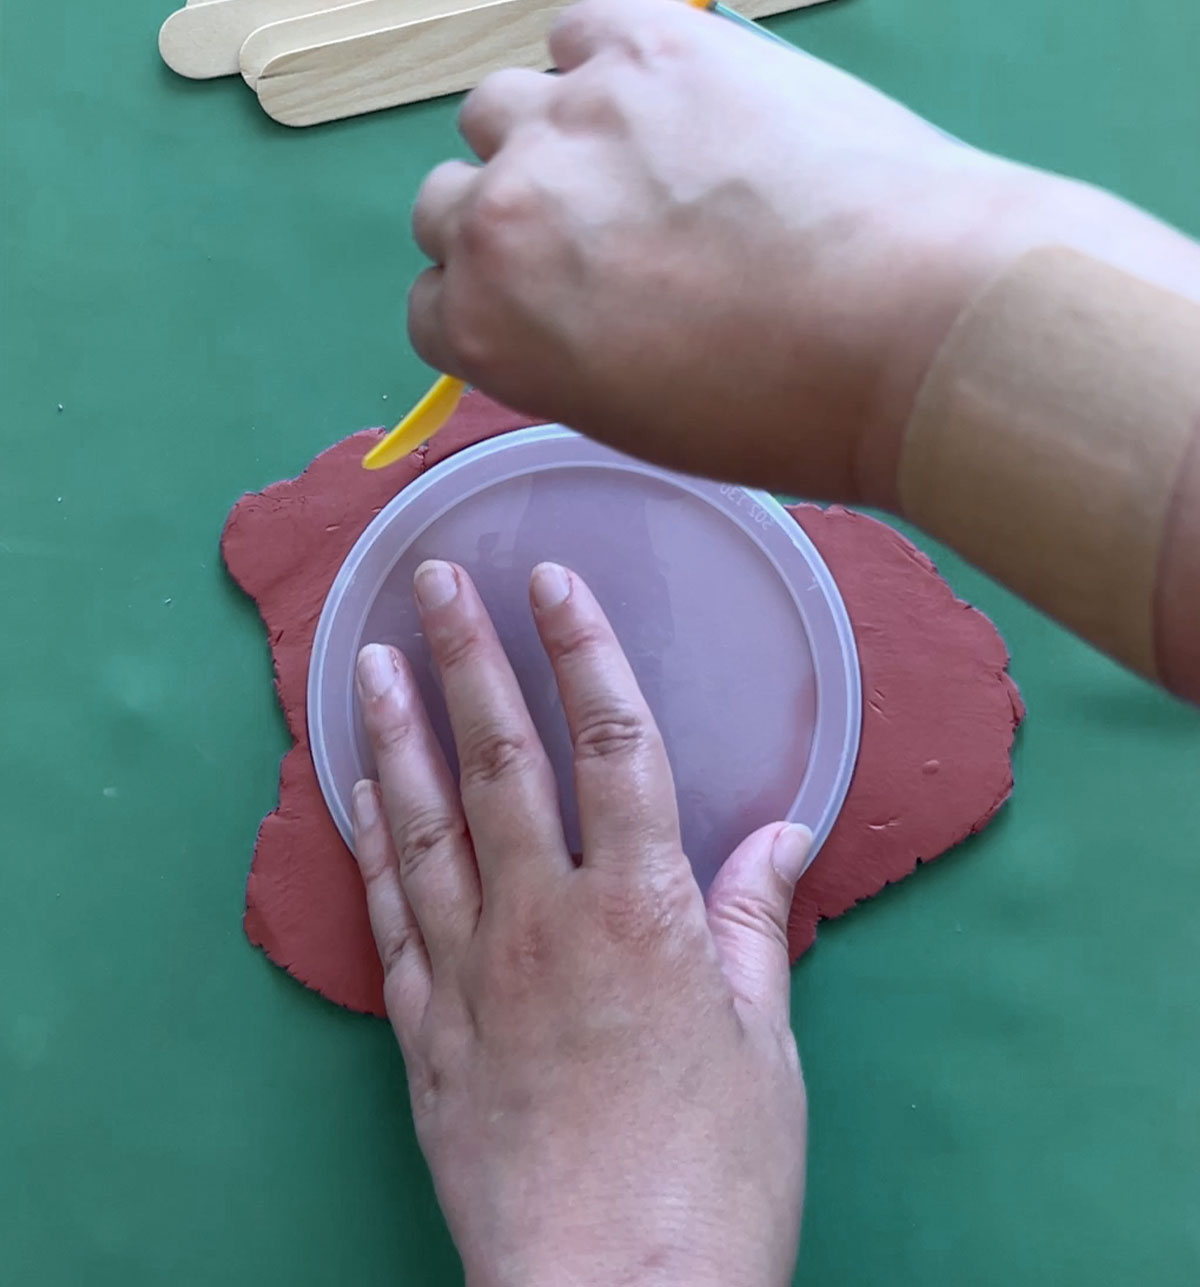
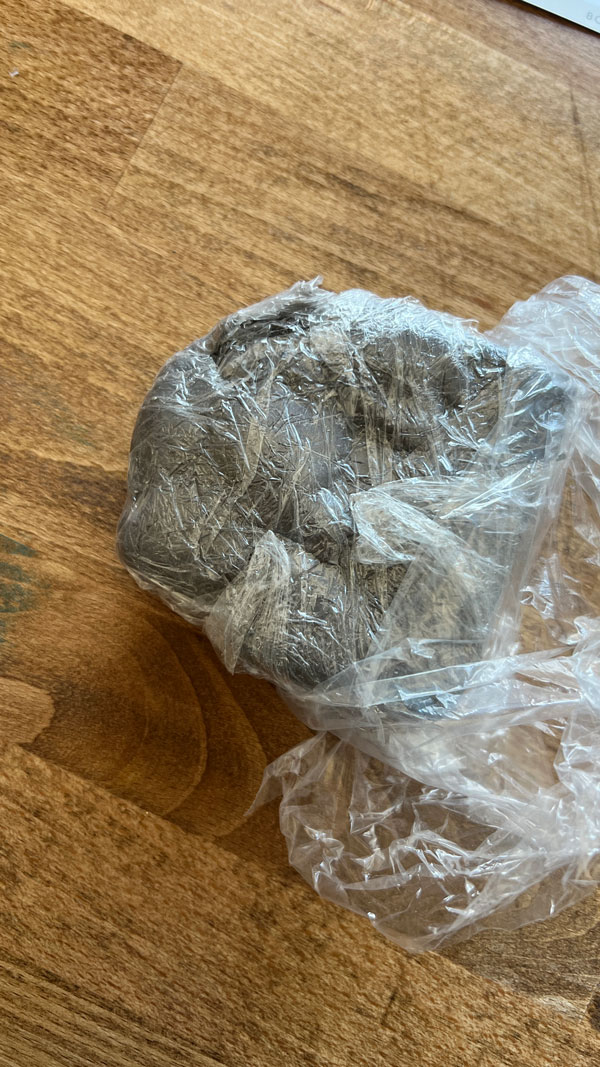
To achieve a ceramic-like appearance with air dry clay, start by shaping and molding the clay into your desired form. Whether you’re creating pots, sculptures, or decorative bowls, take time to refine the surface and edges for a polished result. Use your hands, cookie cutters, or carving tools for precise cuts and designs. Additionally, try laying down a sheet of plastic wrap before rolling or modeling clay to ensure a more delicate and smooth surface texture.
Using Stamps and Molds
Stamping and molding are other great techniques for giving air dry clay the appearance of ceramics. Stamps, either commercially available or homemade, can help create intricate patterns and textures on the clay’s surface. Press your chosen stamp onto the clay and gently remove it, leaving a detailed imprint. Similarly, you can use silicone molds for more complex shapes and designs. Press the clay into the mold, and after it sets, carefully remove it to reveal an intricate and ceramics-like piece.
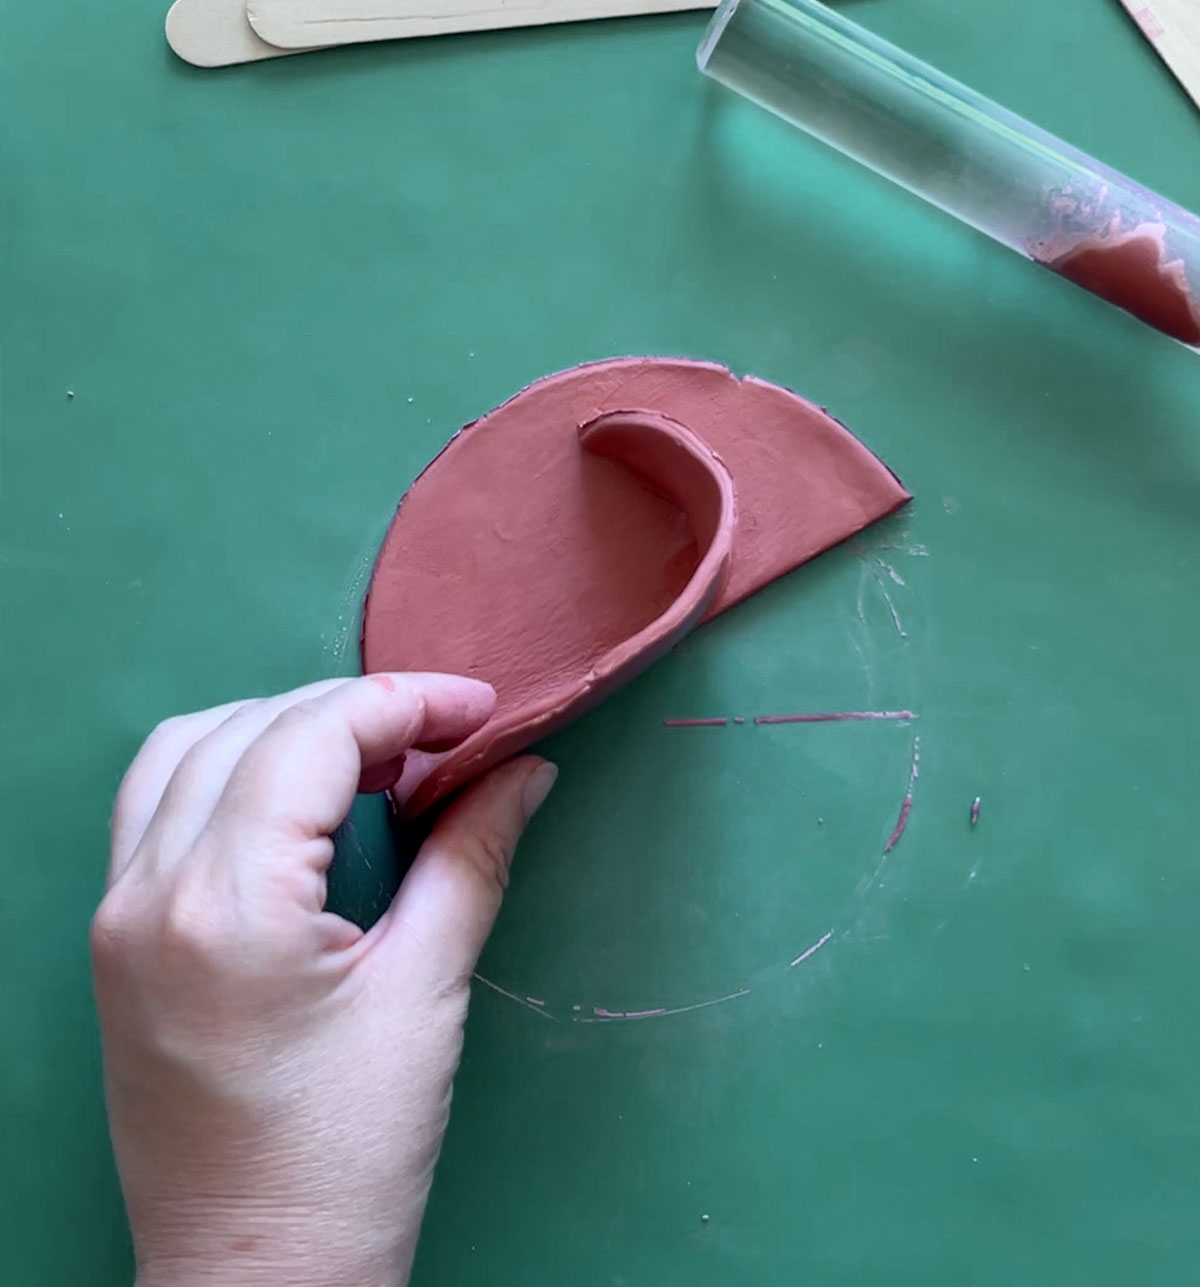
Creating Pottery Effect
To really capture the essence of pottery, consider simulating the look and feel of wheel-thrown ceramics. While you might not have access to a pottery wheel, you can imitate its effect by slowly turning the piece on a flat surface while using wet fingertips to smooth, shape, and refine edges and angles. Creating slight curvature on the walls of the clay piece and adding subtle indentations will also help give the clay the appearance of ceramics.
Experimenting with texture and carving tools can further enhance your DIY pottery project. Delicately carve details into the clay surface, such as lines, swirls, or geometric patterns to mimic the look of handcrafted ceramics. Finally, consider applying a glossy or matte sealant after the clay has dried to protect your creation and give it that finishing touch often associated with pottery and ceramics.
Drying and Finishing Techniques
Drying Process
The drying process for air dry clay is crucial to achieve a ceramic-like finish. To prevent cracking and ensure even drying, allow your clay creation to dry naturally at room temperature and avoid exposing it to direct sunlight or heat. Depending on the size and thickness, it may take 24 to 48 hours for the piece to dry completely.
Sanding and Smoothing
Once the clay has dried completely, use a fine-grit sandpaper to gently sand the surface, removing any rough or uneven areas. To smooth any remaining imperfections, you can also use a small amount of water and your fingertips or a damp cloth. After sanding and smoothing, clean the piece with a soft brush or cloth to remove any dust.
Adding a Waterproof Seal
To make your air-dry clay project look more like ceramic and to provide a waterproof or water-resistant finish, you can apply various sealants and finishes.
- Glaze: Glaze can create a glossy, glass-like finish and can be applied to the surface of the dried clay piece.
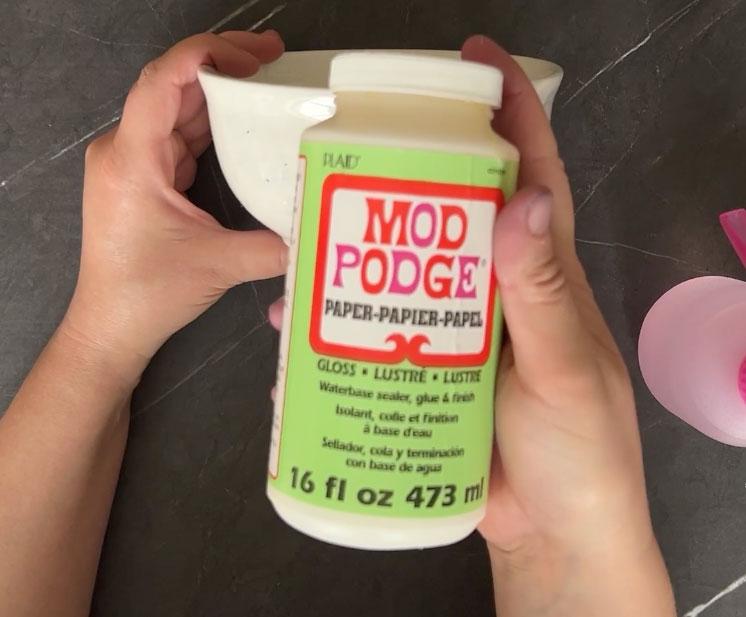
- Sealants: Common sealants like Mod Podge or matte finish sprays can also provide a protective layer.
- Polyurethane Varnish: A clear polyurethane varnish can be applied to provide a more durable and water-resistant finish.
- Resin: A liquid epoxy resin can be used to coat the surface for a highly durable, waterproof, and shiny finish.
Regardless of the type of sealant used, be sure to follow the manufacturer’s directions carefully, applying in thin layers and allowing adequate drying time between coats.
Decorating the Air Dry Clay
Air-dry clay projects can be transformed to have a ceramic-like appearance with proper decorating techniques. In this section, we will cover three main sub-sections: Painting the Clay, Creating Designs, and Varnishing and Sealing.
Painting the Clay
Air-dry clay is compatible with various paints, but acrylic paints are the preferred choice due to their versatility and quick drying nature. Begin by applying a base coat of white paint or any other desired color to create a smooth surface for further decoration. Use inexpensive brushes for even coverage and let the paint dry completely before adding additional layers or details.
For intricate designs or patterns, consider using oil-based paint pens as they provide better control and precision. Mix and match colors to bring your project to life and replicate the appearance of ceramic objects like bowls, vases, and plates.
Creating Designs
To enhance your air-dry clay projects, incorporate designs inspired by nature, such as flowers, plants, and animals. Use stencils or freehand techniques to transfer the design onto your painted clay surface, then fill in the details with acrylic paints, colored pencils, or markers.
Another approach to creating designs is by using impression and texture tools. Press found objects like leaves, buttons, or lace into the wet clay before it dries to create unique impressions. Alternatively, use sculpting tools or household items like toothpicks and forks to make lines, dots, and other textures. Let your creativity guide you in crafting one-of-a-kind pieces resembling ceramic artwork.
Varnishing and Sealing
Once your painted air-dry clay project is dry, it is essential to protect and seal the surface. Apply a clear polyurethane varnish, acrylic sealer, or clear nail varnish to create a glossy or matte finish that closely resembles ceramics. This protective coating not only enhances the appearance but also adds durability and water resistance to your clay creations.
In conclusion, with proper painting techniques, personalized designs, and a protective sealant, air-dry clay projects can be made to look like ceramic pieces, offering an easy and affordable way to create beautiful, custom-made art.
Air Dry Clay Projects
Air dry clay is a versatile and accessible material for creating various kinds of crafts, from vases and bowls to jewelry and decorative figurines. This material requires no special equipment like a kiln for hardening and is simple to make and use, making it ideal for beginners and experienced crafters alike.
Creating Vases and Bowls
With air dry clay, it’s easy to create beautiful vases and bowls to display around your home or to give as unique gifts. To start, shape your clay into the desired form, and then let it dry completely. Afterward, you can use a foam brush to apply a layer of gloss or varnish to give your piece a ceramic-like appearance. Working with different types of air dry clay, like hearty and modena, can also yield different textures and results.
Making Jewelry
Creating air dry clay jewelry is a fun and relatively easy project. Some popular creations include:
- Necklaces
- Earrings
- Bracelets
To make air dry clay jewelry, shape your clay into the desired designs, such as succulent plants for nature-inspired pieces or geometric shapes for modern ones. After the clay has dried, you can paint the pieces and add a protective coating. Finally, attach them to the appropriate jewelry findings, like ear wires or necklace chains.
Sculpting Figurines and Decorations
Air dry clay is perfect for sculpting figurines and decorations to enhance your living space or create festive accents. To begin, shape your clay into the desired form – this could be an animal, a character, or a unique abstract design.
Once the clay has dried, you can paint and seal the surface. Don’t forget that any unused clay should be stored properly to prevent it from drying out and becoming unusable. The possibilities are endless – you can even create garlands using air dry clay shapes that can be hung on walls or wrapped around other decorative elements.
Expert Tips and Tricks
Working with Lightweight Clay
Working with lightweight clay, like air-dry clay, can be a fun and easy alternative to using ceramic materials. To achieve a ceramic-like finish, start by preparing your clay properly. One technique is to wet your hands while kneading the clay to soften it, which helps eliminate air bubbles and create a smoother texture. When shaping your clay, you can use stamps or found objects to create unique patterns and textures, much like those seen on the popular show The Great Pottery Throwdown. Remember, lightweight clay is more delicate than ceramic, so handle with care.
Carving Techniques for Detailed Designs
Carving intricate designs into air-dry clay can be just as satisfying as working with ceramics. Use a variety of sculpting tools and techniques to create elaborate designs inspired by your favorite artist or pottery style. You can also try using fine-point carving tools to add details, which will make the finished product resemble real ceramics. For even more visual interest, consider painting or glazing your clay to mimic the look of ceramics. Just be cautious with the depth of your carvings, as lightweight clay may be more susceptible to breakage.
| Sculpting Tools | Technique |
|---|---|
| Needle tool | Fine lines and detailing |
| Loop tool | Removing large areas of clay |
| Sculpting knife | Cutting and shaping |
Handling the Clay for Best Results
To make your air-dry clay project look like ceramic, handling the clay correctly is essential. Here are a few handy tips to keep in mind. Start by working on a protected surface like wax paper, silicone baking mats, or vinyl placemats to prevent the clay from sticking. Use a pottery wheel, if available, or work slowly and carefully by hand to shape your clay into the desired form. When joining clay pieces, always score and slip to ensure a secure bond. Finally, be patient and let your project air dry slowly and evenly to avoid cracking. You can achieve a ceramic-like finish from your air-dry clay creations with the right handling techniques.
- Score and slip: Make small scratches on the surface of the clay pieces to be joined together and apply a small amount of water or clay slip, then press the pieces together.
- Air drying: Place the finished work in a well-ventilated area to dry slowly and evenly for the best results.
Frequently Asked Questions
What glaze to use on air dry clay?
Several glazes can be used on air dry clay to give it a ceramic-like appearance. You can use clear acrylic sealers, polyurethane varnishes, or specialty glazes made specifically for air dry clay. Just make sure you follow the manufacturer’s instructions for the best results.
How to waterproof air dry clay?
To waterproof air dry clay, you can use a waterproof sealer or varnish. Apply the sealer in thin, even coats, allowing it to dry between each application. This will create a protective waterproof layer on the clay, helping to protect it from moisture.
What sealer works best on air dry clay?
Multiple sealers can work well on air dry clay, such as acrylic sealers, polyurethane varnishes, and spray sealers. Choose a sealer based on your desired finish (matte, satin, or glossy) and follow the manufacturer’s instructions for application.
How to paint air dry clay?
Before painting air dry clay, make sure the clay is completely dry. You can use acrylic paints, which work well on clay and come in various colors. Begin by applying a base coat of paint and allowing it to dry. Then, you can paint your design or details using additional colors. Finish with a sealer to protect the paint and provide a professional appearance.
Can air dry clay appear professional?
Yes, air dry clay can appear professional if it is well-molded, smoothed, and finished. Techniques such as sanding, painting, and glazing can all help improve the appearance of air dry clay and make it look more like ceramic.
How to create homemade glaze for air dry clay?
A simple homemade glaze can be created by mixing equal parts water and white glue, such as Elmer’s Glue. You can also add a bit of acrylic paint to tint the glaze if desired. Apply the glaze to your air dry clay with a brush in thin, even layers, allowing each layer to dry before adding the next. This will create a protective, shiny finish similar to a ceramic glaze.