
Those plain white bowls you can buy at Dollar Tree are a really great classic option. But what if I told you that you can make them look like marble with just a Sharpie and some rubbing alcohol?
In this post, I’m going to show you how to create a faux marble finish on a basic bowl to elevate it from nice to NOOICE.
Like it? Pin it!

How to Make a Faux Marble Finish on a Ceramic Bowl
To create a faux marble finish on a basic bowl, scribble on it with a black Sharpie marker, spray with rubbing alcohol, and dab with a scrunched-up paper towel. Repeat this process until you achieve your desired finish. You can add multiple layers to achieve a darker finish or stop at just one for a subtle white marble effect.
Please note that this bowl is intended for decorative purposes only and is not food-safe.
Materials
- Plain white ceramic bowl
- Black Sharpie (feel free to experiment with other colors!)
- Rubbing alcohol
- Paper towels
- Mod Podge (optional)
Step 1: Scribble on your bowl

Grab a simple white ceramic bowl (I love the ones from Dollar Tree) and, using a basic black Sharpie, scribble loose and looping patterns all over the surface.
I learned as I went that irregular is best, but as you layer, any “regularity” that gives away the fakeness of the finish will resolve itself.
Step 2: Blot rubbing alcohol over the surface

Next, pour rubbing alcohol onto a crumpled paper towel and blot the surface of the bowl to smudge and smear the marker scribbles.
This will take some time and a little elbow grease. You may even think you’ve messed it up midway through because it looks totally messy. But keep going, and I promise, it will come together.
Step 3: Draw thick shapes

Now, you’ll want to draw some “veining” on the surface. Like before, this doesn’t have to look realistic. Just layer on some thicker lines and branches randomly over the bowl.
Step 4: Douse the bowl with more rubbing alcohol
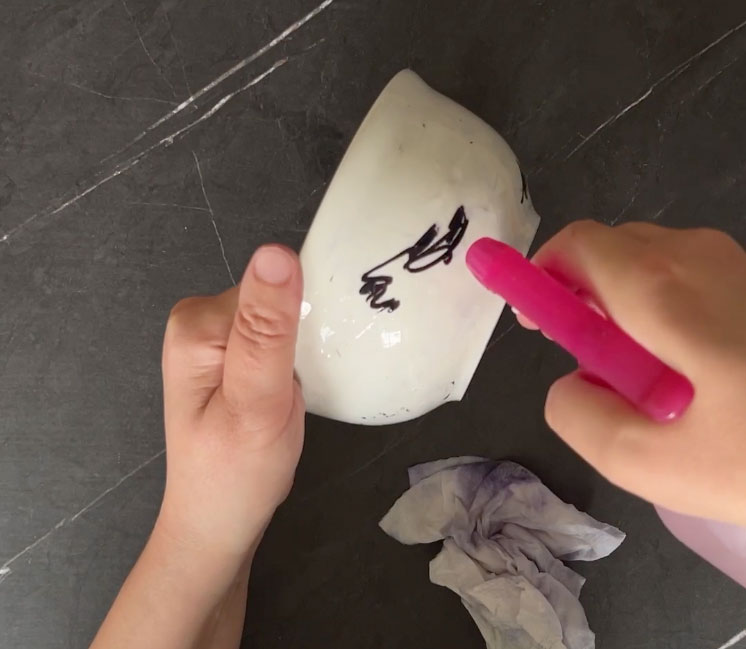
For this step, you need to puddle some rubbing alcohol on the marker shapes. You can pour directly from the bottle, but I found using a spray bottle was very helpful.
As you add the rubbing alcohol, turn the bowl a bit so the alcohol traces a natural path through the veining. This is what gives the pattern some realism.
Once you’ve made a few loose paths, blot up the alcohol with the dirty paper towel. Continue to blot if the veining needs more blending.
Repeat the steps above as many times as necessary to achieve the desired finish.
Step 5: Coat with Mod Podge (optional)
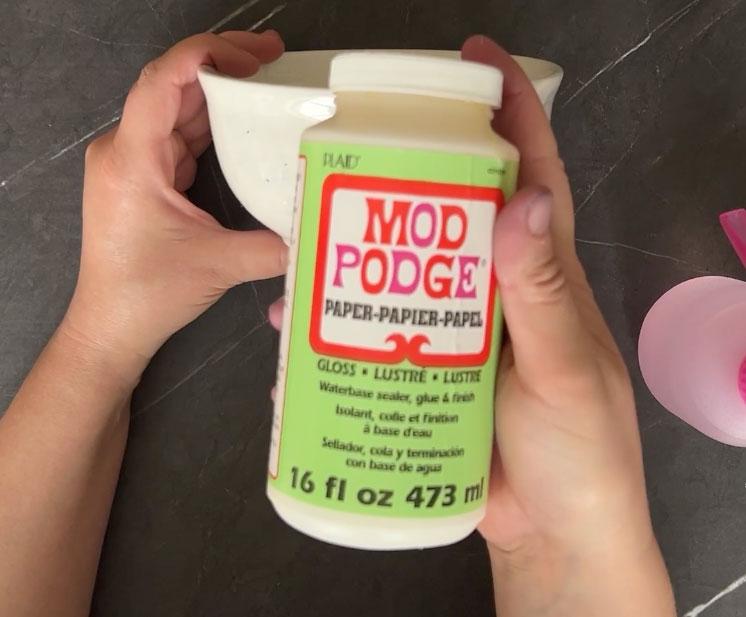
This step is purely optional, but if you want to add extra durability to your finish, you can add a thin coat of glossy Mod Podge.

And you’re done! This bowl is great for holding decorative items, craft supplies, soaps, and more. Just be sure not to serve food out of it, as the exterior isn’t food-safe, and better safe than sorry!
If you liked this project, you might like these other affordable crafts too: