Oh, the age old question – can you waterproof air dry clay. The short answer is not exactly – well, sort of.
Ok, so you can’t make air dry clay completely waterproof, but you can make it highly water-resistant with the right sealant. The key is to let it dry slowly, seal it properly, and protect it from long-term moisture exposure.
Here’s what you need to know about protecting your air-dry clay projects from water damage.

Why Air Dry Clay Isn’t Naturally Waterproof
Air dry clay is made of natural materials like clay powder, paper fibers, and glue. When it dries, the water evaporates, leaving behind a hardened but still porous surface. Those tiny pores can absorb water, which causes the clay to soften, swell, or crack.
Unlike kiln-fired clay, air dry clay doesn’t go through vitrification which is a process where extreme heat fuses the particles together, creating a glass-like, waterproof surface. So while it can be hardened and sealed, it will always be somewhat vulnerable to moisture.
What “Waterproof” Really Means for Air Dry Clay
To “waterproof,” air dry clay simply means making it water-resistant. Water resistant clay is able to withstand humidity, splashes, or brief contact with water without immediately falling apart.
This is perfect for decorative items, indoor planters, trinkets or ornaments, but not for objects that will sit outdoors or hold liquids. If your goal is to make functional, water-holding pieces (like mugs or vases), kiln-fired clay is the better choice.
But the truth is, even if you make it water-resistant, you:
- Can’t Submerge it in water. Sealed clay can resist splashes but not soaking.
- Can’t Use it outdoors. Temperature changes and rain can weaken or warp the clay.
- Can’t use it to eat food or drink water. Air dry clay isn’t food-safe.

How to Make Air Dry Clay Water-Resistant
Here’s how to seal and protect your air dry clay so it can safely handle occasional moisture.
Step 1: Let It Dry Completely
Before sealing, your piece must be 100% dry. Depending on size and thickness, this can take 2–5 days. Rushing this step traps moisture inside, which can lead to cracks or soft spots later.
Step 2: Sand and Clean the Surface
Once dry, lightly sand the clay with fine-grit sandpaper to smooth it out. Wipe away any dust with a dry cloth or slightly damp paper towel. A clean surface helps the sealer adhere properly.
Step 3: Paint (Optional)
If you want your piece to be colorful, paint it before sealing. Acrylic paint is best—it bonds well and adds an extra layer of protection. Allow it to dry completely before applying your sealer.
Step 4: Seal with a Waterproof Medium
This is where the real protection begins. Choose one of the following sealants depending on the type of project:
- Clear Acrylic Sealer (Spray or Brush-On): Provides a light waterproof layer for decorative indoor pieces. Apply two to three thin coats, letting each one dry fully.
- Mod Podge or PVA Glue: A budget-friendly sealer, though not fully waterproof. For better resistance, use an outdoor or dishwasher-safe version of Mod Podge.
- Resin Coating: Epoxy or UV resin creates a thick, glassy layer that’s highly water-resistant. It’s ideal for jewelry, keychains, or decorative bowls, but adds weight and shine.
- Polyurethane or Varnish: Ideal for larger items or those exposed to humidity. Apply several thin coats for best protection.
Step 5: Let It Cure
Allow it to cure for at least 24 hours—longer for thick coatings. Once cured, your clay will be much more resistant to moisture and wear.
Best Uses for Water-Resistant Air Dry Clay

There are still lots of things you can do with water-resistant air dry clay. Here are some options:
- Indoor plant pots (with a plastic liner inside)
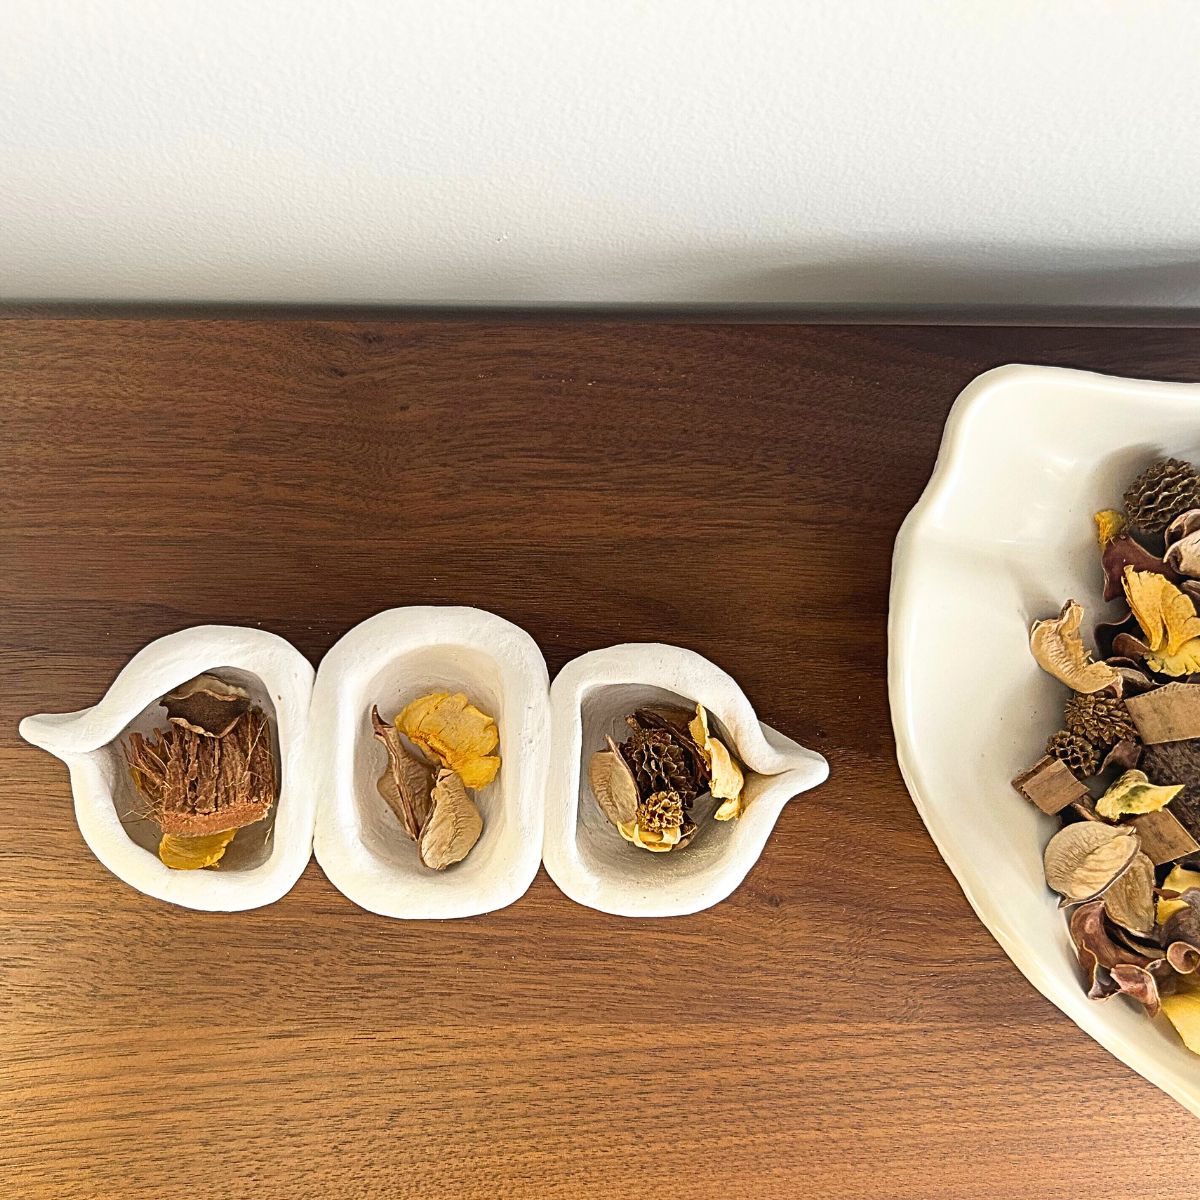
- Trinket dishes
- Jewelry Holder
- Candle holder
- Christmas ornaments