Can Air Dry Clay Be Revived?
This post may contain affiliate links.
Air-dry clay is a valuable alternative to the regular fare, but there are a few differences from ordinary clay. Of the many things people are wary about, one major point is: can air clay be revived?
Air-dry clay can be revived by breaking huge dried clay into smaller pieces and leaving it in a container filled with water for 24 hours. Once the excess water is drained and kneaded, it’s ready to use.
The rest of this article will thoroughly discuss how to revive dry clay and provide other important information like where to get air-dry clay.
Step by Step: How To Revive Air Dry Clay
Air-dry clay is a material that gives you a great result while being easy to manage.
The four most common types of clay used for sculpting are:
- Earthenware,
- Stoneware,
- Porcelain, and
- Fire Clay.
Air-dry clay can be any of these types of clay. However, the one you’ll find in most stores is Earthenware air-dry clay.
To revive this type of clay, follow these steps:
- First, remove it from the packet and break it into smaller bits. You can break larger clay into smaller pieces using a sturdy tool like a hammer or box knife. If you don’t break these enormous pieces of clay up, they may fail to thoroughly soak in water, leading you to experience many difficulties when sculpting.
- Next, place these smaller bits into a bowl.
- Make sure the bowl you use can take your clay and water.
- Add enough water for the clay to soak. I recommend air-dry clay for at least 20 hours but waiting 24 hours is the sweet spot to get you perfectly soaked clay.
- Remove excess water. You can do this by placing a cloth over the bowl’s surface and titling the bowl until most of the water is out.
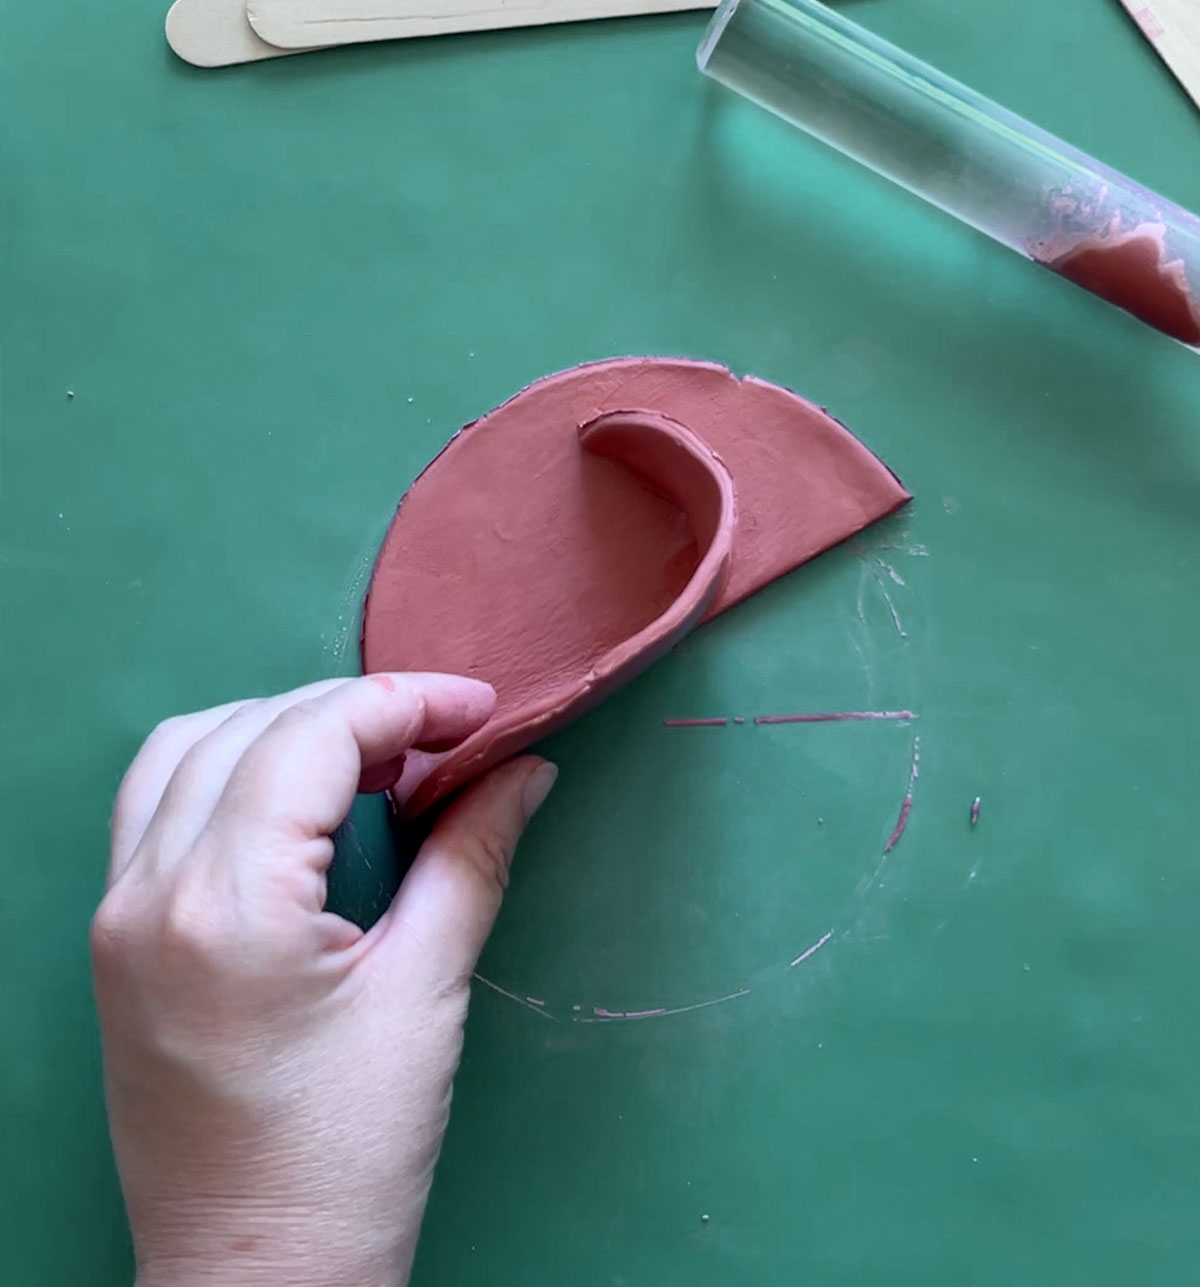
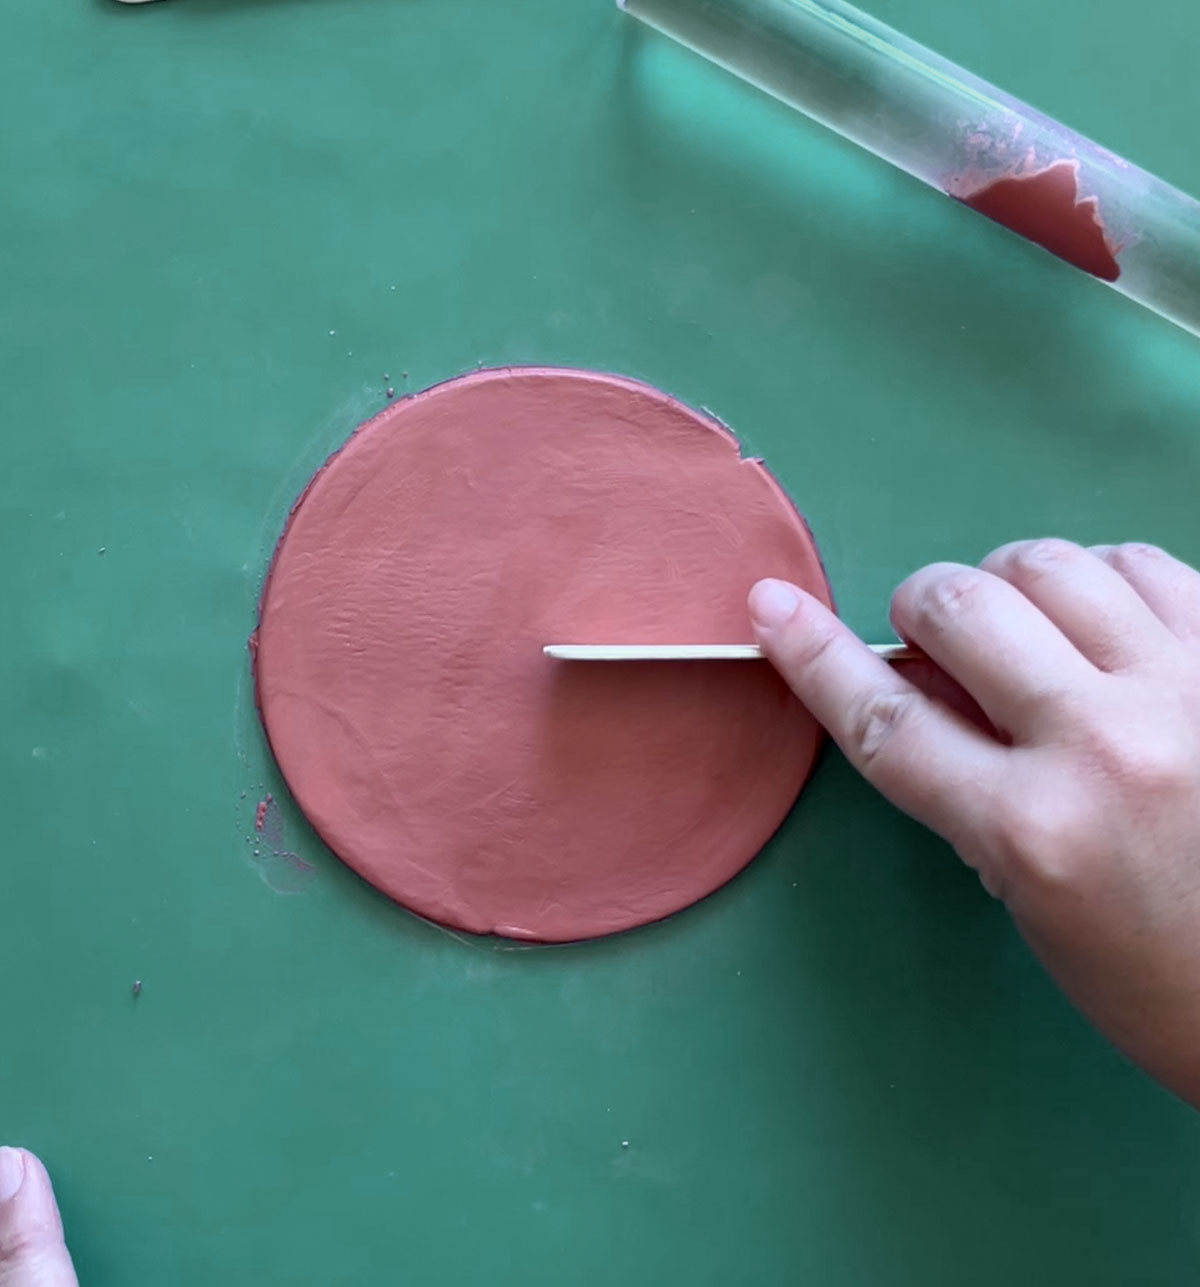
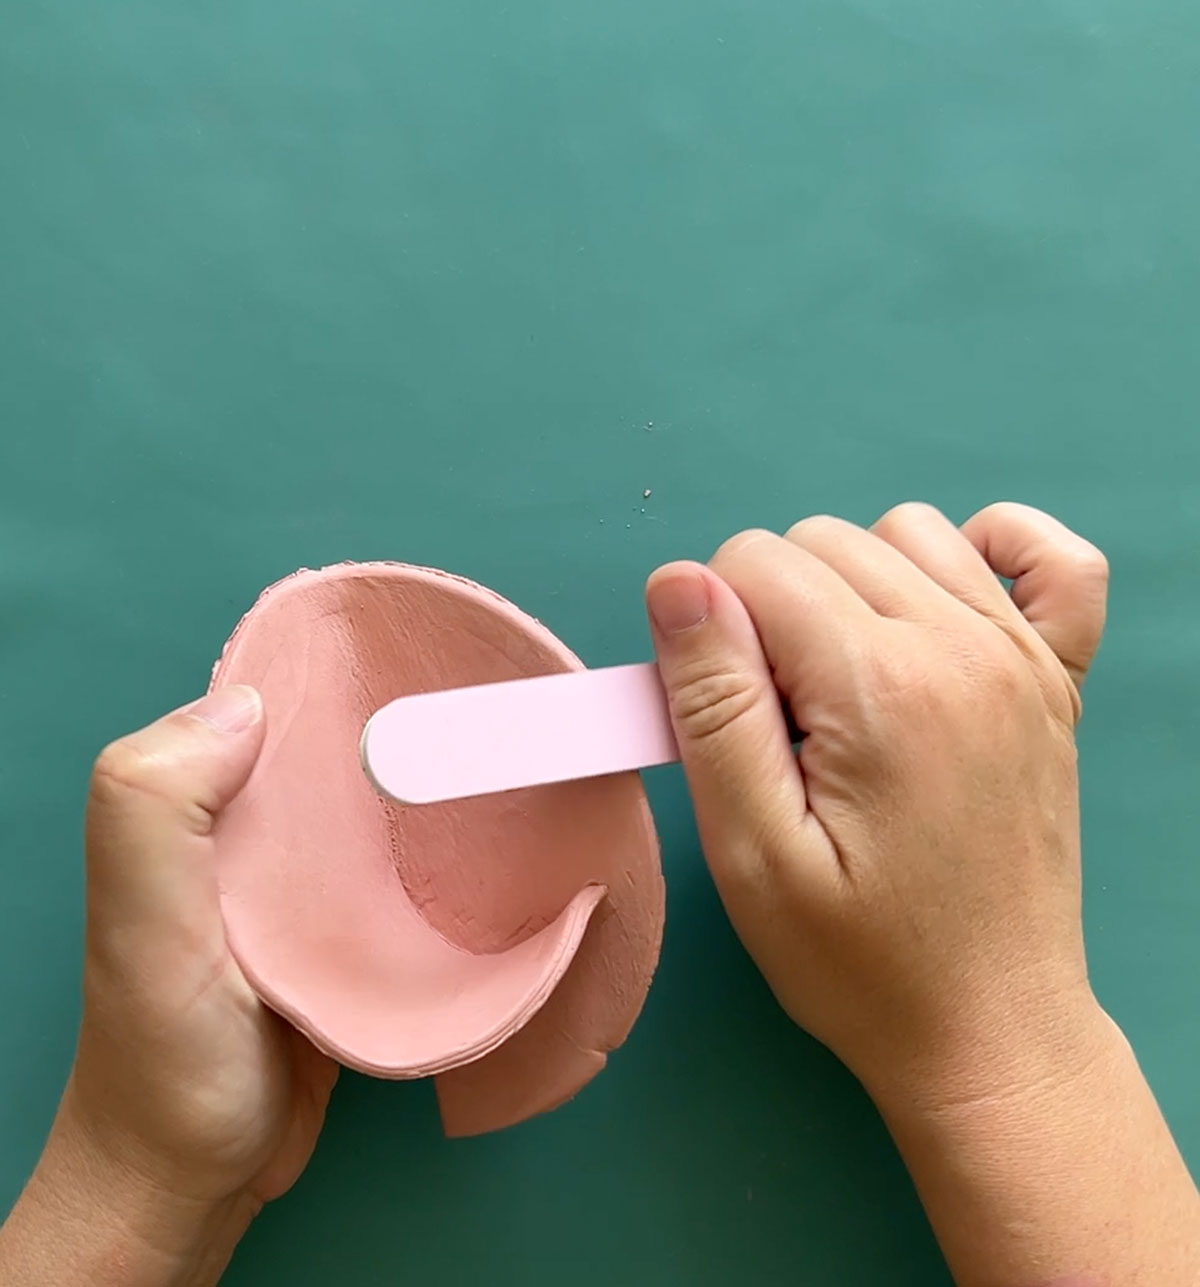
- Mold your newly-soaked clay into balls and leave it in the air for a few minutes.
- Voila, your clay is ready for use!
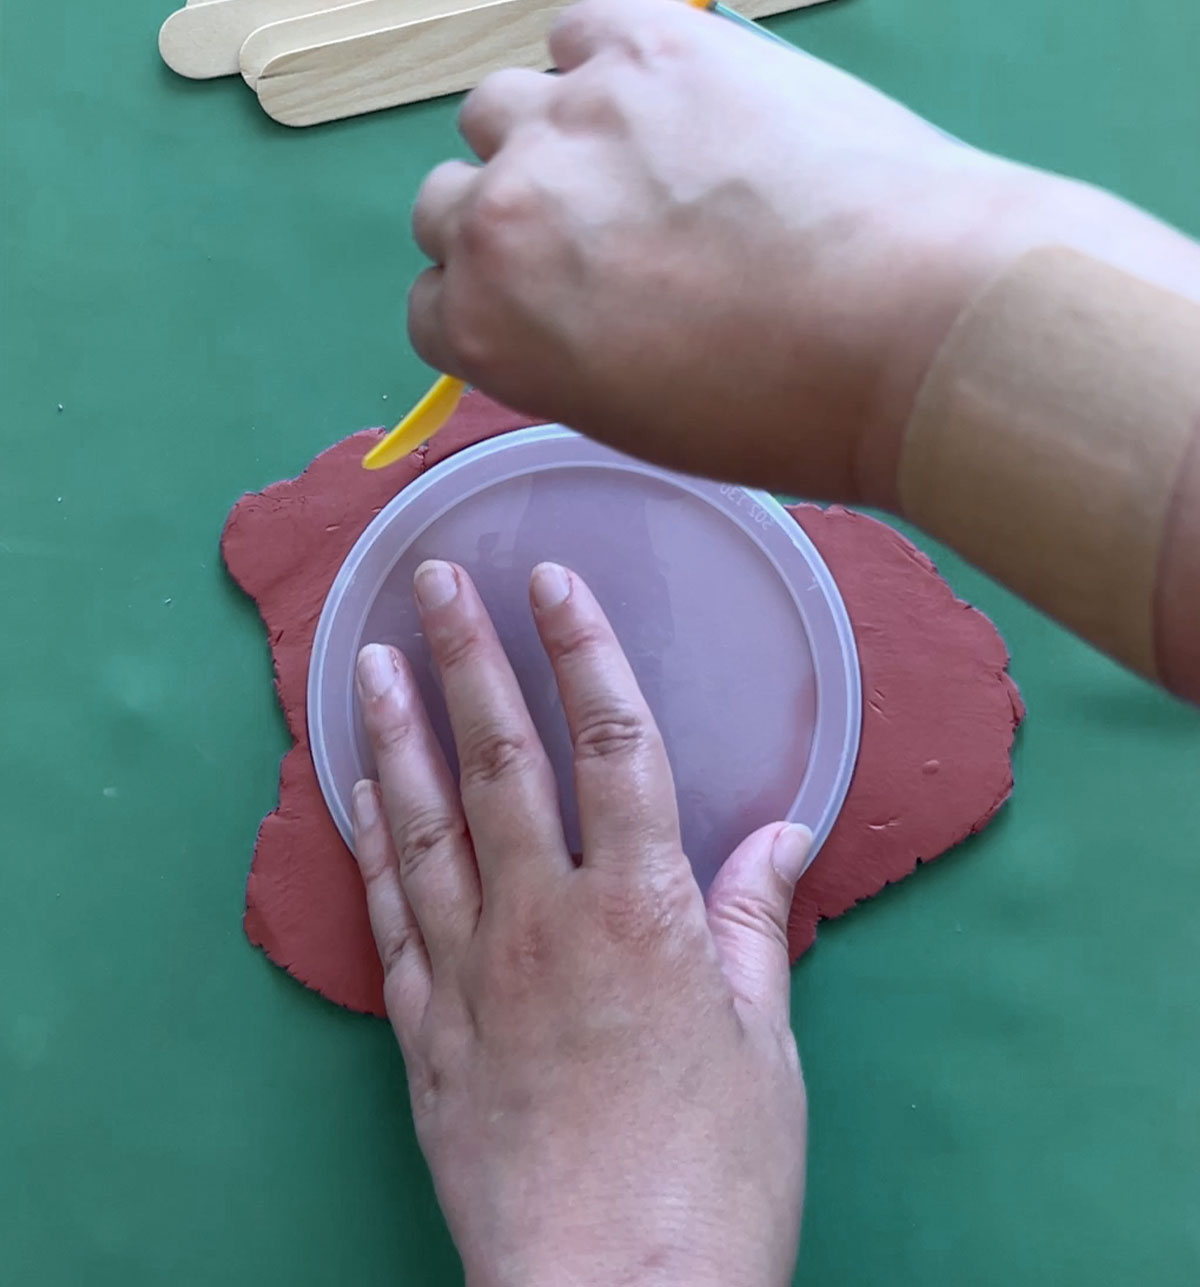
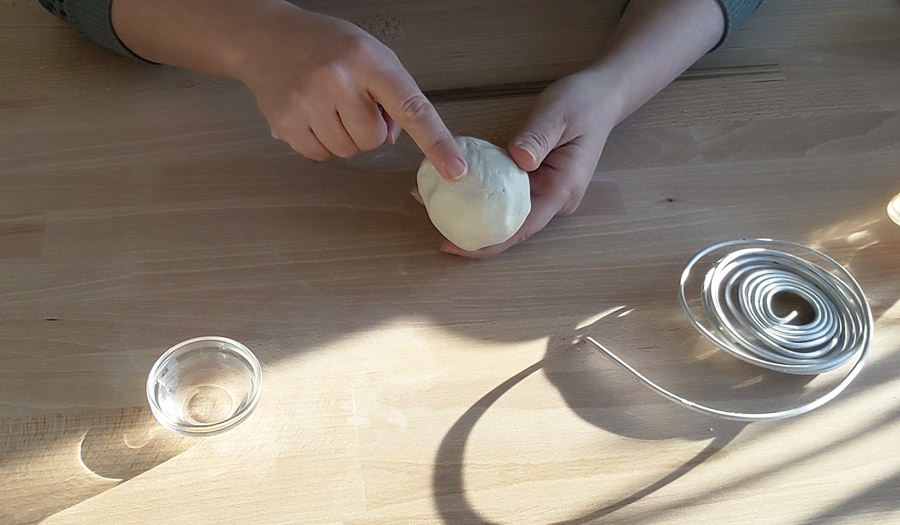
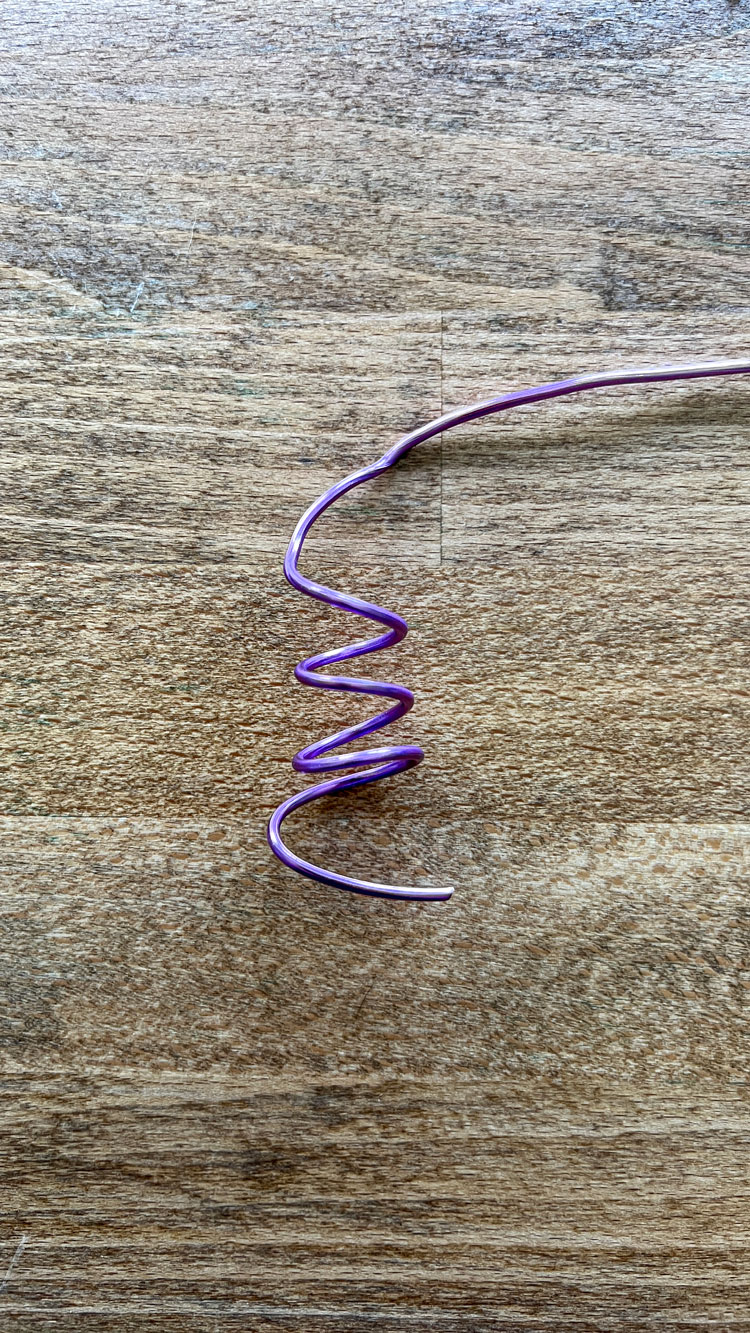
You can use clay to make lots of beautiful decor and DIY products, such as this easy wire sculpture with a clay base for a modern piece of art. It’s a straightforward project but still allows you to practice working with clay.
One side note to remember is that air-dry clay’s drying process is different. In fact, you should never use external heat sources to dry air-dry clay, as this can ruin your pottery. Even the extra heat from direct sunlight can be a problem.
So, how do you dry it if you can’t use kilns and direct sunlight? The simple answer is to follow the name. You must dry air-dry clay in the open air.
On a related note, many people wonder if it’s possible to bake air-dry clay. Find out in my comprehensive guide.
Where To Get Air Dry Clay
You can find air-dry clay in crafts stores such as Michael’s, but the most convenient place to buy some is of course, Amazon.
DAS Air-Hardening Modeling Clay (available on Amazon.com) is my clay of choice. For an affordable price, you get 2.2 lbs (1 kg) of high-quality, air-dry clay. It also comes in different colors, which are a lot of fun to play around with. I made a really cute mini shelf using terracotta clay that you should check out next!
How To Make Your Own Air Dry Clay
You can even make your own air-dry clay! Here’s what you’ll need:
- Baking soda
- Cornstarch
- 1 ½ cups of water
- An old pot, a whisk
- A bowl
- Food coloring
Once you have everything you need, you can follow these simple steps to make your own air-dry clay:
- Mix baking soda and cornstarch together in the bowl and whisk until the mixture turns smooth.
- Add the food coloring (most people use red or brown, but it can be any color you like) to the mixture as desired and continue to stir.
- Next, heat this mixture over medium heat for some time. Remember to keep stirring, as it will stick to the bottom of the pot if you don’t.
- When it thickens, take the dough off the heat and allow it to cool.
- After cooling, knead, mold, and dry the dough. The end result should be sturdy, air-dry clay that you can use immediately or store for later use. It’s best to store any excess in a cool, dry place.
I’ve also written a beginner’s guide on using air dry clay, where I discuss how you can make it easier to work with air dry clay and present a few ideas on what you can make.
Conclusion
Unfortunately, many people throw out dried-out clay because they think it’s not reusable. However, with a bit of soaking, waiting, and kneading, this dried-out clay becomes extremely useful for sculpting all kinds of crafts.